You’re in a hurry, you pop in your reusable K Cup, press brew, and nothing happens. Or worse, water floods the base of your Keurig, and you’re left with a weak, watery cup of coffee and a mess to clean. A broken reusable filter is frustrating because it’s the one piece of gear that saves you money every single day. When it fails, your whole morning routine grinds to a halt.
This guide walks you through the most common failure points on a reusable K Cup, what you can fix at home in under ten minutes, and when you should just replace the thing. You’ll learn the exact tools you need, the repair steps for each type of damage, and a few preventive habits that keep your filter working for years. By the time you finish, you’ll know whether your filter is salvageable or ready for the recycling bin.
Keurig
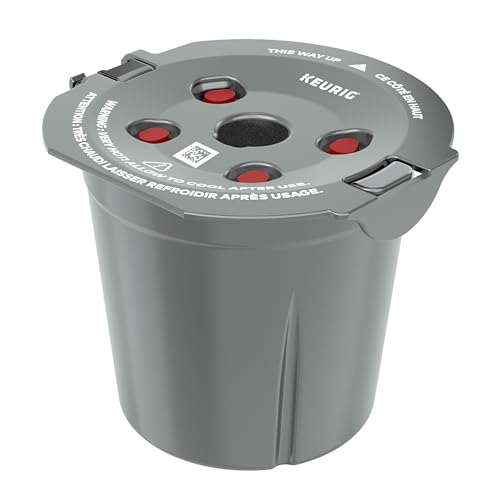
My K-Cup® Reusable Coffee Filter
- BREW WITH GROUND COFFEE: Brew a single cup using your own favorite ground coffee
As an Amazon Associate I earn from qualifying purchases.
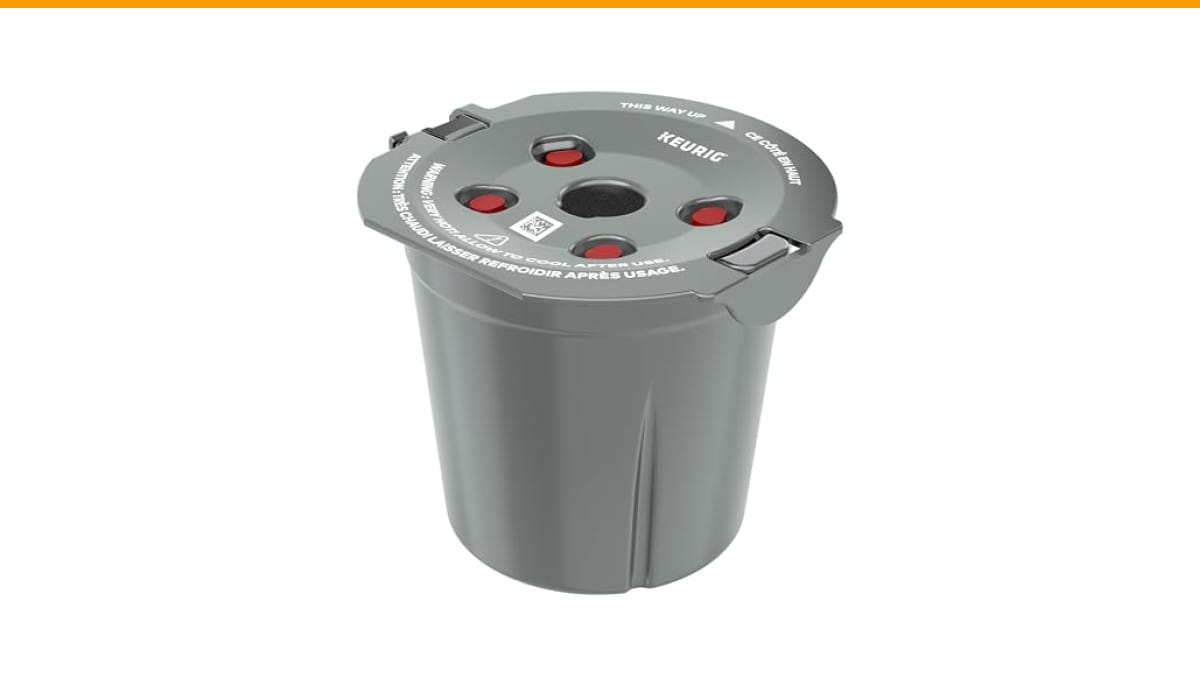
If you’re shopping for a replacement rather than a repair, the Check Price on Amazon from Keurig is a solid drop-in option. It brews a single cup using your own ground coffee, which is the whole point of going reusable in the first place. It’s a straightforward swap if your current filter is beyond saving.
Why Reusable K Cups Break in the First Place
Reusable K Cups fail for three main reasons: the lid seal wears out, the mesh screen clogs or tears, and the plastic frame cracks from repeated twisting. Each failure looks different, and each has a different fix.
The lid is the most common culprit. The rubber gasket around the rim gets compressed over time, losing its ability to create a watertight seal. When that happens, water bypasses the coffee grounds entirely and dumps straight into your mug. The coffee comes out weak and watery, and you might see coffee grounds floating in the cup.
The mesh screen sits at the bottom of the filter basket. It’s a fine stainless steel weave that keeps grounds out of your mug. Over months of use, coffee oils and micro-grounds clog the mesh. You’ll notice your brew time getting longer, or the filter backing up and overflowing. In some cases, the mesh tears or separates from the plastic frame, which lets grounds through unchecked.
The plastic frame itself can crack, especially around the lid hinge or the rim where you apply pressure to snap it shut. A crack that runs through the side wall is a dealbreaker because it leaks under pressure. A small crack on the outer lip might be repairable, but it’s a temporary fix at best.
One detail most people miss: the reusable K Cup is a precision part. The dimensions matter because the brew chamber in your Keurig is engineered to a specific tolerance. If your filter is warped, even slightly, the needle that pierces the bottom may not seat correctly, which causes leaks. That’s why some repairs work and others don’t.
How to Diagnose the Exact Problem
Before you take anything apart, run a simple diagnostic test. Fill the filter with water only, no coffee, and run a brew cycle with an empty mug underneath. Watch what happens.
If water leaks around the lid, the gasket is your problem. If water streams out the bottom too fast, the mesh is either torn or the filter isn’t seating properly. If water doesn’t come through at all, the mesh is clogged. If water drips from the side of the filter, you have a crack in the plastic.
Here’s what you need for most repairs:
- Small flathead screwdriver or a butter knife
- Soft-bristle toothbrush (dedicated to coffee gear, not your teeth)
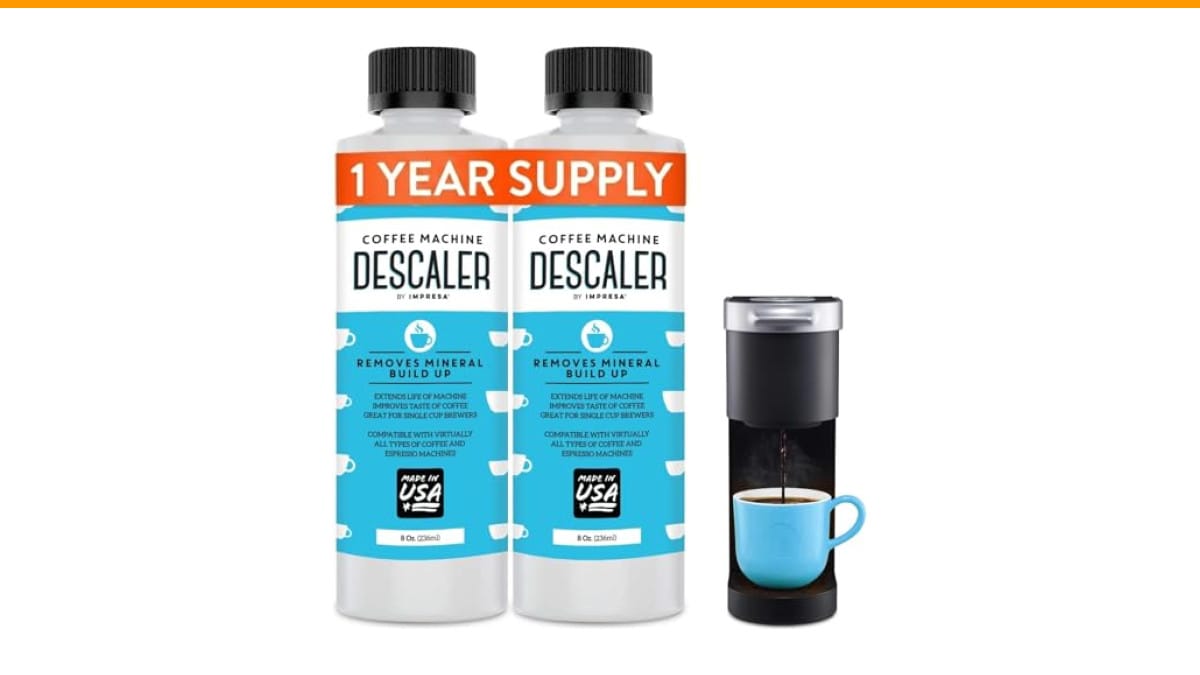
- White vinegar or a commercial coffee descaler
- Food-grade silicone grease (for lid seals)
- Needle-nose pliers (for stubborn rings)
Run the test twice to be sure. A single observation can mislead you. For example, a clogged mesh can cause water to back up and leak out the lid, which looks like a lid problem when it’s actually a screen problem. The second run usually tells you which issue is primary.
Step-by-Step Repairs for Each Failure Type
Fix 1: Lid Gasket Leak
Pop the lid open and inspect the rubber gasket. If it’s visibly flattened, cracked, or has debris stuck under it, that’s your leak source. Remove the gasket with your screwdriver, working it out gently from one edge. Wash the channel where the gasket sits with warm soapy water and dry it completely.
Reinstall the gasket, pressing it evenly into the channel. Apply a thin layer of food-grade silicone grease around the gasket’s contact surface. This restores the seal without needing a new part. If the gasket is torn or missing chunks, you need a replacement gasket. Some brands sell them separately; others don’t, which means a new filter is cheaper than hunting for parts.
Fix 2: Clogged Mesh Screen
Clogs come from coffee oils and fine grounds. The fix is a deep clean, not a replacement. Turn the filter upside down and rinse the mesh under hot running water. Then mix one part white vinegar with two parts water in a bowl and soak the filter for 30 minutes.
After soaking, use the toothbrush to scrub the mesh gently in a circular motion. Don’t press hard; you can push grounds deeper into the weave. Rinse thoroughly and run the diagnostic test again. If the mesh is still slow, soak for another hour. A stubborn clog sometimes needs a second soak with fresh vinegar solution.
For a truly blocked mesh, a descaling solution works faster than vinegar. Check your local coffee shop supply store or the cleaning section at your grocery store. Follow the product’s dilution instructions exactly.
Fix 3: Torn or Separated Mesh
A torn mesh is not repairable. You can’t weld stainless steel mesh back together at home, and glue will contaminate your coffee. If you see a visible hole or the mesh has pulled away from the plastic frame, replace the filter. Trying to patch it with tape or foil is a bad idea; the heat and pressure will break the patch, and you’ll get grounds in your cup.
Fix 4: Cracked Plastic Frame
Small cracks on the outer rim can be sealed with food-grade epoxy, but this is a temporary fix. The epoxy holds for a few weeks, then fails under the repeated heat and pressure of brew cycles. If the crack is on the side wall or near the bottom needle hole, don’t bother. The structural integrity is compromised, and leaks will return.
If you attempt the epoxy route, clean the crack with rubbing alcohol, apply a thin bead of food-grade epoxy, and clamp it for 24 hours. Run the water-only test before you brew actual coffee. If you see any moisture at the repair site, toss the filter.
Repair vs. Replace: A Straight Comparison
| Failure Type | Repair Difficulty | Repair Cost | Success Rate | Best Action |
|---|---|---|---|---|
| Lid gasket leak | Easy | Under $5 for grease | High if gasket isn’t torn | Clean and re-grease |
| Clogged mesh | Easy | Under $2 for vinegar | Very high | Soak and scrub |
| Torn mesh | Not possible | N/A | Zero | Replace filter |
| Cracked frame (small) | Moderate | Under $10 for epoxy | Low, temporary | Epoxy, then replace soon |
| Cracked frame (large) | Not possible | N/A | Zero | Replace filter |
| Warped or bent shape | Not possible | N/A | Zero | Replace filter |
The table makes the decision clear. Repairs are worth it for gasket issues and clogs. Anything structural is a replacement. The cost of a new reusable K Cup is low enough that a failed repair isn’t worth the frustration of a second leaky morning.
Preventive Habits That Extend Filter Life
Your reusable K Cup lasts two to three times longer with basic care. The single biggest factor is drying it completely after each use. Moisture trapped in the filter breeds mold and accelerates rubber degradation. Pop the filter apart, rinse it, and let both pieces air dry on a dish rack.
Clean the mesh once a week, even if it looks fine. Coffee oils build up invisibly. A quick vinegar soak every two weeks prevents the clogs that cause pressure buildup and eventual frame cracks.
Don’t overfill the basket. Most reusable K Cups hold about two tablespoons of ground coffee. Cramming in more forces the lid to seal improperly and puts extra strain on the hinge. Use a level scoop, not a heaping one.
Also, grind size matters. Espresso-fine grounds will clog the mesh fast. Use a medium grind, similar to what you’d use for a drip coffee maker. If you’re grinding at home, aim for a consistency like coarse sand, not powder. This single habit prevents most clog-related repairs.
Finally, handle the filter by the body, not the lid. The hinge is the weakest point. Twisting the lid aggressively to open it is the most common cause of hinge cracks.
Frequently Asked Questions
Can I use a reusable K Cup with any Keurig model?
Most reusable K Cups fit standard Keurig 2.0 and older models. Some newer models, like the K-Supreme, use the same universal size. Check your specific model’s manual or the filter’s packaging for compatibility. If you have a Keurig K-Mini or K-Elite, the fit is usually fine, but the brew chamber height can vary slightly.
Why does my coffee taste bitter with a reusable filter?
Bitterness usually comes from over-extraction, not the filter itself. Your grind is too fine, or you’re using too much coffee. Switch to a coarser grind and reduce your scoop to a level tablespoon. Also, a clogged mesh reduces water flow, which over-extracts the grounds and produces a harsh taste.
How often should I deep clean my reusable K Cup?
Deep clean with vinegar once every two weeks if you use it daily. If you brew once or twice a week, once a month is enough. The mesh screen needs the most attention. A quick rinse after every use and a weekly toothbrush scrub keeps the mesh clear.
Is it safe to put a reusable K Cup in the dishwasher?
Check your specific filter’s instructions. Many are top-rack dishwasher safe, but the heat can warp the plastic frame over time. Hand washing with warm soapy water is safer and extends the life of the gasket. If you use the dishwasher, skip the heated dry cycle.
What’s the best way to store a reusable K Cup?
Store it disassembled and completely dry. Keep the lid and basket separate so no moisture gets trapped between them. A small dish or a dedicated drawer section works well. Avoid leaving it inside the Keurig between brews, as residual heat and steam degrade the rubber gasket faster.
What You Should Remember Next Time It Breaks
- Run a water-only diagnostic test before you take anything apart; it tells you exactly where the leak or blockage is.
- Gasket leaks are the easiest fix: clean the channel, reinstall the seal, and apply a thin layer of food-grade silicone grease.
- Clogged mesh is a cleaning problem, not a replacement problem. A 30-minute vinegar soak plus a gentle toothbrush scrub clears most blockages.
- Torn mesh and large frame cracks are not repairable. Don’t waste time or money on temporary patches.
- Use a medium grind and a level scoop. Overfilling and fine grounds cause most avoidable damage.
- Dry the filter fully after every use. Moisture is the enemy of both the rubber seal and the plastic frame.
- If the repair fails, just replace the filter. The cost of a new one is less than the coffee you’ll waste on a leaky brew.
If you’re dealing with a different Keurig problem, like the machine not brewing a full cup, check our guide on Keurig K-Supreme not brewing full cup for troubleshooting steps. Regular maintenance of your whole coffee maker, not just the filter, prevents most issues. Our coffee maker cleaning frequency guide covers the full schedule. And if you’re using a Chemex alongside your Keurig, you might find our Chemex filter folding tutorial useful for getting that method right.
Products related to this article
Sponsored / affiliate links. As an Amazon Associate I earn from qualifying purchases. I may earn additional commission from eligible campaigns.