You pull a shot and it comes out thin, sour, or bitter. Or worse — it tastes like nothing you’d pay for at a café. You’re not alone. Most home espresso setups can produce excellent coffee, but the gap between what you have and what you want usually comes down to a handful of fixable variables.
This guide walks through the concrete changes that move the needle: grind size, water chemistry, dose, and machine cleanliness. You’ll leave with a clear checklist to diagnose your next bad shot and turn it into a good one.
As an Amazon Associate I earn from qualifying purchases.
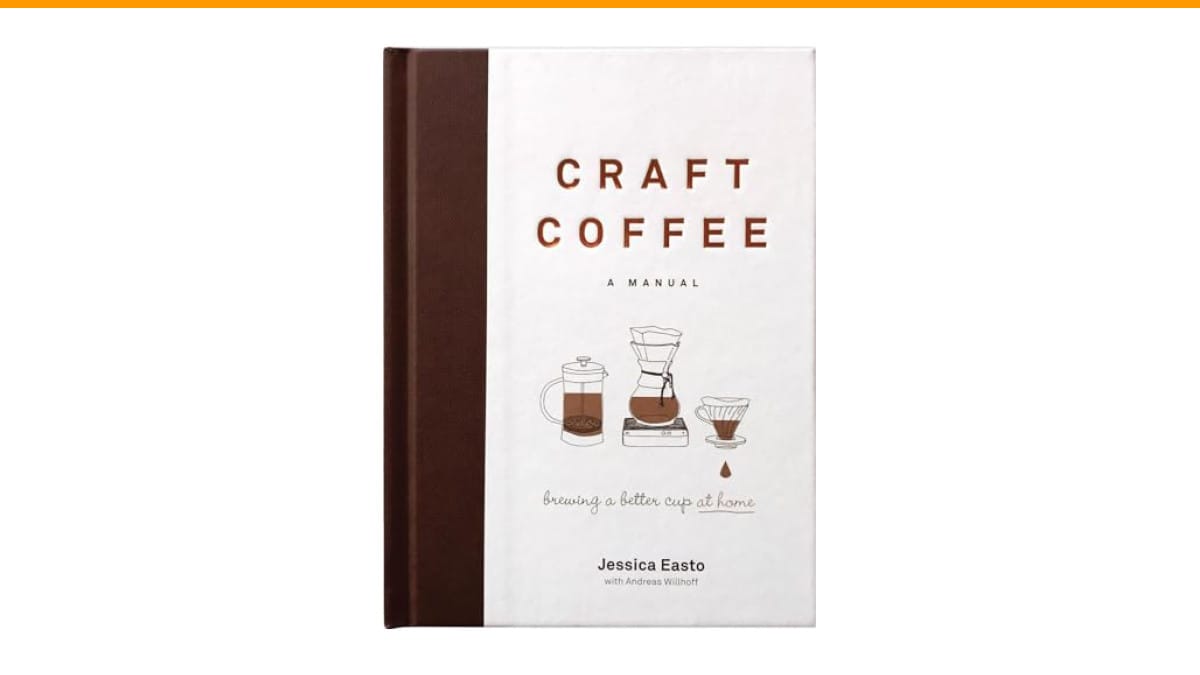
If you’re building a deeper foundation, the book Craft Coffee: A Manual covers brewing theory and recipes in a way that’s actually readable. It’s a useful companion while you dial in your routine.
Grind Size Is the First Thing to Get Right
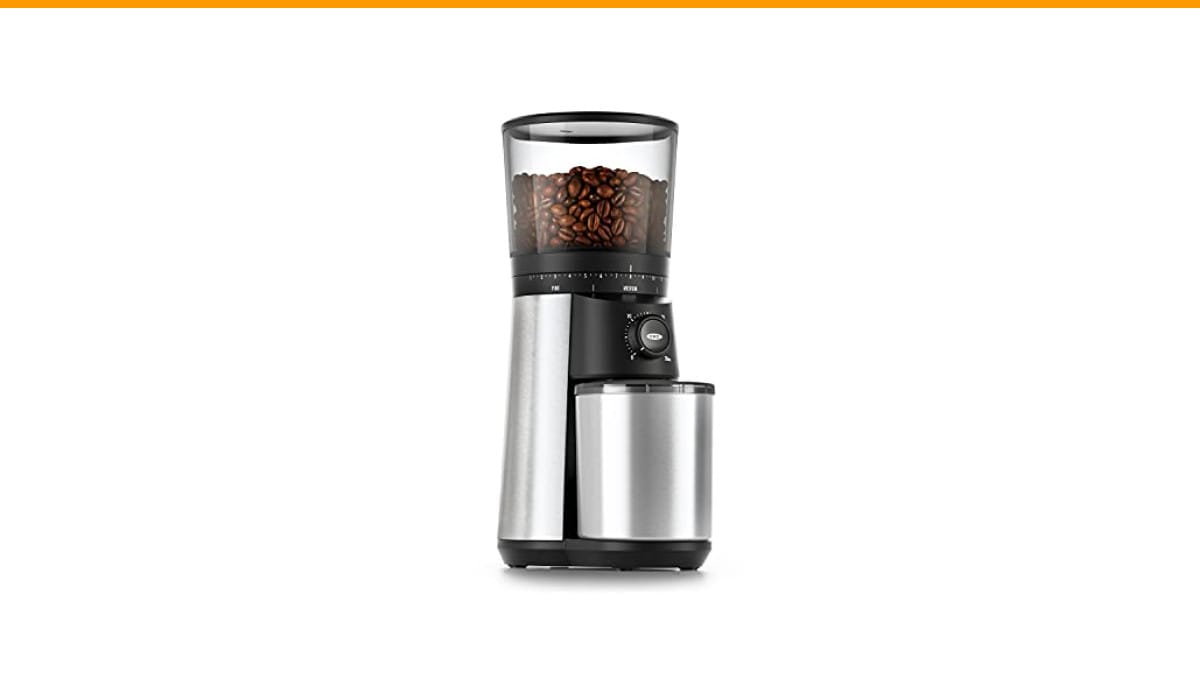
Your grinder matters more than your machine. A $2,000 espresso machine with a $50 blade grinder will make muddy, inconsistent coffee. A decent burr grinder with a modest machine will beat it every time.
Grind size controls extraction time. If your shot runs 15 seconds and tastes sour, the water moved through too fast — grind finer. If it takes 40 seconds and tastes harsh, grind coarser. The sweet spot for most espresso is 25 to 30 seconds from first drop to stop.
But don’t chase time alone. Taste is the real signal. A sour shot means under-extraction; a dry, bitter one means over-extraction. Adjust your grinder in small steps — about one number on a stepped grinder or a few microns on a stepless one — and pull another shot.
Also, grind right before brewing. Pre-ground coffee loses volatile compounds within minutes. If you’re serious about taste, grind fresh every time.
Water Quality Changes Everything
Espresso is about 90% water. If your tap water tastes off, your coffee will too. Hard water leaves scale and dulls flavor; soft water can make coffee taste flat and acidic.
Start with filtered water. A basic pitcher filter removes chlorine and improves taste noticeably. For a bigger step, use bottled spring water with moderate mineral content. Distilled water is too aggressive — it extracts harshly and strips the machine’s boiler over time.
The ideal brewing water has a total dissolved solids (TDS) range of 150 to 250 ppm. You can buy a cheap TDS meter to check your source. If you’re dealing with limescale buildup, that’s a separate issue — see our guide on limescale removal to protect your machine.
Don’t boil water twice or use water from a hot-water tap. Stale, re-heated water tastes flat. Fresh cold water, filtered, is the baseline.
Dose, Yield, and Temperature: The Dial-In Triangle
Most home machines have a fixed basket size — usually 18 grams. Start there. Weigh your coffee before grinding, not after. A scale is not optional for consistent espresso.
The yield matters just as much. Weigh your output too. A standard starting ratio is 1:2 — 18 grams in, 36 grams out. If the shot is sour, let it run longer for a 1:2.5 or 1:3 ratio. If it’s bitter, cut it shorter toward 1:1.8.
Temperature is the variable people ignore most. If your machine has a PID controller, set it between 198°F and 203°F. Darker roasts prefer lower temps; lighter roasts need higher ones. Without a PID, you can’t fine-tune — but you can flush the group head for a few seconds before pulling to stabilize heat.
One more thing: distribution. If your puck has channeling — water blasting through weak spots — the shot will be sour and bitter at the same time. Use a WDT tool or just tap the portafilter gently to level the grounds before tamping. Tamp flat and firm, around 30 pounds of pressure.
Clean Machine, Better Taste
Old coffee oils turn rancid. That rancid layer sits in your group head, portafilter, and steam wand, and it flavors every new shot. If your espresso tastes burnt or ashy even with fresh beans, cleanliness is likely the culprit. We cover this in detail in our deep clean routine.
Backflush your machine weekly with a cleaning detergent. Remove the basket and clean it with a brush after every session. Wipe the group head gasket and shower screen. A clean machine doesn’t just taste better — it also lasts longer, so check our maintenance tips for the full picture.
If you’ve cleaned everything and the burnt taste persists, it might be the beans themselves. Read our breakdown of why espresso tastes burnt to separate bean issues from machine issues.
Comparing Common Fixes by Effort and Impact
Not all improvements are equal. Here’s a practical breakdown of where to spend your time and money.
| Fix | Effort | Cost | Impact on Taste | Time to See Results |
|---|---|---|---|---|
| Grind fresh with a burr grinder | Low | High | Very High | Immediate |
| Switch to filtered water | Low | Low | High | Same day |
| Weigh dose and yield | Medium | Low | High | Within a few shots |
| Backflush and clean regularly | Medium | Low | Medium | Next shot |
| Adjust brew temperature (PID) | Medium | Medium | Medium | Immediate |
| Upgrade to a better grinder | Low | High | Very High | Immediate |
The pattern is clear: grind and water give you the biggest wins. Temperature and cleaning refine the result. If you’re on a budget, fix water first — it costs almost nothing.
Frequently Asked Questions
Why does my espresso taste sour even with fresh beans?
Sourness means under-extraction. The water didn’t pull enough flavor out of the grounds. Grind finer, increase your yield, or raise the brew temperature slightly. Try one change at a time so you know what worked.
How often should I backflush my espresso machine?
Once a week if you pull one or two shots a day. If you make more, do it every few days. Use a proper espresso cleaning detergent, not dish soap. Rinse thoroughly after backflushing.
Does the type of water really matter for espresso?
Yes. Water with high mineral content leaves scale and mutes flavor. Water that’s too pure makes coffee taste sharp and thin. Aim for filtered water with a TDS around 150-200 ppm.
Should I use dark or light roast beans for espresso?
Dark roasts are easier to extract and more forgiving for beginners. Light roasts keep more origin character but need higher temperatures and a finer grind. Pick beans roasted within the last two to four weeks for the best flavor.
Is a more expensive grinder worth it for home espresso?
Usually, yes. A quality burr grinder gives you consistent particle size, which directly affects extraction. You’ll notice the difference in the cup within a few days. It’s the single best upgrade you can make.
What to Do Next: A Quick Action Plan
You don’t need to overhaul everything at once. Start with these steps and pull a shot after each one.
- Use fresh, filtered water at room temperature — never hot tap water.
- Weigh your dose (18g) and your yield (36g) with a cheap kitchen scale.
- Adjust grind size based on taste: sour means finer, bitter means coarser.
- Backflush your machine weekly and wipe the group head daily.
- Check your brew temperature if your machine has a PID.
- Buy beans roasted within the last month, not supermarket bags with distant roast dates.
- Keep a small notebook of your settings — it makes dialing in repeatable.
One shot at a time, you’ll get there. The machine isn’t the limit; the routine is.
Products related to this article
Sponsored / affiliate links. As an Amazon Associate I earn from qualifying purchases. I may earn additional commission from eligible campaigns.
 Coffee Espresso Machine Handle Replacement Parts, Cafe Bracket Handle for Lidl Silvercrest CM4621 CM4218 KF5002 KF500S Barista (for 51mm Portafilter Basket - Not included)
 Cascade Platinum Plus Dishwasher Detergent Pods Dish Soap Lemon 57 Count
 HomeBeyond Espresso Coffee Maker 12 Cups, Classic Stovetop Espresso Maker, 600ml / 20oz Coffeemaker for Gas & Ceramic Stovetops (Silver)