You pull a shot, steam some milk, take a sip — and it tastes flat, sour, or just sad. The machine isn’t broken. You’re probably skipping a few steps that separate decent espresso from genuinely good espresso. Most home baristas focus on the machine itself, but the real flavor gains come from what you do before and after the brew.
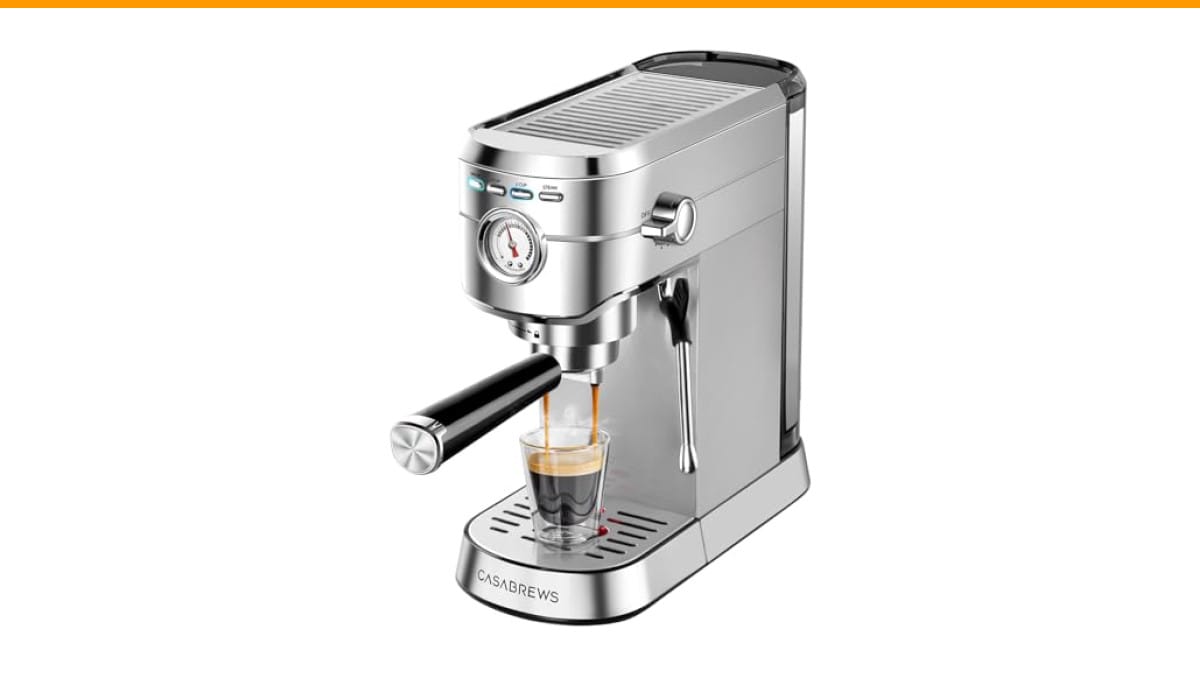
This guide walks through the practical fixes that actually change how your espresso tastes: grind size, dose weight, water temperature, milk texture, and cleaning habits. No theory you can’t use. Each section explains what to change, why it matters, and what to look for in the cup. You’ll also see how a machine like the CASABREWS CM5418 fits into this workflow, though the principles apply to any espresso maker with a steam wand.
One thing to get straight upfront: espresso is a ratio game. Coffee in, liquid out, time on the clock. If you control those three numbers, you control the taste. Let’s break it down.
If you’re using a compact machine like the Check Price on Amazon, you already have a 20-bar pump and a steam wand that can produce microfoam. That’s enough hardware to make café-level drinks. The trick is learning how to use the pressure gauge and steam wand deliberately rather than just pressing buttons. The machine handles the pressure; you handle everything else.
Grind Size Is the Single Biggest Factor
Espresso needs a fine, consistent grind — think table salt, not beach sand. If your grind is too coarse, water rushes through and extracts almost nothing. The shot runs fast, looks pale, and tastes sour. If it’s too fine, water struggles to pass through. The shot drips slowly, tastes bitter and over-extracted, and may even choke the machine.
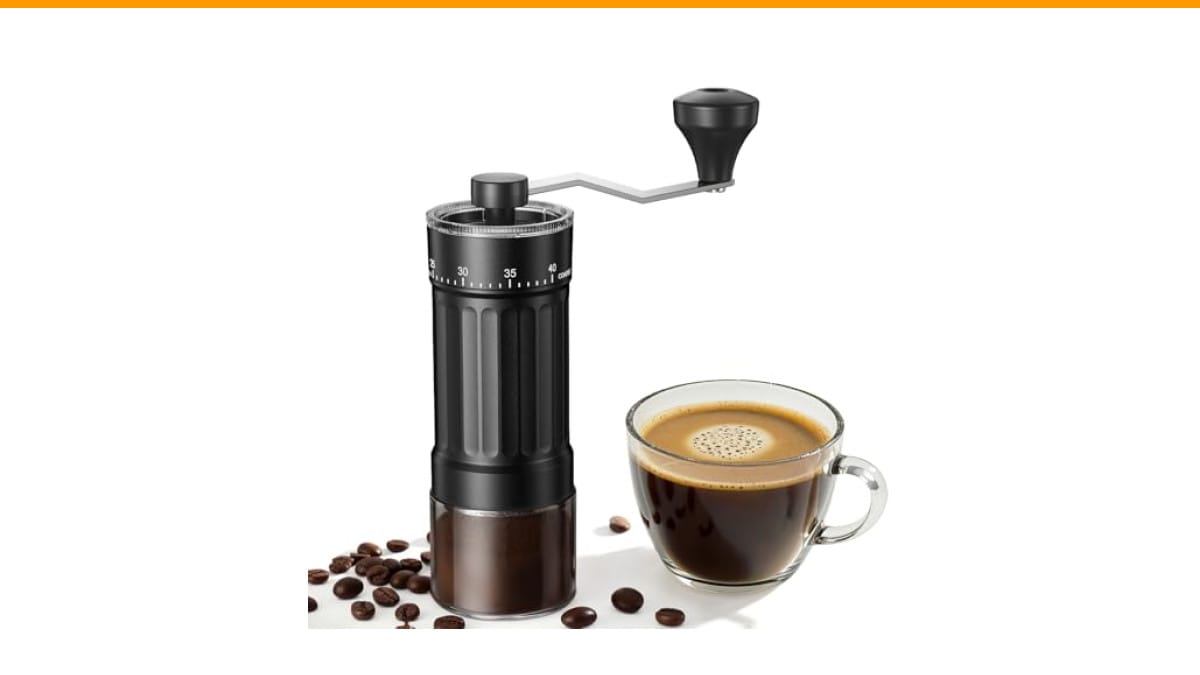
You don’t need a $500 grinder to get started, but you do need burrs. Blade grinders chop coffee unevenly, which means some particles are dust and others are boulders. The dust over-extracts and the boulders under-extract. The result is a muddy, confusing flavor. A decent burr grinder — even an entry-level one — makes a visible difference in the cup.
Here’s a practical starting point: grind fine enough that your first drop of espresso appears after 5–8 seconds, and the full shot finishes in 25–30 seconds. If it finishes in 15 seconds, grind finer. If it takes 45 seconds and drips like a leaky faucet, grind coarser. Adjust one step at a time and taste between each change.
Fresh beans matter just as much. Coffee starts losing aroma compounds within minutes of grinding. Buy whole beans and grind right before brewing. Stale coffee — anything roasted more than three or four weeks ago — tastes flat and cardboard-like no matter how good your machine is.
Dose, Tamp, and the 25-Second Rule
Your portafilter basket expects a specific amount of coffee. Most double baskets hold 14–18 grams. Too little coffee, and water finds gaps around the puck, extracting unevenly. Too much, and the puck presses against the shower screen, causing channeling — where water blasts through one weak spot and leaves the rest dry.
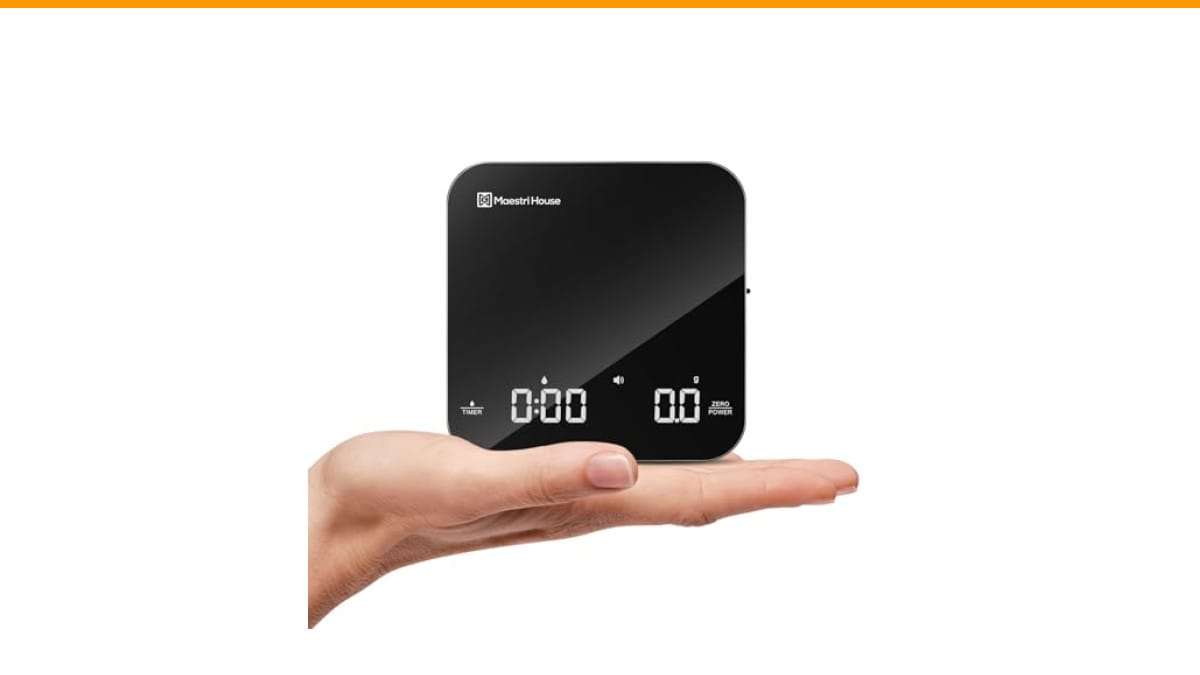
Weigh your dose. A cheap kitchen scale that reads to 0.1 grams costs less than a bag of specialty beans and removes guesswork. Start with 16 grams in a double basket. If your machine came with a plastic scoop, use it as a rough guide but verify with the scale.
Tamping pressure matters less than people think. The goal is a level, compact puck — not maximum force. Press straight down with about 15–20 pounds of pressure. If your tamp is crooked, water will channel through the thinner side. A level tamper helps, but a steady hand works fine.
Time your shot. The standard range is 25–30 seconds from pump start to finish. If your shot runs faster, the coffee will taste sour and thin. Slower means bitter and harsh. Adjust the grind, not the dose, to fix the timing. Changing the dose changes the ratio, which changes the flavor profile entirely.
Your machine’s pressure gauge is a useful tool here. On the CASABREWS CM5418, the gauge sits right on the front panel. During extraction, the needle should sit in the espresso zone — usually around 9–12 bars. If it reads low, your grind is too coarse. If it pegs high and the shot barely drips, grind coarser. The gauge gives you instant feedback without guessing.
Milk Frothing: Texture Over Temperature
Steamed milk can lift a mediocre shot or ruin a great one. The difference is microfoam — the fine, velvety bubbles that mix with espresso rather than sitting on top like a foam hat. You want milk that looks like wet paint, not a bubble bath.
Start with cold milk. Whole milk produces the creamiest texture because the fat stabilizes the foam. Non-dairy milks behave differently; oat milk steams well, almond milk tends to separate. If you’re using a milk frother for the first time, practice with whole milk until you understand the technique.
The basic move: submerge the steam wand tip just below the milk’s surface and open the steam valve. You’ll hear a gentle hissing — that’s air being incorporated. Keep the tip near the surface for 2–3 seconds, then lower the wand deeper to create a whirlpool. This rolls the milk and breaks large bubbles into fine microfoam. Stop steaming when the pitcher feels warm to the touch — about 140°F. Beyond that, the milk scorches and loses sweetness.
One common mistake: heating the milk before aerating it. If the milk gets hot before you add air, the proteins denature and won’t hold foam. Aeration happens first, then heating. It takes a few tries to get the timing right, but it’s a skill you’ll keep for life.
After steaming, tap the pitcher on the counter and swirl it gently. This pops any remaining large bubbles. Pour immediately — microfoam degrades within a minute. The CASABREWS steam wand has enough power to texture milk for a 12-ounce latte, but it’s not a commercial steamer. It takes about 30 seconds to steam 6 ounces of milk. That’s normal for a home machine.
Water Quality and Temperature: The Silent Variables
Espresso is mostly water. If your tap water tastes like chlorine or minerals, your coffee will too. Filtered water is the easiest upgrade you can make. A simple pitcher filter removes off-flavors without stripping the minerals that help extraction. Distilled water tastes flat because it lacks the dissolved solids that pull flavor from coffee.
Temperature matters just as much. Ideal extraction happens around 195–205°F. Most home machines, including the CASABREWS CM5418, are pre-set to a reasonable range. But if your shots consistently taste burnt or hollow, the water might be too hot. Some machines let you adjust the brew temperature; if yours doesn’t, you can influence it by running a blank shot (water only) through the portafilter before pulling your real shot. This warms the group head and stabilizes the temperature.
Another overlooked factor: the machine’s heating cycle. After steaming milk, the boiler temperature spikes. If you pull a shot immediately after steaming, the water will be too hot and the coffee will taste bitter. The CASABREWS manual explicitly warns about this — the machine enters over-heating protection mode if you brew right after frothing. Let it cool for a minute or two, or run water through the group head to bring the temperature back down.
Cleaning: Yesterday’s Oils Ruin Today’s Shot
Old coffee oils go rancid. They coat your portafilter, group head, and steam wand, and they absolutely change the flavor of your next shot. If your espresso tastes bitter or oily even with fresh beans and a good grind, the machine is probably dirty.
Rinse the portafilter and basket immediately after each shot. Wipe the group head with a clean cloth to remove residue. Purge the steam wand for a second after steaming milk, then wipe it down. Milk residue bakes onto the wand and creates a foul smell that transfers to your next drink.
Once a week, do a deeper clean. Backflush with a blind basket and a little espresso cleaner if your machine supports it. The CASABREWS CM5418 doesn’t have a three-way valve, so skip the backflush and instead run a cleaning cycle with a portafilter cleaner tablet. Descale monthly if you have hard water. Scale buildup restricts water flow and causes uneven extraction — one of the most common reasons shots taste sour or bitter for no obvious reason.
If you’re dealing with stubborn buildup, check our guides on descaling methods and deep cleaning routines. A clean machine is the cheapest flavor upgrade you’ll ever make.
Comparing Common Fixes by Effort and Impact
| Fix | Effort | Impact on Taste | Time to See Results |
|---|---|---|---|
| Fresh beans + burr grinder | Medium (new equipment) | High — eliminates stale, flat flavors | Immediate |
| Dialing in grind size | Low | High — fixes sour or bitter shots | 1–2 shots |
| Weighing your dose | Low | Medium — consistent strength | Immediate |
| Proper milk steaming technique | Medium (practice) | High — changes mouthfeel and sweetness | A few sessions |
| Filtered water | Low | Medium — removes off-flavors | Immediate |
| Regular cleaning and descaling | Low | Medium — prevents rancid, bitter notes | Within a day |
Notice that none of these fixes require a better machine. The CASABREWS CM5418 performs well for its price point, but even a $3,000 setup produces bad coffee if you ignore these fundamentals. Start with the cheapest, fastest fixes — water and cleaning — then move to grind and technique.
Common Questions About Improving Espresso with a Milk Frother
Why does my espresso taste sour even with fresh beans?
Sourness usually means under-extraction. The water moved through the puck too quickly. Grind finer, and make sure your shot runs 25–30 seconds. Also check your dose — too little coffee in the basket creates gaps that let water rush through.
Why does my milk foam look bubbly instead of silky?
You’re adding too much air. The steam wand tip should sit just below the surface for only 2–3 seconds. After that, submerge it deeper and let the whirlpool break up the bubbles. Tap the pitcher and swirl before pouring.
Can I use pre-ground coffee for espresso?
You can, but it won’t taste as good. Pre-ground coffee goes stale within hours, and the grind size is a compromise. If you must use it, buy it from a roaster that grinds for espresso and use it within a week. A burr grinder is worth the investment.
Why does my machine get too hot after steaming milk?
Steaming raises the boiler temperature well above brew range. That’s normal. Wait a minute or two, or run water through the group head to cool it down. Brewing immediately after steaming gives you bitter, over-extracted coffee.
How often should I descale my espresso machine?
It depends on your water hardness. With moderate tap water, once a month works. With soft water, every two months. If you see white scale buildup around the group head or steam wand, descale sooner. Scale is the number one cause of weak, uneven extraction in home machines.
What Actually Changes the Flavor
- Grind fresh beans right before brewing — pre-ground coffee is the fastest way to flat-tasting espresso.
- Use a scale to dose 16 grams for a double shot. Consistency beats guesswork.
- Time every shot. 25–30 seconds is the target. Adjust the grind, not the dose, to hit it.
- Steam cold milk, aerate for 2–3 seconds, then heat to 140°F. Texture beats temperature.
- Filter your water. Chlorine and minerals change the taste more than you think.
- Clean the portafilter and steam wand after every use. Deep clean weekly and descale monthly.
- Let the machine cool after steaming before pulling your next shot.
None of these steps are complicated. Each one takes a minute or two. But together, they turn a mediocre home espresso routine into something you’ll look forward to every morning. Start with the grind and the cleaning — those two alone will fix most taste problems. Then refine your milk technique until you can pour latte art without thinking about it.
For more maintenance advice, see our guide on extending machine life and the symptoms of bitter coffee after cleaning. Both are common pitfalls that are easy to fix once you know what to look for.
Products related to this article
Sponsored / affiliate links. As an Amazon Associate I earn from qualifying purchases. I may earn additional commission from eligible campaigns.
 Coffee Espresso Machine Handle Replacement Parts, Cafe Bracket Handle for Lidl Silvercrest CM4621 CM4218 KF5002 KF500S Barista (for 51mm Portafilter Basket - Not included)
 Linnkyfloa Coffee Espresso Maker Handle Replacement for Stovetop Moka Pot or Percolator, Black Plastic for Spare Part Compatible with Italian(9-12 Cup)
 HomeBeyond Espresso Coffee Maker 12 Cups, Classic Stovetop Espresso Maker, 600ml / 20oz Coffeemaker for Gas & Ceramic Stovetops (Silver)