You know the feeling. You pour a cup from a machine you’ve owned for two years, and something’s off. The coffee tastes flat, maybe a little bitter, with an oily film on top. You blame the beans. You blame yourself for buying cheap beans. But the real culprit is sitting right there in the water tank — mineral scale, old coffee oils, and a colony of things you’d rather not think about.
Most people clean their coffee machine when it breaks, not when it needs it. That’s backwards. A machine doesn’t fail overnight. It degrades slowly — a little slower flow one week, a slightly sour shot the next. By the time you notice a real problem, the inside is already coated with limescale and rancid coffee oil. That buildup doesn’t just ruin the taste. It makes your machine work harder, use more energy, and die years before it should.

IMPRESA
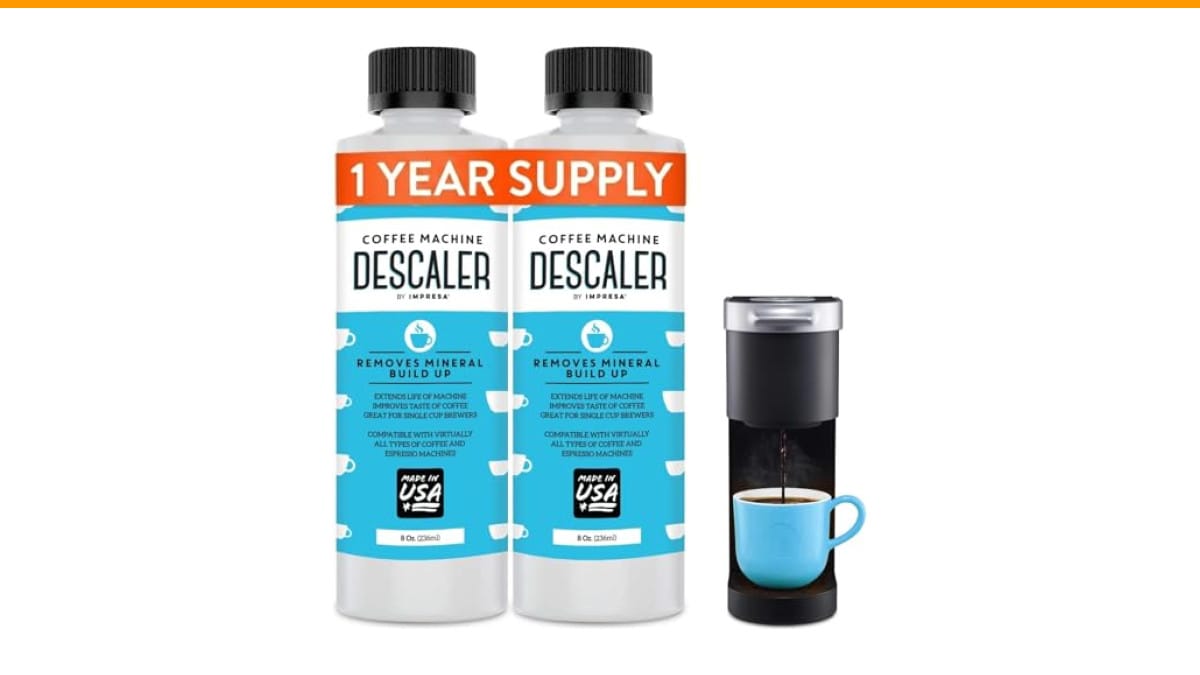
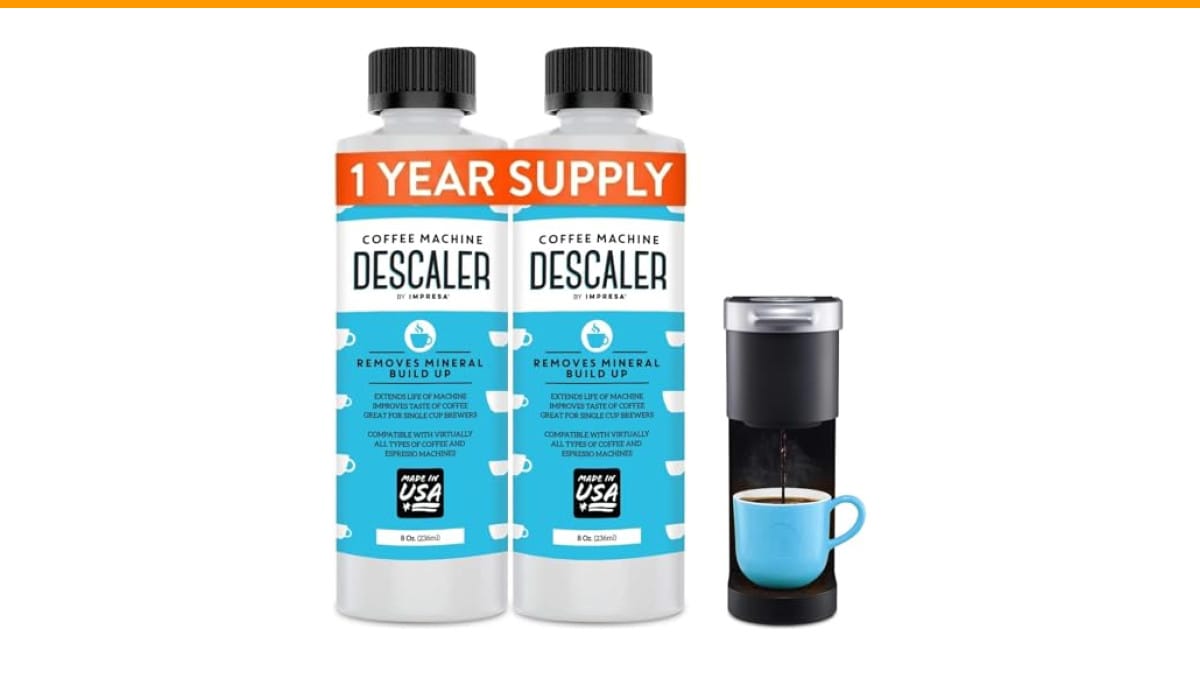
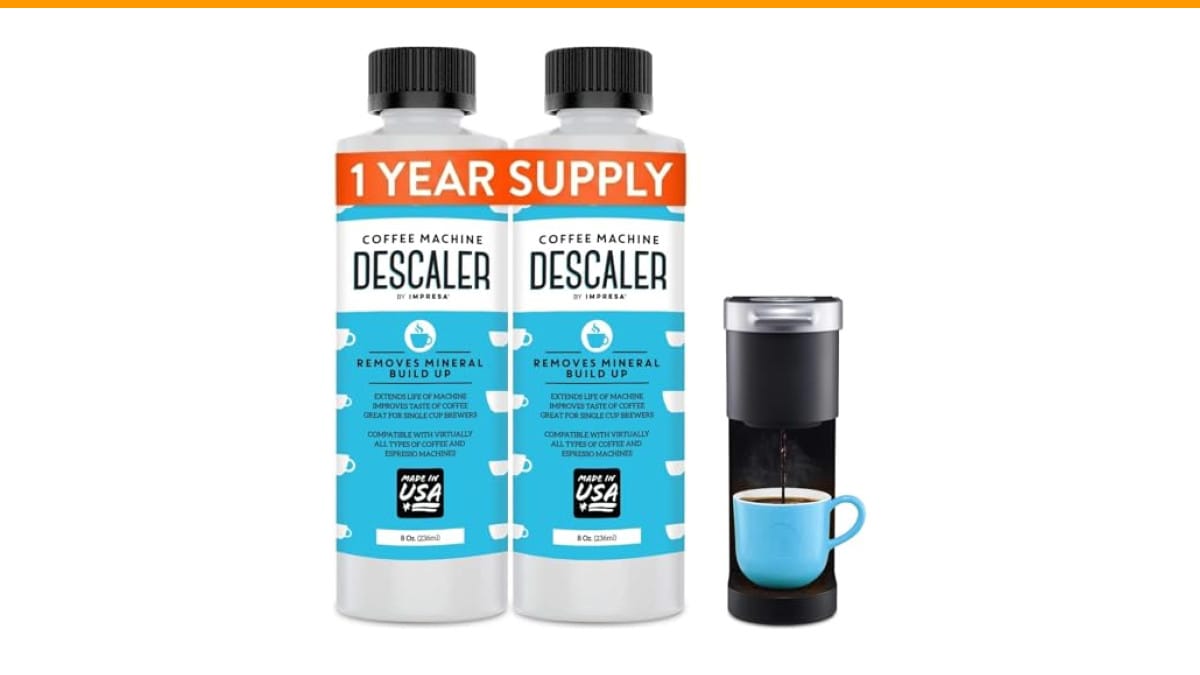
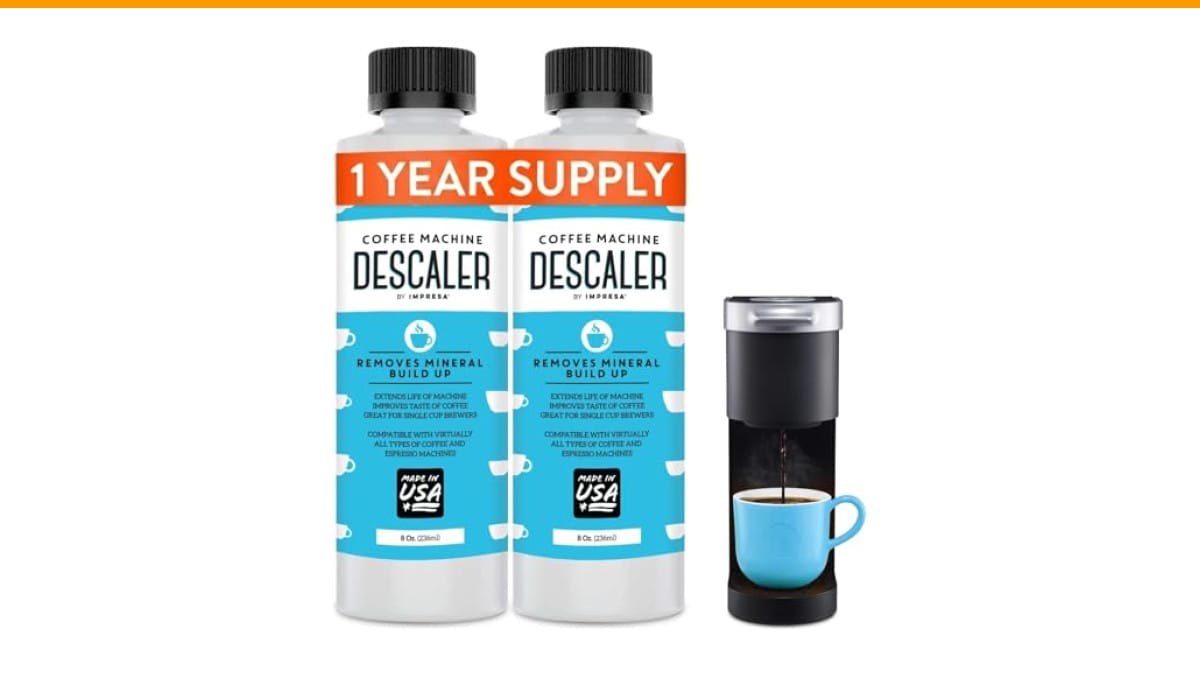
IMPRESA Coffee Machine Descaler, 2-Pack (1-Year Supply)…
- 2-Pack Coffee Descaler and Cleaner - Clean and rinse away residue and oil buildup in your coffee maker with Impresa's Coffee Desca…
- Highly Effective, Made in USA Formula - Unlike most common solutions, our coffee machine cleaner uses just 4 ounces (1/2 bottle) p…
- Preserves Your Machine - Using a coffee descaling solution eliminates limescale and mineral build-up to prevent corrosion, signifi…
As an Amazon Associate I earn from qualifying purchases.
This guide answers the question directly: how often should a coffee machine be cleaned? You’ll get a practical schedule for drip machines, espresso machines, and single-serve pod brewers. You’ll also learn how to test your machine for buildup right now, without taking anything apart.
If you’re about to do a deep clean, grab a proper descaling solution rather than guessing with vinegar. The IMPRESA Coffee Machine Descaler comes as a 2-pack with enough solution for four descaling sessions — roughly a year of maintenance for most households. It’s a simple, universal option that works across most brands, so you don’t need to buy a different bottle for each appliance.
The Quick Answer: Your Cleaning Cheat Sheet
Here’s the short version. If you only remember one thing, remember this: rinse daily, deep clean weekly, descale monthly.
- Daily (2 minutes): Rinse the carafe or portafilter, wipe the brew basket, empty the drip tray.
- Weekly (30 minutes): Wash removable parts with warm soapy water, wipe the exterior, run a plain water cycle.
- Monthly (45 minutes): Run a full descaling cycle with a commercial descaler or vinegar solution.
- Every 3–6 months: Replace the water filter, check the grinder burrs, deep clean the milk frother.
That’s the baseline. The rest of this article explains why each step matters and how to adjust the schedule for your specific machine and water quality.
Why Your Coffee Tastes Bad (and What That Costs You)
Let’s talk about what’s actually inside a dirty machine. Coffee beans contain about 10% oil by weight. That oil coats the inside of your brew basket, the shower head, and the pipes. Over time, it oxidizes and turns rancid. Rancid coffee oil tastes like cardboard mixed with bitterness. No amount of fresh beans can fix that.
Then there’s limescale. If you have hard water — anything above 150 parts per million — calcium and magnesium deposits build up on heating elements. That’s not just a taste issue. Scale acts as an insulator. Your machine has to work harder to heat the same amount of water. Some studies show a 10% energy efficiency loss for every millimeter of scale on a heating element. On a 1,500-watt machine running daily, that’s wasted electricity and a longer brew time.
The financial part is simple. A new drip coffee maker costs $50 to $200. A decent espresso machine costs $400 to $2,000. Descaling solution costs about $10 for a year’s supply. Cleaning tablets cost another $15. You’re looking at roughly $25 a year to protect a machine that costs hundreds. Skip the cleaning, and you’ll buy a new machine in three years instead of eight. That’s a $200 repair bill you could have avoided with a $10 bottle.
There’s also the health angle. A damp, warm drip tray is a perfect breeding ground for mold and bacteria. The water tank collects dust and airborne spores. If you never clean it, you’re brewing coffee with whatever is growing in there. That’s not a scare tactic — it’s basic biology.
How Often to Clean by Machine Type (Drip, Espresso, Single-Serve)
Different machines need different schedules. A drip machine has one heating element and a simple water path. An espresso machine has a boiler, a pump, a group head, and a steam wand. A single-serve pod machine has a needle that punctures pods and a narrow water line that clogs easily.
Drip Coffee Makers
Drip machines are the most forgiving, but they still need regular attention. Clean the carafe and brew basket after every use. The mineral buildup happens in the water reservoir and the heating tube. Descale every 1–2 months if you use tap water, every 3 months if you use filtered water.
Espresso Machines
Espresso machines are high-maintenance. The group head and portafilter need a backflush with cleaning tablets every week if you pull more than two shots a day. The steam wand needs purging and wiping after every use. Descale every 1–3 months depending on water hardness. If you pull four or more shots daily, move to a weekly backflush schedule.
Single-Serve Pod Machines
Pod machines have narrow water lines that clog with limescale fast. Descale every 1–2 months. Run a water-only cycle after every descale to clear the solution. Clean the needle and the pod holder weekly — they collect ground coffee residue that goes stale.
Daily, Weekly, and Monthly Frequency Chart
| Task | Drip Machine | Espresso Machine | Single-Serve Pod |
|---|---|---|---|
| Rinse carafe/portafilter | Daily | Daily | Daily |
| Wipe steam wand | N/A | After every use | N/A |
| Empty drip tray | Weekly | Daily | Weekly |
| Backflush group head | N/A | Weekly | N/A |
| Wash brew basket | Daily | Daily | Weekly |
| Descale | Every 1–2 months | Every 1–3 months | Every 1–2 months |
| Replace water filter | Every 2 months | Every 2 months | Every 2 months |
These numbers assume you use your machine at least once a day. If you only brew on weekends, stretch the descale interval to every 3 months. But don’t skip the daily rinse — stale water and old grounds still accumulate even in a rarely-used machine.
The 5-Minute Daily Ritual
You don’t need a full cleaning session every day. You need five minutes of basic hygiene. Here’s what I do after my morning brew.
- Remove the used grounds or pod immediately. Don’t let them sit in the basket all day.
- Rinse the carafe or portafilter under hot water. No soap needed for this step — just knock off the residue.
- Wipe the brew basket with a damp cloth. If you see coffee oil streaks, use a drop of dish soap.
- Empty the drip tray if it’s more than half full. A wet tray is a mold farm.
- If you have an espresso machine, purge the steam wand for two seconds into a rag. This clears milk residue from inside the tip.
That’s it. The daily ritual takes less time than waiting for your toast to pop. The key is doing it every single day, not just when you remember.
The 30-Minute Weekly Deep Clean
Once a week, set aside half an hour to do a proper disassembly and wash. This catches the buildup that daily rinsing misses.
- Unplug the machine and let it cool completely.
- Remove every removable part: carafe, brew basket, portafilter, water tank, drip tray. Wash each in warm soapy water. Use a soft sponge — abrasive scrubbers scratch plastic and create hiding spots for bacteria.
- Wipe the interior surfaces with a damp cloth. Pay attention to the shower head on espresso machines and the needle on pod machines.
- Run a water-only brew cycle to flush any loose debris through the system.
- Wipe the exterior with a damp microfiber cloth. Don’t forget the top — dust settles there and gets sucked into the machine.
If you have a machine with a built-in grinder, this is the time to check the hopper. Empty any remaining beans and wipe the hopper with a dry cloth. Never wash the hopper with soap — the oils from the soap will flavor your next batch of beans. For a deeper clean of the burrs, check our grinder cleaning guide.
The Monthly Descale: Step-by-Step
Descaling is the most important maintenance task, and the one most people skip. It’s also the one with the most misconceptions. Let’s clear those up.
Myth: Vinegar is just as good as commercial descaler. That’s half true. White vinegar is acetic acid, and it does dissolve limescale. But it’s harsh on rubber seals and plastic tubing. It can also leave a vinegar taste that takes several brew cycles to flush out. Commercial descalers use a mix of acids — usually citric, lactic, or sulfamic — that are formulated to dissolve scale without eating your machine’s gaskets. Use vinegar if you’re in a pinch, but don’t make it your regular routine.
Myth: You only need to descale when the machine stops working. Wrong. By the time the flow slows down, the scale is already thick. You want to descale before that happens, on a regular schedule.
Here’s the step-by-step for a standard descale:
- Empty the water tank and fill it with a descaling solution mixed per the instructions. The IMPRESA descaler uses 4 ounces per session, which is half a bottle.
- Place an empty carafe or a large bowl under the brew head.
- Run a brew cycle without coffee. Let the solution sit in the machine for 15–20 minutes.
- Run two more cycles to push the solution through the rest of the system.
- Empty the tank, refill with fresh water, and run three full cycles to rinse out all the solution.
- Wipe the drip tray and any spills.
If you have an espresso machine with a steam wand, you’ll need to descale the wand too. Place the wand in a cup of descaling solution and let it soak for 10 minutes, then run steam through it to flush. For a full walkthrough, see our descaling guide.
How to Test Your Water Hardness at Home
Water hardness determines how often you need to descale. Hard water means more scale, which means more frequent descaling. You can buy a test strip kit for a few dollars, or you can do a simple soap test at home.
Fill a clear bottle with about 6 ounces of tap water. Add a few drops of liquid dish soap. Put the cap on and shake for 10 seconds. If you get a thick layer of suds, your water is soft. If the water looks cloudy and the suds disappear quickly, you have hard water. The more soap you need to create suds, the harder your water.
If you have hard water, descale monthly. If you have soft water, you can stretch it to every 2–3 months. Using filtered or bottled water reduces scale buildup significantly, but it doesn’t eliminate the need for descaling entirely.
The “Dirty Machine” Test: 3 Signs You’re Late
Before you start cleaning, run this quick diagnostic. It takes two minutes and tells you exactly where your machine stands.
- The water flow test. Fill the tank and run a brew cycle without coffee. Time how long it takes to produce a full cup. Compare that to when the machine was new. If it takes more than 30% longer, you have scale restricting the flow.
- The taste test. Brew a cup of plain hot water. Let it cool slightly and taste it. If it tastes metallic, bitter, or has a stale note, there’s buildup in the water path. Clean water should taste like nothing.
- The visual inspection. Look inside the water tank and the brew basket. White or chalky residue means limescale. A brown, sticky film means rancid coffee oil. Both need immediate attention.
If you fail any of these tests, don’t wait for the scheduled cleaning. Do a full deep clean and descale now. The machine will thank you with better coffee.
Cleaning the Parts Everyone Forgets (Grinder, Milk Frother, Water Tank)
Most people clean the carafe and forget everything else. Three parts get neglected more than any others, and they all affect the final cup.
The Built-In Grinder
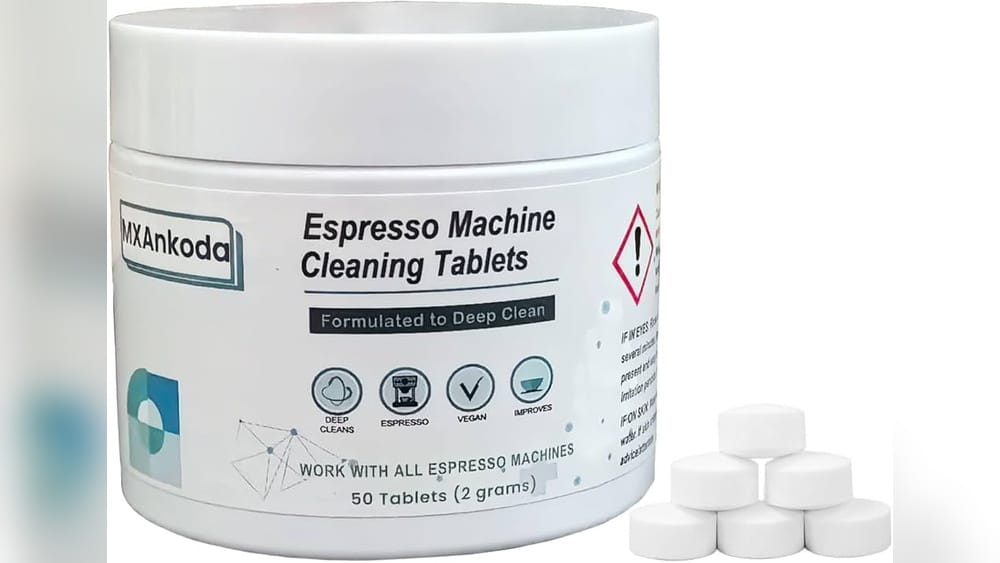
If your machine has a grinder, the burrs accumulate coffee oil and ground coffee dust. That residue goes rancid and flavors every subsequent grind. You don’t need to disassemble the whole unit. Run a handful of grinder cleaning tablets through the hopper — they’re made of food-grade grain that absorbs oil. After the tablets, grind a small amount of fresh beans and discard them. That clears the residual grain dust. Do this every 2–4 weeks depending on usage.
The Milk Frother
Drip machines with a milk frother attachment are the worst offenders. People rinse the carafe and forget the frother wand. Milk protein sticks to the wand and becomes a breeding ground for bacteria. After every use, wipe the wand with a damp cloth. Once a week, remove the frother attachment and soak it in warm soapy water for 10 minutes. If you have a steam wand on an espresso machine, purge it after every use and wipe it immediately. For a detailed walkthrough, read our steam wand cleaning guide.
The Water Tank
The water tank is a dark, damp place that collects biofilm — a slimy layer of bacteria. Wash it with warm soapy water weekly. Don’t use a scrub brush that could scratch the plastic. If you see any slime, soak the tank in a diluted bleach solution (1 tablespoon per gallon of water) for 15 minutes, then rinse thoroughly. Dry it completely before putting it back.
Natural vs. Commercial Cleaners: What Actually Works
The internet loves to recommend vinegar and baking soda. Here’s the truth.
Vinegar works for descaling, but it’s slow and leaves a smell. It’s fine for a drip machine you can thoroughly rinse. I wouldn’t use it on an espresso machine with delicate seals. The acetic acid can degrade rubber over time.
Baking soda is fine for removing stains from the carafe, but it does nothing for limescale. It’s a mild abrasive, not an acid. Don’t run it through the brew cycle — it can clog the water lines.
Citric acid is the active ingredient in many commercial descalers. You can buy food-grade citric acid powder cheaply and mix it with water. It works well and rinses clean. The downside is that it doesn’t include anti-corrosion agents that commercial products have.
Commercial descalers are formulated for specific machine materials. They dissolve scale faster, rinse cleaner, and are safe for all internal components. The cost difference is negligible — about $10 a year. I use commercial descaler for everything except the most basic drip machines.
One note: never mix vinegar and baking soda in the machine. The fizzing reaction looks impressive but does nothing for cleaning, and the residue can clog the pump.
The Cost of Neglect: Repair Bills vs. Cleaning Costs
Let’s put real numbers on this. Assume you own a mid-range espresso machine that cost $600. You use it daily. You skip the weekly backflush and monthly descale.
After one year, the group head is coated with coffee oil. The brew pressure drops because the water flow is restricted. Your shots pull in 35 seconds instead of 25, and they taste bitter. After two years, the scale on the boiler forces the heating element to work harder. The element burns out. A repair technician charges $150 for the visit plus $80 for the part. That’s $230 to fix a problem that $15 of cleaning supplies would have prevented.
For a drip machine, the math is simpler. A $100 machine with heavy scale will fail in about 18 months. A cleaned machine lasts 5 years. That’s a $100 replacement cost you could avoid.
There’s also the energy cost. A scaled heating element uses more electricity to reach the same temperature. Over a year of daily use, that’s a few dollars in extra electricity. Not huge, but it adds to the total.
Cleaning isn’t a chore. It’s the cheapest part of owning a coffee machine. Beans cost $20 a bag. A descaler costs $10 a year. The ratio isn’t even close.
Frequently Asked Questions
How often should a coffee machine be cleaned if I only use it on weekends?
Stretch the descale interval to every 3 months. The daily rinse becomes a weekly rinse. But don’t skip the weekly deep clean — a machine sitting idle for days still develops stale water and dust buildup. Run a water-only cycle before your first weekend brew to flush the system.
Can I use vinegar instead of a commercial descaler?
Yes, but it’s not ideal. Vinegar works on limescale but can damage rubber seals over time and leaves a lingering smell. Use it only in a pinch, and run at least three fresh-water cycles afterward to rinse thoroughly. For regular maintenance, a commercial descaler is safer and more effective.
Does a water filter eliminate the need for descaling?
No. A water filter reduces mineral content, which slows scale buildup, but it doesn’t remove all minerals. You still need to descale, just less frequently. If you use filtered water, you can stretch the descale interval to every 2–3 months instead of monthly.
How do I clean a coffee machine with a built-in grinder?
Run grinder cleaning tablets through the hopper every 2–4 weeks. Wipe the hopper with a dry cloth weekly. Never wash the hopper with soap. The burrs themselves don’t need disassembly for regular cleaning — the tablets handle the oil buildup. For a full guide, see our step-by-step grinder cleaning.
What if my machine smells musty even after cleaning?
That’s usually the drip tray or the water tank. Remove both, wash them with warm soapy water, and dry them completely before reassembling. If the smell persists, check the internal hoses. They may have developed biofilm. Run a descaling cycle, then a water-only cycle. If the smell remains, you may need to replace the hoses — that’s a job for a technician.
Final Checklist: Your Maintenance Schedule
Here’s everything you need to remember, condensed into a quick checklist you can stick to your fridge or save to your phone.
- Daily (2 min): Rinse the carafe/portafilter, wipe the brew basket, purge the steam wand, empty the drip tray.
- Weekly (30 min): Wash all removable parts in soapy water, wipe the interior, run a water-only cycle, check the grinder hopper.
- Monthly (45 min): Run a full descaling cycle with a commercial descaler. Test your water hardness to adjust the frequency.
- Every 2–4 weeks: Run grinder cleaning tablets through a built-in grinder.
- Every 2 months: Replace the water filter, soak the milk frother attachment.
- Check the flow rate: If a brew cycle takes 30% longer than when it was new, descale immediately.
- Trust your taste buds: If your coffee tastes bitter or flat despite fresh beans, the machine is dirty. Clean it before you blame the roaster.
That’s the whole system. It’s not complicated. It’s just consistent. Your machine will last longer, your coffee will taste better, and you’ll save money in the long run. A $10 bottle of descaler is the best investment you can make in your morning cup.
Products related to this article
Sponsored / affiliate links. As an Amazon Associate I earn from qualifying purchases. I may earn additional commission from eligible campaigns.