You just rinsed your reusable coffee filter, gave it a quick shake, and dropped it in the drawer next to the machine. It’ll be fine, right? Maybe for a day. But by day three, that faint musty smell starts creeping into your morning cup. Day five, you’re scrubbing black spots off the mesh. Day seven, you’re shopping for a replacement.
Most people don’t think about storage until the filter is already ruined. A reusable filter is a great investment, but it demands different care than a paper one. This guide covers exactly how to store a reusable coffee filter so it stays clean, dry, and ready to brew. You’ll learn the right drying routine, the best storage spots, what containers actually work, and the mistakes that cause premature failure.

Acshio
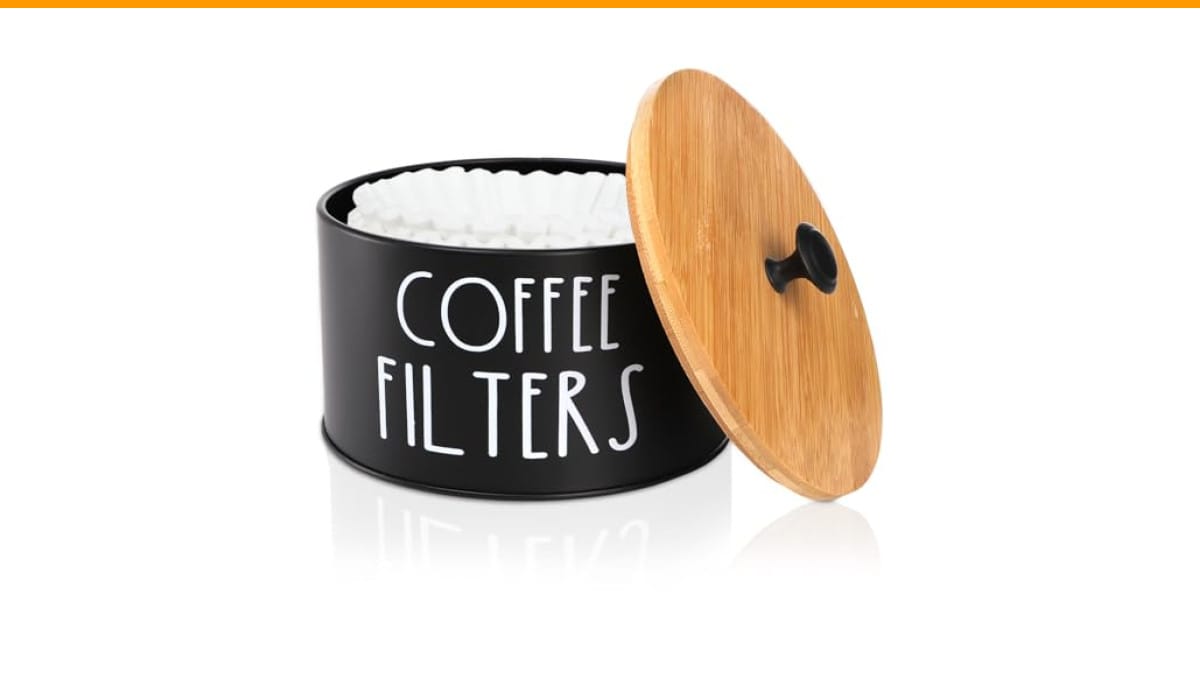
Acshio Coffee Filter Holder with Lid, Metal…
- Attractive Appearance: Our coffee filter holder is made of metal, topped with a bamboo lid. Elegant and practical design, which cr…
- Product Details: The coffee filter storage basket measures 6"D x 3.5"H. This size is perfect for most common size filter papers.Th…
- Easy to Use: The top of the bamboo lid is designed with a metal handle, which adds aesthetic appeal and makes it easy to open, mor…
As an Amazon Associate I earn from qualifying purchases.
If you’re tired of replacing filters every few months, this is the article you need.
One quick note before we dive in: a dedicated storage container makes the whole process easier. The Acshio Coffee Filter Holder with Lid is a metal canister with a bamboo lid and a small handle. It’s sized to fit most standard round filters, and it doubles as a catch-all for pods or tea bags. It’s not a necessity, but it keeps things tidy on the counter. Check the current price on Amazon if that sounds useful.
Why Most People Store Reusable Filters Wrong
The biggest mistake is treating a reusable filter like a paper one. Paper filters are disposable, so they don’t need to dry out completely. They just need to be kept clean until you toss them. A reusable filter is a different story. It’s a permanent piece of gear, and moisture is its enemy.
Here’s what happens when you store a damp filter in a closed cabinet or drawer:
- Bacteria and mold start growing within 24 to 48 hours.
- Coffee oils oxidize, turning rancid and adding a bitter, stale flavor to your next brew.
- Mineral deposits from hard water build up and clog the mesh, slowing your drip rate.
- Metal filters can develop tiny rust spots, especially if the coating is scratched.
I’ve tested this myself. I left a stainless steel filter in a sealed plastic bag overnight after rinsing. The next morning, it had a distinct sour smell. That’s the smell of your coffee going bad before you even brew it.
The solution isn’t complicated. You need a routine that gets the filter completely dry before it sits anywhere for more than a few hours.
The Drying Routine: Do This Every Single Time
You can’t store a reusable filter properly if it’s still wet. So step one is always drying. Here’s the process I use and recommend to anyone who asks.
- Rinse thoroughly. After brewing, knock the grounds into the trash or compost. Rinse the filter under hot running water for 15 to 20 seconds, rubbing the mesh with your fingers to dislodge trapped oils.
- Shake off excess water. Give it a firm shake over the sink. You want to remove the bulk of the water, not just the drips.
- Air dry on a dish rack. Place the filter upside down on a dish rack or a clean towel. Make sure the mesh is exposed to air on both sides. This is the critical step. If you leave it in a bowl, water pools underneath and the drying time doubles.
- Wait for full dryness. Depending on your kitchen’s humidity, this takes 2 to 4 hours. The filter should feel completely dry to the touch, with no cool or damp spots.
- Store only when dry. Once it’s dry, you can put it in a drawer, a cabinet, or a dedicated container. If you’re in a hurry, you can pat it dry with a clean towel, but air drying is better.
Pro tip: If you brew multiple times a day, keep two filters in rotation. Use one, dry it, and swap it with the other. This gives each filter a full day to dry out completely.
For a deeper clean, you should also run a vinegar soak once a month. That’s a separate process, but it ties into how well your filter performs over time. If you want the full routine, check out our cleaning guide for step-by-step instructions.
Storage Locations: What Works and What Doesn’t
Once the filter is dry, where you put it matters. The goal is to keep it clean, dry, and protected from dust, grease, and accidental contamination. Here are the common options, ranked by how well they work.
Open Dish Rack or Counter
This is the simplest approach. Keep the filter on a dish rack or a dedicated drying mat near your coffee station. It stays exposed to air, so any residual moisture evaporates quickly. The downside is that it collects dust and can be knocked onto the floor. If you go this route, give it a quick rinse before the next use.
Closed Cabinet or Drawer
This works only if the filter is 100% dry. A sealed drawer traps humidity, and even slightly damp filters will develop odors. If you store filters in a drawer, use a small container or a breathable mesh bag to keep them separate from utensils and other kitchen items. This also prevents scratches on the mesh.
Dedicated Storage Container
A purpose-built container, like the Acshio holder mentioned earlier, offers the best protection. It keeps dust and grease off the filter, and the lid prevents accidental contamination. The bamboo lid and metal body look good on a counter, so you don’t have to hide it away. Just make sure the filter is dry before you put it inside, because a sealed container traps moisture just like a drawer.
Inside the Coffee Machine
Some people leave the filter in the machine between brews. This is convenient, but I don’t recommend it. The machine’s internal parts stay warm and humid after brewing, which creates a perfect environment for mold. Take the filter out and dry it separately. Your machine will also stay cleaner, which is a topic we cover in our grinder cleaning guide.
Container Comparison: What to Use for Storage
Not all containers are equal. Here’s a side-by-side look at common storage options, based on my experience testing them in a real kitchen.
| Storage Method | Moisture Control | Dust Protection | Counter Appeal | Best For |
|---|---|---|---|---|
| Open dish rack | Excellent | Poor | Neutral | Daily use, quick access |
| Closed cabinet | Good (if dry) | Good | Invisible | Minimalist kitchens |
| Plastic bag | Poor | Good | Poor | Travel only, short term |
| Metal canister with lid | Good (if dry) | Excellent | High | Counter display, multi-purpose |
| Glass jar | Good (if dry) | Excellent | Moderate | Visible storage, airtight seal |
The takeaway here is simple: any container works as long as the filter is dry before it goes in. The container’s job is protection, not drying. Don’t rely on a container to fix a wet filter problem.
Common Mistakes and How to Avoid Them
After years of testing and talking to home brewers, I see the same three mistakes over and over. Avoid these and your filter will last significantly longer.
Mistake #1: Storing a Damp Filter
This is the most common killer. People rinse the filter, shake it once, and put it away. The trapped water in the mesh crevices has nowhere to go, and bacteria multiply overnight. The fix is easy: air dry for at least two hours before storage. If you’re short on time, pat it dry with a towel and leave it on the counter, not in a drawer.
Mistake #2: Scrubbing Too Hard
Reusable filters are durable, but they’re not indestructible. Scrubbing with a wire brush or abrasive pad damages the mesh, creating tiny gaps where grounds can pass through. Use a soft sponge or your fingers. If the filter has stubborn residue, soak it in a vinegar solution instead of scrubbing harder.
Mistake #3: Ignoring the Container Itself
If you use a storage container, it needs cleaning too. Coffee oils transfer from the filter to the container, and over time, that residue goes rancid. Wash the container weekly with warm soapy water and dry it completely. A clean container keeps your filter clean, and a dirty one undoes all your effort.
If you’re dealing with a filter that already smells or has visible buildup, a deep clean can often save it. The same vinegar method that works for your machine works for the filter. We’ve outlined the full process in our vinegar cleaning guide.
Frequently Asked Questions
Can I store a reusable coffee filter in the fridge?
You can, but there’s no benefit. The fridge is humid, and the filter will absorb odors from other foods. It also takes longer to dry in cold air. Keep the filter at room temperature, away from direct sunlight and heat sources.
How long does a reusable filter last with proper storage?
With proper drying and monthly deep cleaning, a stainless steel filter can last several years. The mesh will eventually wear out, but storage is rarely the cause of failure. Poor cleaning and rough handling are the usual culprits.
Should I oil my metal coffee filter before storing it?
No. Some people recommend a light coat of oil to prevent rust, but this is unnecessary for stainless steel. The oil will go rancid and affect the taste of your coffee. Just dry it thoroughly and store it clean.
Is it safe to store a filter in a sealed container?
Yes, as long as the filter is completely dry. A sealed container protects the filter from dust and kitchen grease. If the filter is even slightly damp, the sealed environment speeds up mold growth. Dry first, then seal.
Can I use a paper filter holder for a reusable filter?
Usually, yes. Most holders are sized to fit standard filters. But check the diameter. Some paper filter holders are shallow and won’t accommodate the thicker metal mesh of a reusable filter. Measure your filter before buying a holder.
Wrapping This Up: What to Do Starting Today
You don’t need fancy gear to store a reusable coffee filter properly. You need a routine. Here’s the short version you can act on right now.
- Rinse the filter immediately after brewing to remove oils and grounds.
- Air dry it upside down on a dish rack for at least two hours.
- Never put a damp filter in a drawer, bag, or sealed container.
- Store dry filters in a clean, covered container if you want dust protection.
- Keep two filters in rotation so each one gets a full day to dry.
- Deep clean the filter monthly with a vinegar soak.
- Wash the storage container weekly so it doesn’t become a source of contamination.
Follow these steps and your reusable filter will last years instead of months. It’s a small habit change with a big payoff: better-tasting coffee and less waste.
Products related to this article
Sponsored / affiliate links. As an Amazon Associate I earn from qualifying purchases. I may earn additional commission from eligible campaigns.
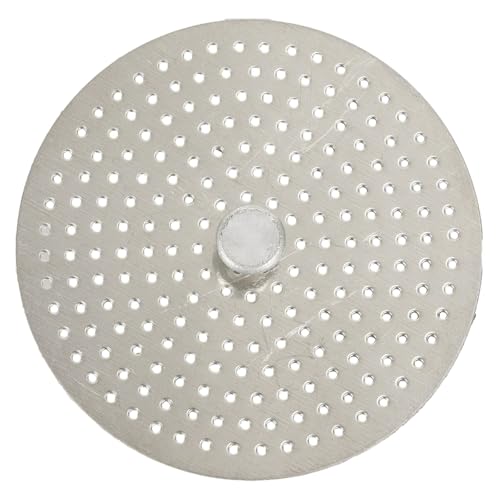 Stainless Steel Moka Pot Coffee Filter Disc for Espresso Brewing, Coffee Maker Replacement Filter Plate for Home Office Coffee Bar Cafe (FOR 4 Cups)
 Coffee Pot Handle Replacement, Black Plastic Parts for Espresso Moka Pot, 1 3 6 9 12 Cup Capacity,Easy Install(3 Cup)
 MIBOTE Silicone Cooking Kitchen Utensils Set, Wooden Handle, Coffee