You brew a cup, sit down, and take that first sip. Something is off. The coffee tastes bitter, flat, or vaguely like yesterday’s burnt pot. You blame the beans. You blame the water. You never blame the machine, but the machine is usually the culprit.
Inside every coffee maker, coffee oils, mineral deposits, and bacteria are building up. That buildup changes the flavor of every single cup. It also forces the machine to work harder, which shortens its life. The fix is simple, but most people don’t know the schedule. This guide covers exactly how often to clean each part of your machine, what happens when you don’t, and how to tell if you’re already late.
You’ll walk away with a clear maintenance schedule, a home test for machine health, and a realistic look at what neglect costs you.
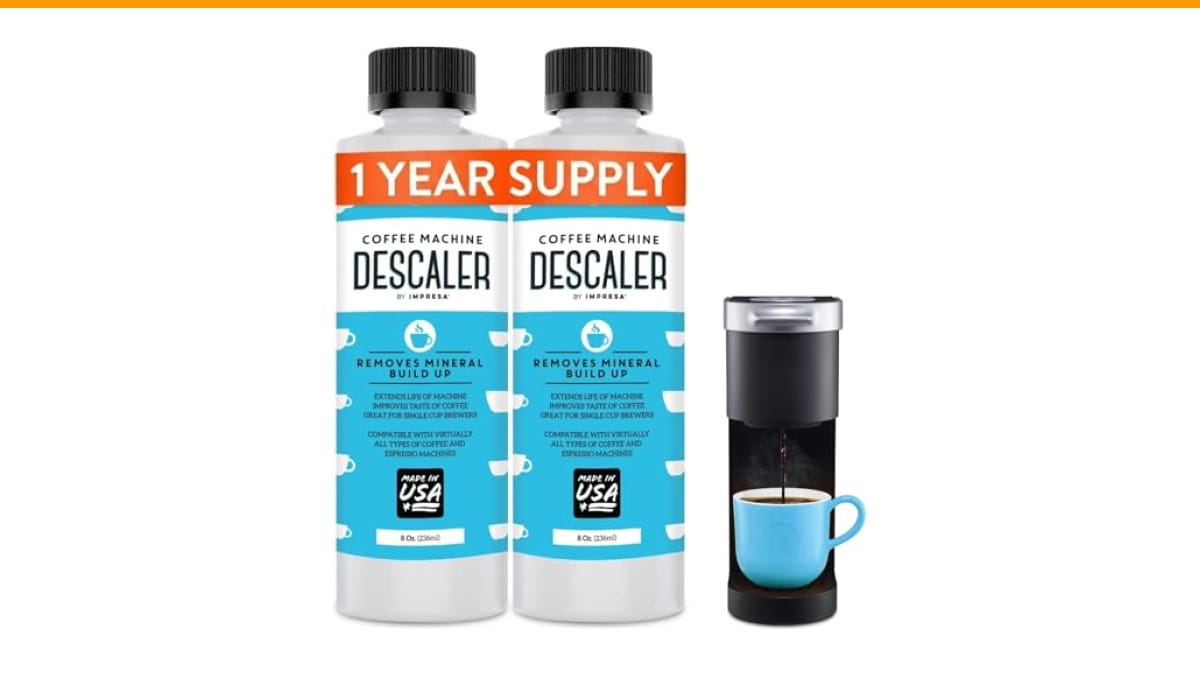
If you’re due for a descale, a universal solution like the IMPRESA Coffee Machine Descaler 2-Pack simplifies the job. Each bottle handles two descaling sessions, so the pack covers a full year of routine maintenance on most drip, pod, and espresso machines.
The Quick Answer: Your Cleaning Cheat Sheet
Here’s the short version. Commit these numbers to memory.
- Daily: Rinse the carafe, portafilter, and brew basket. Wipe down the drip tray and steam wand.
- Weekly: Deep clean all removable parts with warm soapy water. Run a water-only cycle.
- Monthly: Clean the grinder burrs and the water tank. Check the water filter.
- Every 3-4 months: Descale the internal lines with a commercial descaler or vinegar solution.
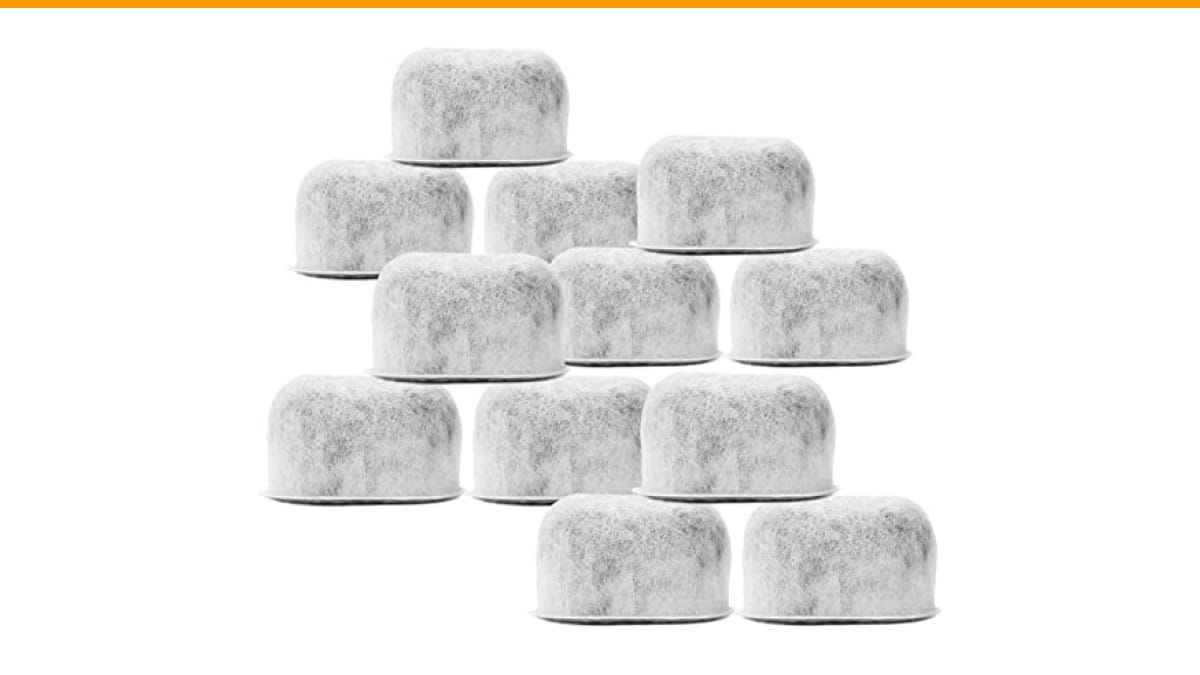
- Every 6-12 months: Replace the water filter and inspect hoses and seals for wear.
That schedule works for most home machines. Your specific water hardness and usage frequency shift the numbers. Hard water means more frequent descaling. Heavy daily use means more frequent deep cleans.
Why Your Coffee Tastes Bad (and What That Costs You)
Let’s talk about what’s actually in your machine. Coffee contains oils. Those oils cling to internal surfaces and oxidize over time. The result is a rancid, bitter flavor that masks the good notes in your beans. Mineral scale from hard water makes things worse. It builds up on the heating element, which makes the machine work harder to heat the same amount of water.
That inefficiency has a real cost. A scaled-up heating element can draw 15-20 percent more energy to reach the same temperature. On a machine that uses 1,000 watts for 10 minutes a day, that’s a small number. But over a year, it adds up. More importantly, the added strain wears out the element and the pump. A replacement heating element runs $50-$150 plus labor. A new machine costs $100-$500. A $10 bottle of descaler looks pretty cheap in comparison.
The flavor cost is harder to quantify but more immediate. You’re spending $15-$30 per pound on specialty beans. The machine is ruining them. You might compensate by buying darker roasts or adding sugar and milk to mask the off-flavors. That’s a workaround, not a fix.
How Often to Clean by Machine Type (Drip, Espresso, Single-Serve)
Different machines collect different kinds of gunk. Here’s the breakdown by type.
Drip Coffee Makers
Drip machines are the worst offenders. The brew basket and carafe see daily coffee oil exposure. The internal water lines collect scale. Most drip machines need a descale every 2-3 months with normal tap water, or every 4-6 months if you use filtered water. The brew basket should be rinsed daily and washed weekly. The carafe is the same.
One thing people miss: the warming plate. Spilled coffee bakes onto it. That burnt residue smells and can transfer flavor to the next pot. Wipe it down weekly.
Espresso Machines
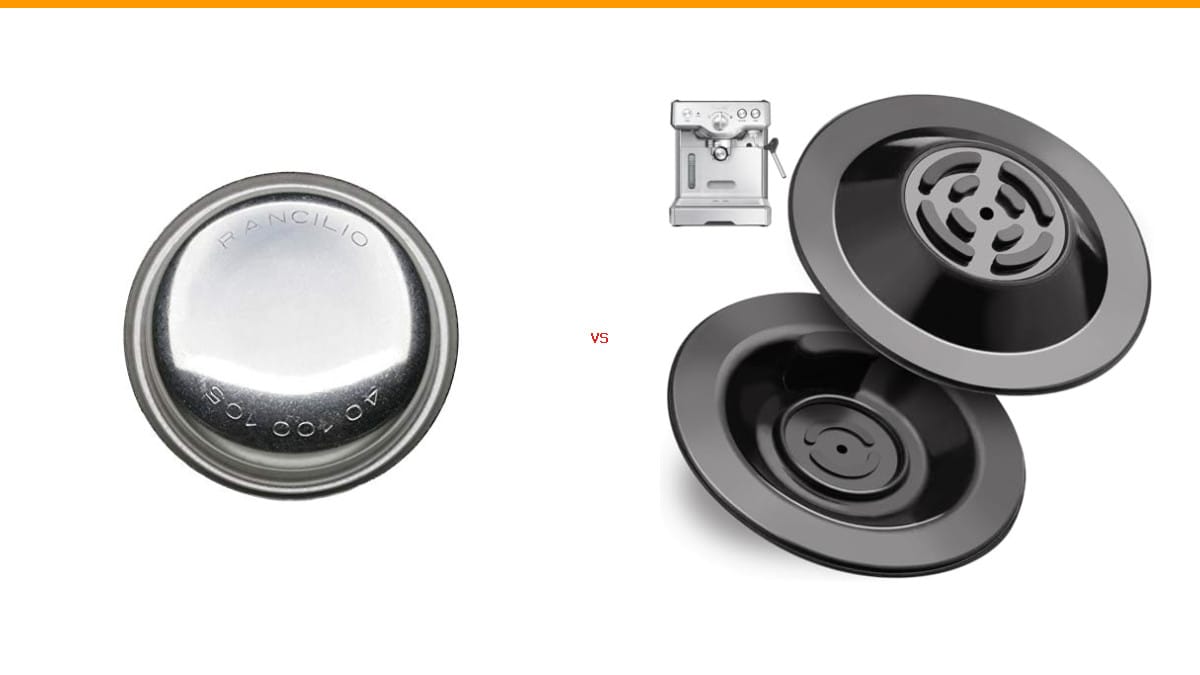
Espresso machines are more demanding. The portafilter and group head see concentrated coffee oils. The steam wand collects milk residue every time you froth. A home espresso machine needs a backflush with a cleaning tablet every 30-60 shots, depending on how oily your beans are. The steam wand needs a purge and wipe after every use, plus a deeper soak weekly.
Descaling an espresso machine is more involved. You need to run the descaler through the boiler and the steam wand. Do this every 3-4 months, or more often with hard water. If you skip the backflush, the group head becomes a sticky, rancid mess that ruins shots.
Single-Serve and Pod Machines
Keurig-style machines are simpler but still need care. The needle that punctures the pod gets clogged with coffee grounds. The water line gets scale. Descale every 3-4 months. Clean the drip tray and pod holder weekly. Use a paper clip to clear the needle if the flow slows down.
These machines are prone to mold in the water tank if you leave water sitting. Empty and dry the tank weekly, or at least every two weeks.
Daily, Weekly, and Monthly Frequency Chart
| Task | Drip Machine | Espresso Machine | Single-Serve |
|---|---|---|---|
| Rinse brew basket / portafilter | Daily | After each shot | Weekly |
| Wipe steam wand | N/A | After each use | N/A |
| Wash removable parts | Weekly | Weekly | Weekly |
| Clean grinder burrs | Monthly | Monthly | N/A |
| Backflush group head | N/A | Every 30-60 shots | N/A |
| Descale internal lines | Every 2-3 months | Every 3-4 months | Every 3-4 months |
| Replace water filter | Every 6 months | Every 6 months | Every 6 months |
The 5-Minute Daily Ritual
Daily cleaning is about preventing buildup, not removing it. You’re stopping the problem before it starts.
- After your last brew, remove the brew basket or portafilter. Knock out the grounds and rinse it under hot water. Soap is optional daily, but hot water is mandatory.
- Rinse the carafe or drip tray. You don’t need to scrub, just remove the residual liquid.
- If you have an espresso machine, purge the steam wand for 2-3 seconds after frothing milk. Then wipe the tip with a damp cloth. Milk protein burns onto the wand and becomes nearly impossible to remove later.
- Leave the machine’s lid or door open for a few minutes to let the interior dry. Moisture breeds mold.
That’s it. Five minutes, tops. This routine alone prevents 80 percent of the gross buildup you’d otherwise face.
The 30-Minute Weekly Deep Clean
Once a week, do a more thorough job. This is where you get into the parts that collect stubborn residue.
- Disassemble everything removable: brew basket, carafe, drip tray, water tank, portafilter, and any silicone gaskets.
- Wash each part in warm, soapy water. Use a non-abrasive sponge. Coffee oils are stubborn, so let the parts soak for 10-15 minutes if needed.
- Rinse thoroughly. Soap residue will ruin your next batch of coffee.
- Wipe down the machine’s exterior and the warming plate or group head area with a damp cloth.
- Run a water-only cycle through the machine to flush any loose debris from the internal lines.
This weekly session catches the things the daily rinse misses. It also gives you a chance to inspect parts for wear. Cracks in the carafe, a worn gasket, or a clogged water tube are easier to spot when you’re handling the parts.
The Monthly Descale: Step-by-Step
Descaling is the most important maintenance task, and the one most people skip. Scale builds up silently. You won’t notice it until the machine takes longer to brew or the coffee tastes metallic. By then, the damage is done.
Here’s the process for most machines.
- Empty the water tank.
- Mix the descaler solution according to the instructions. For the IMPRESA 2-Pack, you use 4 ounces of solution per session, mixed with water to the tank’s fill line.
- Pour the solution into the water tank.
- Run a brewing cycle without coffee. Stop halfway through and let the machine sit for 15-30 minutes. This lets the solution dissolve the scale inside.
- Finish the cycle.
- Refill the tank with fresh water and run 2-3 full cycles to rinse out all descaler residue.
That’s the whole process. It takes about 30 minutes, most of which is waiting. For single-serve machines, run the solution through a pod-less cycle. For espresso machines, run the solution through the group head and the steam wand.
If you’re using vinegar instead of a commercial descaler, use a 1:1 ratio of white vinegar to water. Vinegar works, but it’s slower and leaves a smell. You’ll need to run extra rinse cycles to get rid of the vinegar taste. Commercial descalers are more effective and easier to rinse out. For a detailed comparison, check out our guide on vinegar cleaning methods.
How to Test Your Water Hardness at Home
Water hardness is the biggest variable in your descaling schedule. Hard water means more scale, which means more frequent descaling. Here’s a simple test.
Fill a clear glass with tap water. Add a few drops of liquid dish soap. Shake it. If you get a thick layer of suds, you have soft water. If the water stays cloudy and suds are thin, you have hard water.
For a more precise measurement, buy a water hardness test strip at a hardware store for a few dollars. They’re color-coded and take 30 seconds. If your water tests above 150 parts per million, plan on descaling every 2-3 months. Below 60 ppm, you can stretch to every 6 months.
The “Dirty Machine” Test: 3 Signs You’re Late
Not sure if your machine needs attention right now? Run these three quick checks.
1. The flow test. Run a water-only cycle with an empty brew basket. Time how long it takes to fill the carafe to the 4-cup mark. If it’s noticeably slower than when the machine was new, you have scale buildup in the lines. A healthy machine should have a steady, consistent flow.
2. The taste test. Brew a cup of plain hot water. If it tastes metallic, mineral, or just “off,” the internal lines are dirty. A clean machine produces neutral-tasting water.
3. The visual test. Look inside the water tank and at the heating element if you can see it. White or chalky buildup means scale. Brown or sticky residue means coffee oils. Either way, you’re overdue.
If you fail any of these tests, do a descale and a deep clean this weekend. Don’t wait until the machine breaks.
Cleaning the Parts Everyone Forgets (Grinder, Milk Frother, Water Tank)
Most people clean the carafe and brew basket. Fewer people clean the grinder, milk frother, and water tank. These are the parts that cause the most problems.
Burr Grinder
If your machine has a built-in grinder, the burrs accumulate coffee oils and ground coffee dust. This residue goes rancid and flavors every grind. Clean the burrs monthly.
You don’t need to disassemble the whole unit. Most grinders have a removable hopper and upper burr. Brush off the burrs with a stiff brush. Some grinders accept grinder cleaning tablets — these are food-safe and absorb oils. Run a tablet through the grinder, then grind a few grams of fresh beans to clear it out. For a full walkthrough, see our grinder cleaning steps.
Milk Frother
On drip machines with a frother attachment, milk residue builds up inside the wand and the frothing chamber. This residue is a breeding ground for bacteria and smells terrible.
After each use, wipe the wand with a damp cloth. Once a week, remove the frothing attachment and soak it in warm soapy water. For a stuck-on residue, soak in a solution of water and a few drops of dish soap. Rinse thoroughly. If your machine has a steam wand, purge it after every use and soak the tip weekly. We have a dedicated guide on steam wand care.
Water Tank
The water tank is a dark, damp environment. That’s a mold magnet. If you leave water sitting for days, you’re growing biofilm.
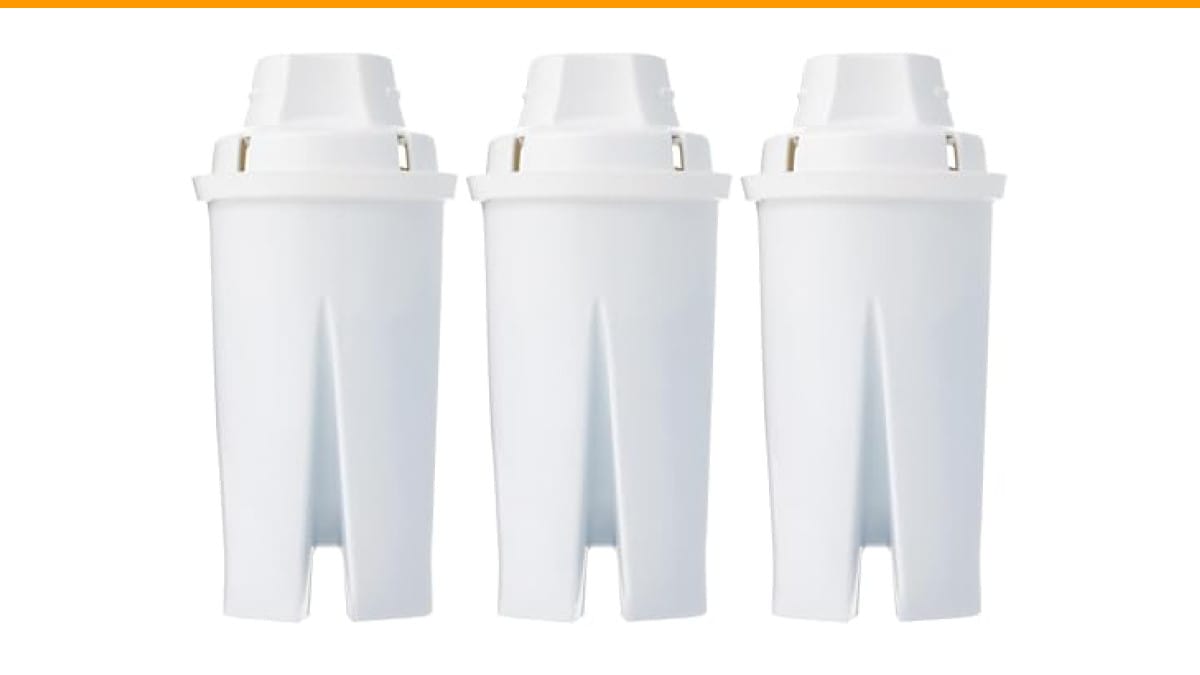
Empty the tank weekly. Wash it with warm soapy water and dry it completely. If your tank has a water filter, replace it every 6 months. If the tank develops a film that won’t come off with soap, soak it in a vinegar solution for 30 minutes.
Natural vs. Commercial Cleaners: What Actually Works
There’s a running debate about vinegar versus commercial descalers. Both work. They work differently.
Vinegar is cheap and effective at dissolving limescale. It’s also acidic enough to damage rubber gaskets and seals if used too often. The smell lingers, and you need multiple rinse cycles to remove the taste. It’s a fine option in a pinch, but it’s not ideal for regular maintenance.
Commercial descalers like the IMPRESA solution are formulated to dissolve scale without harming the machine’s internal components. They rinse clean with fewer cycles. They cost more, but the price difference is small compared to the cost of a new machine.
Cleaning tablets are for espresso machines. They’re designed to remove coffee oils from the group head and portafilter, not limescale. You’ll need both a descaler and cleaning tablets for a complete espresso maintenance routine.
My honest take: use a commercial descaler for the internal lines. Use vinegar for soaking removable parts like the carafe or drip tray. That combination is effective and keeps your machine’s seals happy.
The Cost of Neglect: Repair Bills vs. Cleaning Costs
Let’s do the math on skipping maintenance. A typical home drip machine costs $100-$300. A home espresso machine costs $300-$2,000. A commercial descaler costs $10-$20 per year. Cleaning tablets cost about $15 per year. Total annual maintenance: $35 at most.
Now consider the failure modes. A scaled-up heating element fails. A clogged pump burns out. A moldy water tank ruins the machine’s internal reservoir. Repair costs vary, but a service call alone runs $50-$100, plus parts. For a $150 drip machine, a $75 repair is half the cost of a new one. Most people just replace the machine.
So the real question is: does a $35 annual maintenance habit extend your machine’s life by more than a few months? In my experience, yes. A cleaned machine lasts 5-7 years. A neglected one dies in 2-3. That’s a 2-3 year difference in lifespan for a $35 annual cost. The return on investment is obvious.
Energy efficiency is the other hidden cost. A scaled-up heating element takes longer to heat water. That means more electricity per cup. Over a year of daily brewing, the extra energy cost can exceed the price of a descaler.
Frequently Asked Questions
Can I clean my coffee machine with just water?
Water rinses away loose grounds and oils, but it doesn’t dissolve limescale or kill bacteria. You need soap for the removable parts and a descaler for the internal lines. Water alone is not enough for monthly maintenance.
How often should I descale a rarely used machine?
If you only brew a few times a week, you can stretch the descaling interval to every 6 months. The bigger risk is stagnant water in the tank. Empty and dry the tank after each use, or at least weekly. Scale still forms even with light use if you have hard water.
Is it safe to use vinegar in a Keurig or espresso machine?
Yes, but use it sparingly. Vinegar is acidic and can degrade rubber seals over time. If you use vinegar, run at least three full water cycles afterward to rinse it out. A commercial descaler is safer for the machine’s internal components.
What happens if I never clean my coffee machine?
You’ll get bitter, rancid coffee. The machine will take longer to brew. Eventually, the heating element or pump will fail. You’ll have to buy a new machine. The timeline varies, but 2-3 years is common for a machine that’s never cleaned.
How do I clean a coffee machine with a built-in grinder?
Clean the grinder burrs monthly with a brush or grinder cleaning tablets. The rest of the machine follows the same schedule as a standard drip or espresso machine. Don’t forget the hopper — wipe it out with a dry cloth when you refill the beans.
Final Checklist: Your Maintenance Schedule
Here’s the complete schedule, condensed into a checklist you can print and stick on your fridge.
- Daily: Rinse the brew basket, carafe, and portafilter. Wipe the steam wand. Purge the wand after frothing.
- Weekly: Wash all removable parts in soapy water. Run a water-only cycle. Wipe down the exterior and warming plate.
- Monthly: Clean the grinder burrs. Empty and dry the water tank. Soak the milk frother or steam wand tip.
- Every 3-4 months: Descale the internal lines with a commercial descaler. This is the most important task on the list.
- Every 6 months: Replace the water filter. Inspect hoses and seals for cracks or wear.
One last piece of advice: don’t wait for a sign that something is wrong. The dirty machine test is useful, but by the time you fail it, you’ve already lost flavor and efficiency. Stick to the schedule. Your coffee will taste better, and your machine will last longer.
If you’re starting fresh, grab a maintenance guide or pick up a descaler kit before you need it. Having the supplies on hand makes the job easier to actually do.
Products related to this article
Sponsored / affiliate links. As an Amazon Associate I earn from qualifying purchases. I may earn additional commission from eligible campaigns.
 Coffee Espresso Machine Handle Replacement Parts, Cafe Bracket Handle for Lidl Silvercrest CM4621 CM4218 KF5002 KF500S Barista (for 51mm Portafilter Basket - Not included)
 Dawn Ultra Antibacterial Dishwashing Liquid Dish Soap, Apple Blossom Scent - 7 fl oz
 KARHDIR 15" Walk Behind Floor Scrubber Machine, 23" Squeegee