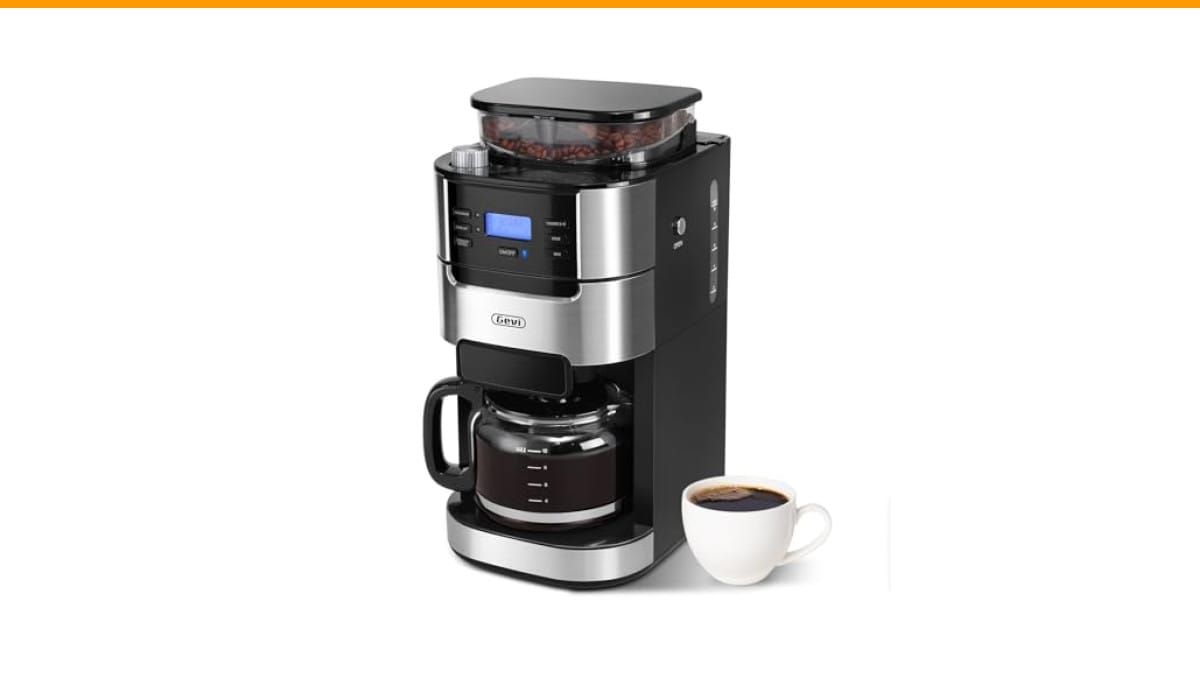
You bought a 12-cup coffee maker so you could fill a thermos, host a brunch, or just drink three cups before noon without running a second brew. The machine works hard. And because it holds a bigger water reservoir and heats more brew cycles than a compact 4-cup model, it collects scale and coffee oils faster than you’d expect.
Most owners clean their maker twice a year — right after they notice the coffee tastes bitter, or when the brew time slows to a trickle. That’s too late. By then, mineral deposits have already coated the heating element and the internal tubing, which cuts the machine’s lifespan and ruins the flavor of every pot you brew in the meantime.

IMPRESA
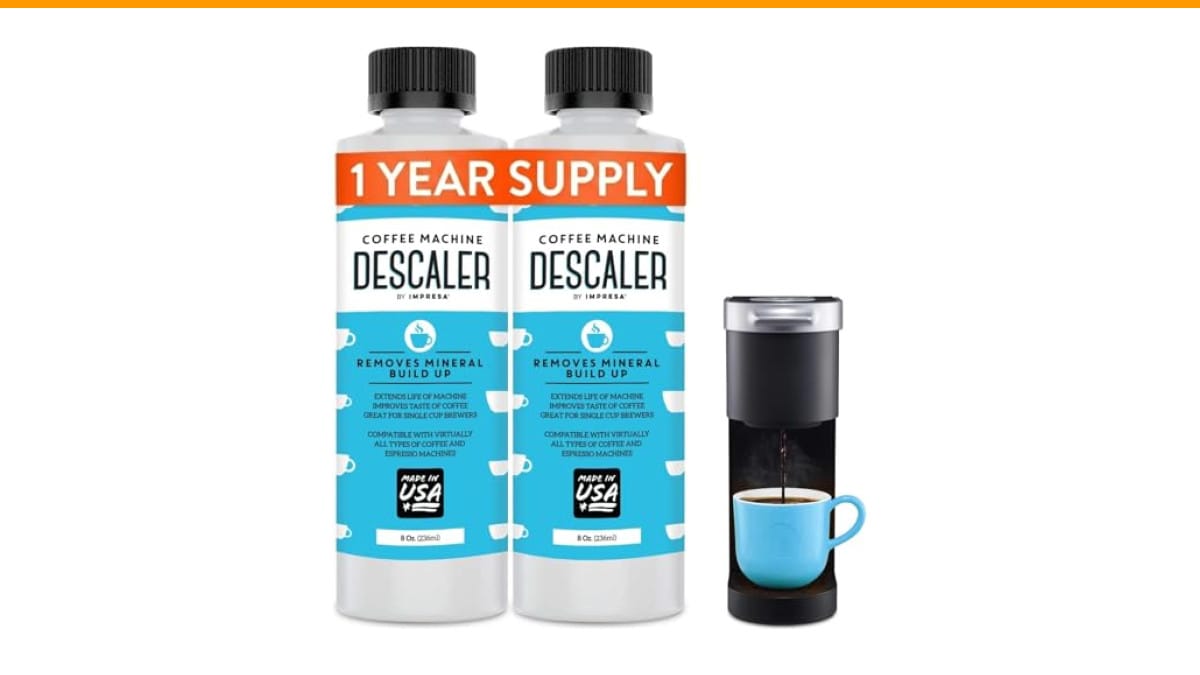
IMPRESA Coffee Machine Descaler, 2-Pack (1-Year Supply)…
- 2-Pack Coffee Descaler and Cleaner - Clean and rinse away residue and oil buildup in your coffee maker with Impresa's Coffee Desca…
- Highly Effective, Made in USA Formula - Unlike most common solutions, our coffee machine cleaner uses just 4 ounces (1/2 bottle) p…
- Preserves Your Machine - Using a coffee descaling solution eliminates limescale and mineral build-up to prevent corrosion, signifi…
As an Amazon Associate I earn from qualifying purchases.
This guide gives you a straight schedule for a 12-cup drip maker, broken down by daily habits, monthly descaling, and quarterly deep cleans. You’ll also learn how your local water hardness changes that schedule, how to clean the hidden parts most people never touch, and what actually happens if you skip the maintenance.
If you’re due for a descale, a dedicated cleaner like the IMPRESA Coffee Machine Descaler 2-Pack simplifies the job. Each 8-ounce bottle handles two sessions, so the pack covers four full descaling cycles — roughly a year of maintenance for a typical household. It’s formulated to dissolve limescale without the lingering vinegar smell that follows a DIY rinse.
Why a 12-Cup Maker Needs a Different Cleaning Schedule
A 12-cup machine isn’t just a bigger version of a single-serve brewer. It has a larger heating element, a wider spray head, and a one-way valve that sits at the bottom of the water reservoir. That valve prevents hot water and steam from backing up into the tank, but it’s also the first place scale collects.
Here’s the math that matters: every time you brew a full pot, you’re heating roughly 60 ounces of water. Hard water leaves behind about one gram of calcium carbonate per gallon. So a single pot in a hard-water area deposits around half a gram of scale in your machine. Brew daily for a month and you’ve added about 15 grams of rock-like buildup to the internal lines.
That scale acts as an insulator. The heating element has to work harder to reach brewing temperature, which means longer brew cycles, higher energy use, and eventually a burnt-out element. A smaller maker with a lower wattage element has the same problem, but the 12-cup model’s larger reservoir gives scale more surface area to attach to — and more places to hide.
The Exact Cleaning Frequency (Daily, Weekly, Monthly, Quarterly)
Here’s the routine I recommend after testing several 12-cup drip makers side by side. It’s not the most aggressive schedule you’ll find, but it’s realistic for someone who brews daily and doesn’t want to spend every weekend scrubbing plastic.
Daily and Weekly: Quick Rinses and Wipes
After each brew, dump the used filter and rinse the brew basket with hot water. This takes 30 seconds and prevents coffee oils from oxidizing into a sticky film that turns rancid.
Once a week, wash the carafe and the brew basket with warm, soapy water. If you have a glass carafe, avoid the dishwasher — the detergent can etch the glass and leave a film that makes your coffee taste flat. A thermal carafe needs even more care: the lid and the gasket trap moisture, and mold loves those crevices. Remove the lid seal and wash it by hand every week.
Wipe down the hotplate with a damp cloth while it’s still warm (but not hot). Burnt-on coffee drips become impossible to remove if you let them bake on for days.
Monthly: Deep Clean with Descaling Solution
Once a month, run a full descaling cycle. Fill the reservoir to the max line with a descaling solution mixed according to the bottle’s instructions — or use the vinegar method I’ll detail below. Run the brew cycle without coffee, let the machine cool for 15 minutes, then run two more cycles with plain water to rinse out the acidic residue.
This monthly session removes the mineral buildup that accumulates from regular brewing. It also clears out the coffee oils that cling to the internal tubing. You’ll notice the difference in brew speed immediately — the water flows faster and the pot finishes sooner.
Quarterly: Full Disassembly and Soak
Every three months, take the machine apart as far as it’ll go. Remove the brew basket, the filter basket, the carafe lid, and any drip tray. Soak these parts in a warm solution of water and white vinegar (one part vinegar to three parts water) for 30 minutes, then scrub them with a soft brush.
This is also the time to clean the spray head — the small disc on the underside of the machine’s top cover that distributes water over the coffee grounds. Most models let you pop it off with a gentle twist. Soak it in the same vinegar solution, then use a toothpick to clear any clogged holes. A blocked spray head causes uneven extraction, which is why one side of your coffee bed looks dry and the other side looks like mud.
How Water Hardness Changes Your Schedule
Your tap water’s mineral content is the single biggest factor in how often you need to descale. Hard water contains high levels of calcium and magnesium, which precipitate out as scale when heated. Soft water leaves almost no residue.
You can test your water hardness with a simple strip kit from a hardware store, or check your municipal water report online. Here’s a rough guide:
| Water Hardness | Grains per Gallon | Descaling Frequency |
|---|---|---|
| Soft | Less than 1 | Every 3 months |
| Moderate | 3-7 | Every 6-8 weeks |
| Hard | 7-10 | Monthly |
| Very Hard | 10+ | Every 2-3 weeks |
If you live in a hard-water area and you’re not keen on descaling every couple of weeks, consider using filtered water for brewing. A simple pitcher filter removes most of the calcium and magnesium, which cuts your descaling frequency in half. It’s a small upfront cost that saves you from buying extra descaling solution — and from replacing a heating element down the line.
Step-by-Step: Deep Cleaning Your 12-Cup Drip Maker
Materials Needed
- Descaling solution (commercial or DIY citric acid mix)
- White vinegar (if you go the DIY route)
- Soft sponge or microfiber cloth
- Toothpick or thin needle for spray head holes
- Old towel to catch drips
The Vinegar vs. Citric Acid Debate
Vinegar is the default DIY descaling agent because it’s cheap and effective. It dissolves calcium carbonate well, but it leaves a noticeable smell that lingers for several rinse cycles. Some people also find that vinegar’s acetic acid is harsh on rubber gaskets if used too frequently.
Citric acid is the better choice for most machines. It’s a mild organic acid that dissolves scale just as effectively, but it’s odorless and rinses clean with less effort. You can buy food-grade citric acid powder in bulk and mix two tablespoons per quart of water. I’ve used this method for years and it works as well as any commercial descaler I’ve tested — plus it costs pennies per session.
Whichever you choose, never use bleach or any chlorine-based cleaner. Those will corrode the internal metal parts and leave toxic residue.
Cleaning the Hidden Parts (Valve, Spray Head, Carafe Lid)
The one-way valve sits at the bottom of the water reservoir. On most 12-cup models, you can pull it out with a gentle tug — it’s a small rubber or silicone piece. Soak it in warm vinegar water for 15 minutes, then rinse it thoroughly. If it’s clogged with scale, you’ll notice the reservoir draining slowly or not at all.
The spray head is the disc under the top cover. Remove it, soak it, and clear any clogged holes with a toothpick. This is the part most people skip, and it’s the reason some coffee makers brew unevenly.
The carafe lid on a thermal model has a rubber gasket that seals in heat. That gasket traps moisture and becomes a breeding ground for mold if you don’t remove it and wash it weekly. If you see black specks on the gasket, that’s mold — replace the gasket immediately and clean the lid thoroughly.
Signs Your 12-Cup Maker is Overdue for a Clean
Your machine will tell you when it’s struggling. The first sign is brew time. A clean 12-cup maker brews a full pot in 8-10 minutes. If that stretches to 12 or 15 minutes, scale is restricting water flow.
The second sign is taste. Coffee brewed in a scaled machine tastes flat and slightly bitter, because the water spends too long in contact with the grounds. You might also notice a metallic or sour note that wasn’t there before.
The third sign is noise. A machine that’s working harder to heat water will make a louder, higher-pitched gurgling sound. If you hear a whine or a hiss that wasn’t there a month ago, the heating element is struggling against a layer of scale.
Finally, check the carafe. If you see white flakes floating in your brewed coffee, those are chunks of scale that have broken off the heating element. That’s the point where you’ve waited too long — the scale is now in your cup.
Common Mistakes That Ruin Coffee Makers
One mistake I see constantly: using baking soda as a descaler. Baking soda is alkaline, so it doesn’t dissolve mineral scale at all. It can help remove coffee stains, but it does nothing for limescale. Worse, it can leave a gritty residue in the reservoir that clogs the valve.
Another mistake is running descaling solution through the machine and then immediately brewing coffee without a proper rinse. Residual acid will leach into your coffee and ruin the taste — and it can irritate your stomach. Always run at least two full water-only cycles after descaling.
A third mistake is ignoring the hotplate. Spilled coffee on the hotplate bakes into a brown crust that’s nearly impossible to remove. Wipe it down after every brew. If you’ve already got a baked-on layer, use a paste of baking soda and water, let it sit for 10 minutes, then scrub gently.
Finally, don’t use abrasive scrubbers on the water reservoir or the carafe. They create micro-scratches where bacteria and coffee oils collect, making the machine harder to clean in the future.
Quick Maintenance Tips to Extend the Time Between Deep Cleans
- Use filtered water in the reservoir — this is the single most effective way to reduce scale buildup.
- Don’t leave brewed coffee sitting on the hotplate for hours. The heat accelerates oil oxidation and makes the carafe harder to clean.
- Empty the reservoir between uses. Stagnant water allows minerals to settle and bacteria to grow.
- After descaling, run a full pot of water through the machine to flush out any remaining solution.
- Keep the lid of the water reservoir open when the machine is cool, so moisture can evaporate and mold doesn’t form.
For a deeper dive into the why behind all this, check our guide on why regular maintenance matters. If you’re dealing with a machine that’s already clogged, our clogged coffee maker guide covers the stubborn cases.
Final Verdict: The Simple Routine to Follow
You don’t need a PhD in appliance care to keep a 12-cup maker running well. You need a routine that matches how you brew and what your water is like.
- Rinse the brew basket and carafe after every use — 30 seconds, no excuses.
- Wash the removable parts with soap and water once a week, including the carafe lid gasket.
- Descale with a citric acid or commercial solution once a month if you have hard water, every three months if you have soft water.
- Soak the spray head and one-way valve every quarter — these are the parts that actually control brew quality.
- Watch for the three warning signs: slow brew time, bad taste, and strange noises.
- Use filtered water if your tap is hard. It’ll double the time between descaling sessions.
- Replace the carafe gasket at the first sign of mold or cracking.
Stick to that and your 12-cup maker will still be brewing clean, hot coffee in five years. Skip it, and you’ll be shopping for a replacement in two. The choice is yours — but the maintenance is a lot cheaper than a new machine.
If you’re ready to clean your machine right now, grab a bottle of IMPRESA descaling solution and follow the steps above. Your next pot of coffee will taste the difference.
Products related to this article
Sponsored / affiliate links. As an Amazon Associate I earn from qualifying purchases. I may earn additional commission from eligible campaigns.