You pull a perfect shot, steam silky microfoam, and pour a latte that looks like a café ad. Then you walk away. The milk frother sits there, coated in a thin film you can’t see. Tomorrow, that film gets baked on. Next week, it turns into a stubborn crust that ruins the taste of every drink and slows down your steam wand until it barely pushes air.
Most people clean their machine only when something goes wrong. That’s a mistake. Milk residue doesn’t announce itself until it’s already clogged your wand or started smelling sour. This guide gives you a simple maintenance calendar: what to do after every use, daily, weekly, and monthly. You’ll learn the exact difference between cleaning and descaling, how to handle an automatic frother versus a steam wand, and a quick test to prove your equipment is actually clean.

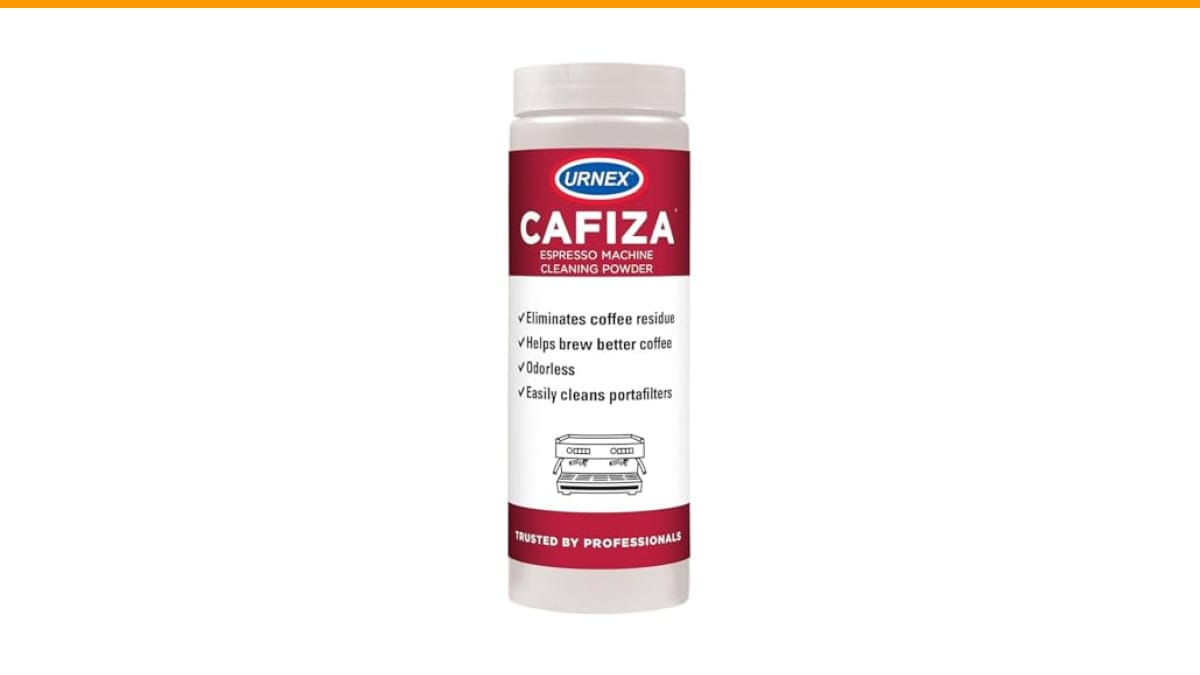
Urnex
Urnex Espresso Machine Cleaning Powder - 566…
- Eliminates coffee residue and oils from espresso machine group heads, valves and lines
- Specially formulated to clean heavily soiled equipment in a professional setting
- Powder format allows for easy and controlled dosing
As an Amazon Associate I earn from qualifying purchases.
If your routine needs a chemical assist, a product like Urnex Cafiza cleaning powder handles the coffee oil side of things. It’s NSF-certified and designed for daily backflushing, so it fits right into the schedule below. You’ll still need a separate step for milk, but this powder keeps the group head and lines free of residue that plain water won’t touch.
The Short Answer: How Often to Clean (A Simple Schedule)
Here’s the no-nonsense version. Follow this and your machine will last longer and your coffee will taste cleaner.
- After every use: Purge the steam wand for 3–5 seconds and wipe the outside with a damp cloth. 30 seconds total.
- Daily: Remove the wand tip and soak it in hot water. Do a water backflush if your machine has a blind basket. 5 minutes.
- Weekly: Deep clean the wand with a detergent soak. Run a chemical backflush with espresso cleaner. 20 minutes.
- Monthly: Descale the boiler and internal lines with a descaling solution. 45 minutes to an hour.
- Quarterly: Replace small parts like gaskets and o-rings if they look worn. Check the wand tip for scale buildup.
That’s the whole calendar. The rest of this article explains why each step matters and how to do it without damaging your machine.
Why Milk Residue is Worse Than Coffee Oil (The “Milk Stone” Problem)
Coffee oil is sticky, but it dissolves fairly easily with a good detergent. Milk is a different beast. When milk heats up, proteins denature and bond to metal surfaces. That’s the same chemical process that makes a fried egg stick to a pan. Left alone, this residue hardens into what’s called milk stone — a chalky, yellowish deposit that doesn’t dissolve in water alone.
Milk stone does three things. It harbors bacteria, which makes your machine smell sour. It narrows the steam wand opening, so you get weak foam instead of tight microfoam. And it slowly corrodes metal surfaces over time. You won’t notice any of this until it’s already a problem.
The tricky part is that milk stone is invisible in its early stages. A wand looks clean after a quick wipe, but the inside of the tip is still coated. That’s why the purge step matters so much — it flushes residue out before it sets.
If you’re dealing with a machine that already has stubborn buildup, check our guide on steam wand cleaning for a deeper walkthrough.
After Every Use: The 5-Second Steam Wand Purge
This is the single most important habit you can build. After you finish steaming milk, the wand is hot and the milk residue is still liquid. That’s the perfect window to flush it out.
Here’s the exact routine:
- Remove the milk pitcher from under the wand.
- Point the wand over the drip tray.
- Turn the steam valve on full for 3–5 seconds.
- Watch for steam to come out clean and steady — no milk flecks.
- Wipe the outside of the wand with a damp microfiber cloth.
That’s it. The steam blast clears the inside of the wand, and the cloth catches the film on the outside. Do this every single time, and you’ll cut your deep-cleaning work by 80 percent.
One note: don’t wipe the wand with a dry cloth right after steaming. The heat will bake the milk onto the cloth and then smear it back onto the wand. Use a damp cloth, or wait a minute for it to cool.
Daily Maintenance: Wipe and Purge Routine
At the end of each day, take the routine one step further. Remove the steam wand tip if it’s detachable. Most tips unscrew by hand or with a small wrench. Soak the tip in a cup of hot water with a drop of dish soap for five minutes.
While the tip soaks, wipe down the entire machine. Pay attention to the drip tray and the area around the wand. Milk splashes land everywhere, and they dry into a sticky film that attracts dust.
If your machine has a three-way solenoid valve (most semi-automatic machines do), run a water backflush. Put a blind basket in the portafilter, add a little water, and run the brew cycle for 10 seconds. This cleans the group head and the internal valve. You can find specific steps in our deep cleaning guide.
After the tip has soaked, rinse it under hot running water and dry it with a clean cloth. Reattach it to the wand. Done.
Weekly Deep Clean: Removing Milk Stone and Clogs
Even with daily purging, some residue survives. The weekly deep clean is where you break down milk stone and remove any buildup that’s accumulating in hard-to-reach spots.
The Submersion Method for Removable Wands
If your steam wand detaches completely, this is the most thorough approach:
- Fill a tall glass or pitcher with hot water.
- Add one teaspoon of a food-safe espresso cleaner (like the Cafiza powder mentioned above).
- Submerge the entire wand tip in the solution.
- Let it soak for 15–20 minutes.
- Remove and rinse thoroughly under running water.
The detergent breaks down both milk protein and coffee oil. You’ll see the water turn cloudy as the residue dissolves. If the water stays clear, your daily routine is working.
Cleaning the Wand Tip and Holes
The tip has tiny holes that direct steam. These clog easily with milk stone. After soaking, use a thin needle or a specialized steam wand brush to poke through each hole. You don’t need to push hard — just clear the opening.
If you notice the wand tip has a white, crusty buildup that won’t budge, that’s mineral scale, not milk. That’s a descaling issue, covered below.
Weekly is also the time to run a chemical backflush. Use a blind basket, add a quarter teaspoon of espresso cleaner, and run 10-second cycles. Let the solution sit in the group head for a couple of minutes, then rinse with fresh water until it runs clear.
Monthly: Descaling vs. Cleaning (Don’t Confuse Them)
Here’s where most people mess up. Cleaning removes milk residue and coffee oil. Descaling removes mineral scale — the white, chalky deposits left behind by hard water. They are not the same thing, and one does not substitute for the other.
Descaling is more aggressive. It uses an acid (usually citric or lactic acid) to dissolve calcium and magnesium deposits inside the boiler and tubing. Those deposits reduce heating efficiency and can eventually block water flow entirely.
How often you descale depends on your water hardness. If you use filtered water, every 2–3 months is fine. If you use tap water, monthly is safer. The signs you need to descale: the machine takes longer to heat up, the steam wand sputters, or the water flow slows down.
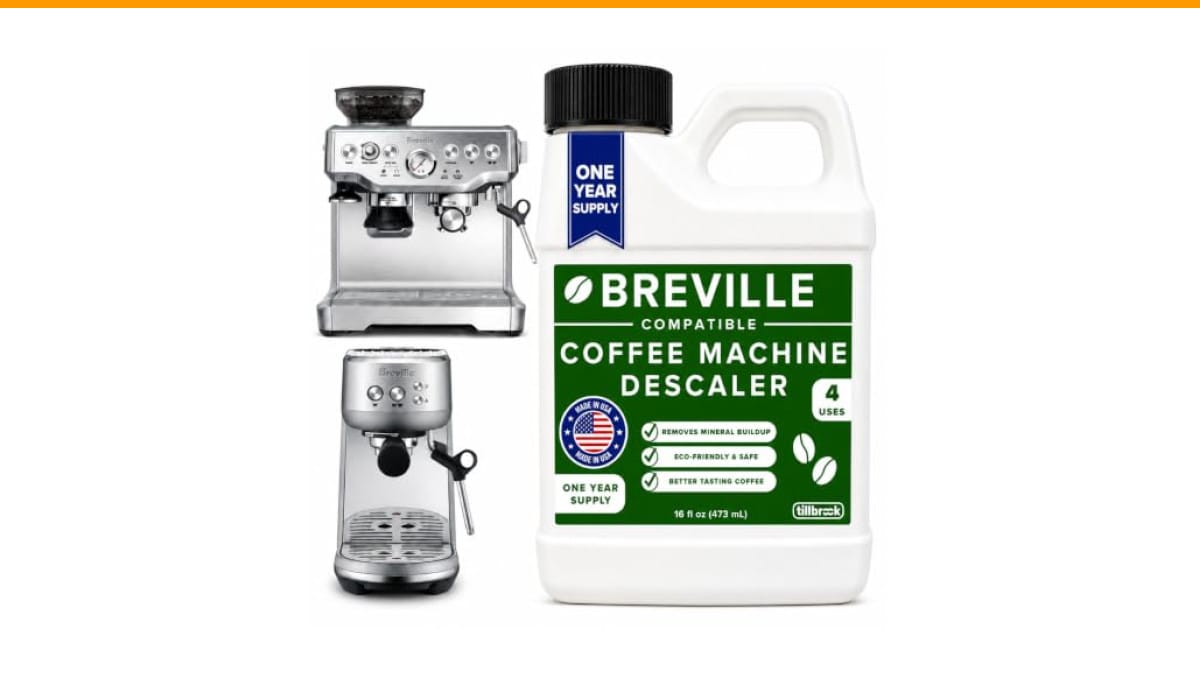
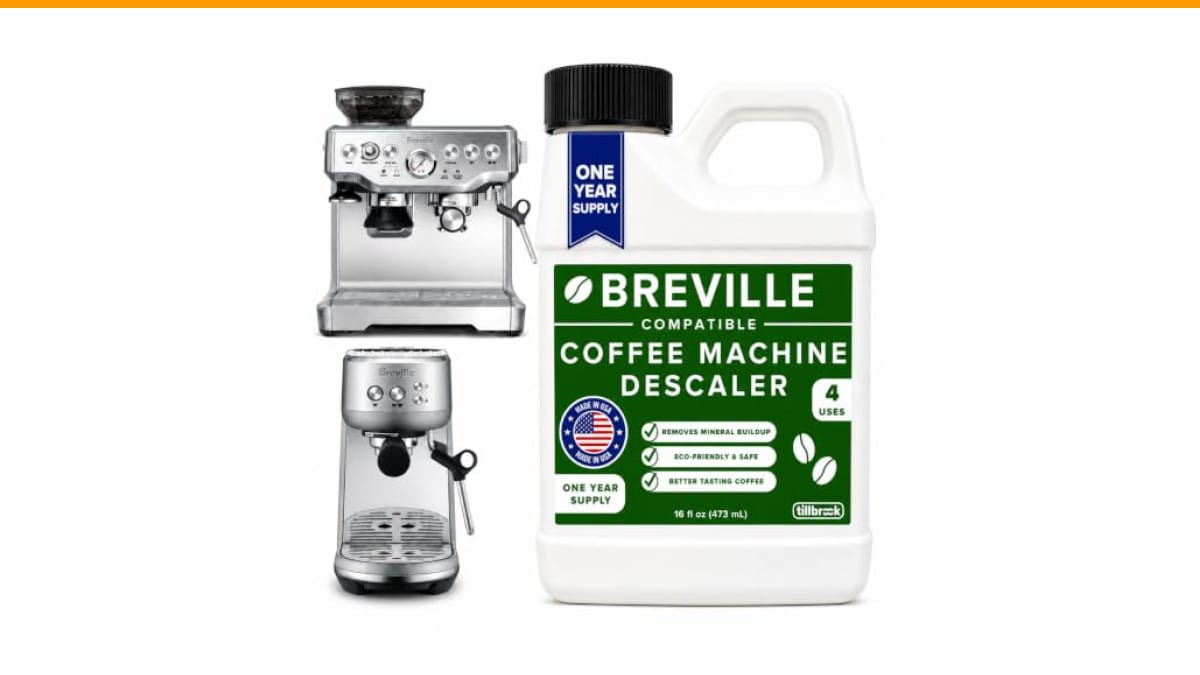
Follow your manufacturer’s instructions for descaling. The process usually involves running a diluted descaling solution through the brew group, letting it sit, then flushing with clean water several times. Never mix descaling solution with espresso cleaner — they react and can damage the machine.
For a fuller breakdown of the differences, take a look at our article on proper coffee maker cleaning.
How to Clean a Separate (Automatic) Milk Frother
Automatic frothers — the kind with a carafe you fill with milk and press a button — are a different animal. They don’t have a steam wand, so the cleaning routine changes.
| Feature | Steam Wand | Automatic Frother |
|---|---|---|
| Cleaning frequency | After every use | After every use |
| Method | Steam purge + wipe | Rinse carafe with hot water |
| Deep clean | Weekly soak in detergent | Weekly soak in warm soapy water |
| Milk stone risk | High (inside wand) | Medium (carafe and lid) |
| Descaling needed | Yes (boiler) | Only if it heats water internally |
| Time per clean | 30 seconds | 1–2 minutes |
For an automatic frother, the most important step is rinsing the carafe immediately after use. Dried milk is much harder to remove than fresh milk. If your frother has a non-stick coating, avoid abrasive sponges — they’ll scratch the surface and make it harder to clean over time.
Once a week, disassemble the lid and any rubber gaskets. Soak everything in warm, soapy water. Use a bottle brush to reach the bottom corners. Rinse thoroughly and air-dry before reassembling.
If your frother also heats the milk (not just foams it), check the manufacturer’s descaling instructions. Some models have a heating element that needs periodic descaling.
Troubleshooting: Low Pressure or Blocked Wand
If your steam wand has weak output or produces thin foam, the problem is almost always a partial blockage. Here’s how to diagnose and fix it.
First, test the wand with the tip removed. Turn on the steam. If you get strong, steady steam without the tip, the blockage is in the tip itself. Soak it in detergent and clear the holes with a needle.
If the steam is still weak without the tip, the blockage is deeper in the wand assembly. This needs a more thorough soak. Remove the wand if possible and soak the entire assembly in hot detergent solution for 30 minutes. If that doesn’t work, you may have scale buildup inside the wand, which requires descaling.
Another common issue: the wand sounds loud and sputters. That’s usually steam escaping around a loose connection. Check that the tip is screwed on tightly and the o-ring is in good condition.
If the machine is leaking water from the wand area, check our guide on espresso machine leaks for specific fixes.
The “Water Purge” Test to Verify Your Cleanliness
How do you know your frother is actually clean? The water purge test takes 10 seconds and gives you a definitive answer.
- Fill a small cup with cold water.
- Place the steam wand in the water, tip fully submerged.
- Turn on the steam for 10 seconds.
- Watch what comes out of the wand into the water.
If the water stays clear, your wand is clean. If you see white flecks, milk particles, or a cloudy swirl, there’s still residue inside. Run the test again after a deeper clean.
This test works because steam pulls water up the wand and flushes it through. Any residue inside gets carried out with the water. It’s a simple, honest check that doesn’t require special tools.
Do this test once a week. It takes longer to read this paragraph than to run the test.
FAQ: Vinegar, Dish Soap, and Scouring Pads
Can I clean my steam wand with vinegar?
No. Vinegar is an acid, and it’s fine for descaling, but it doesn’t break down milk protein effectively. Use a food-safe espresso cleaner or a mild dish soap for milk residue. Save vinegar for descaling only.
Is dish soap safe for the steam wand?
Yes, for the exterior and removable parts. A drop of plain dish soap in hot water works fine for soaking the wand tip. Just rinse thoroughly afterward. Don’t run soapy water through the internal boiler — that requires a proper backflush.
Can I use a scouring pad on the wand?
Avoid it. Scouring pads scratch the metal surface, and scratches give milk residue a place to hide. Use a soft cloth or a dedicated steam wand brush. For stubborn spots, soak first — the residue will soften and wipe off.
How do I clean a clogged nozzle on a milk frother?
Soak the nozzle in hot detergent solution for 15 minutes, then use a thin needle to clear the holes. If it’s still clogged, the issue may be scale, not milk. That requires a descaling soak instead.
What’s the difference between backflushing and descaling?
Backflushing cleans the group head and internal lines with detergent. Descaling removes mineral scale from the boiler and heating element. Backflush weekly, descale monthly or quarterly. They’re both necessary, but they solve different problems.
Final Checklist: Your Quick Reference Guide
- Purge the steam wand for 3–5 seconds after every single use. No exceptions.
- Wipe the wand with a damp microfiber cloth immediately after purging.
- Soak the wand tip in hot soapy water daily, or at minimum every other day.
- Run a chemical backflush weekly to clean the group head and internal lines.
- Descale monthly if you use tap water, quarterly if you use filtered water.
- Run the water purge test weekly to verify no hidden milk residue.
- Replace the wand tip and o-rings at the first sign of wear — they’re cheap and easy to swap.
Stick to this schedule for two weeks and cleaning becomes a habit. Your machine will thank you, and your milk foam will taste noticeably cleaner.
Products related to this article
Sponsored / affiliate links. As an Amazon Associate I earn from qualifying purchases. I may earn additional commission from eligible campaigns.
 Coffee Espresso Machine Handle Replacement Parts, Cafe Bracket Handle for Lidl Silvercrest CM4621 CM4218 KF5002 KF500S Barista (for 51mm Portafilter Basket - Not included)
 Linnkyfloa Coffee Espresso Maker Handle Replacement for Stovetop Moka Pot or Percolator, Black Plastic for Spare Part Compatible with Italian(9-12 Cup)
 Cascade Platinum Plus Dishwasher Detergent Pods Dish Soap Lemon 57 Count