You pull a shot at 7 AM. It takes twice as long as yesterday. The crema looks thin, and there’s a faint sour taste you don’t remember from last week. Your automatic espresso machine isn’t broken — it’s dirty. The difference between a $300 machine and a $3,000 machine often comes down to how well you maintain it. Skip the cleaning routine and even a top-tier unit will start pulling bitter, under-extracted shots.
This guide covers the full cleaning cycle for automatic espresso machines: what to do daily, weekly, monthly, and every few months. You’ll learn why each step matters, what happens when you skip it, and which cleaning products actually work. No vague advice — just the exact routine I use and recommend after years of testing machines side by side.

Tillbrook
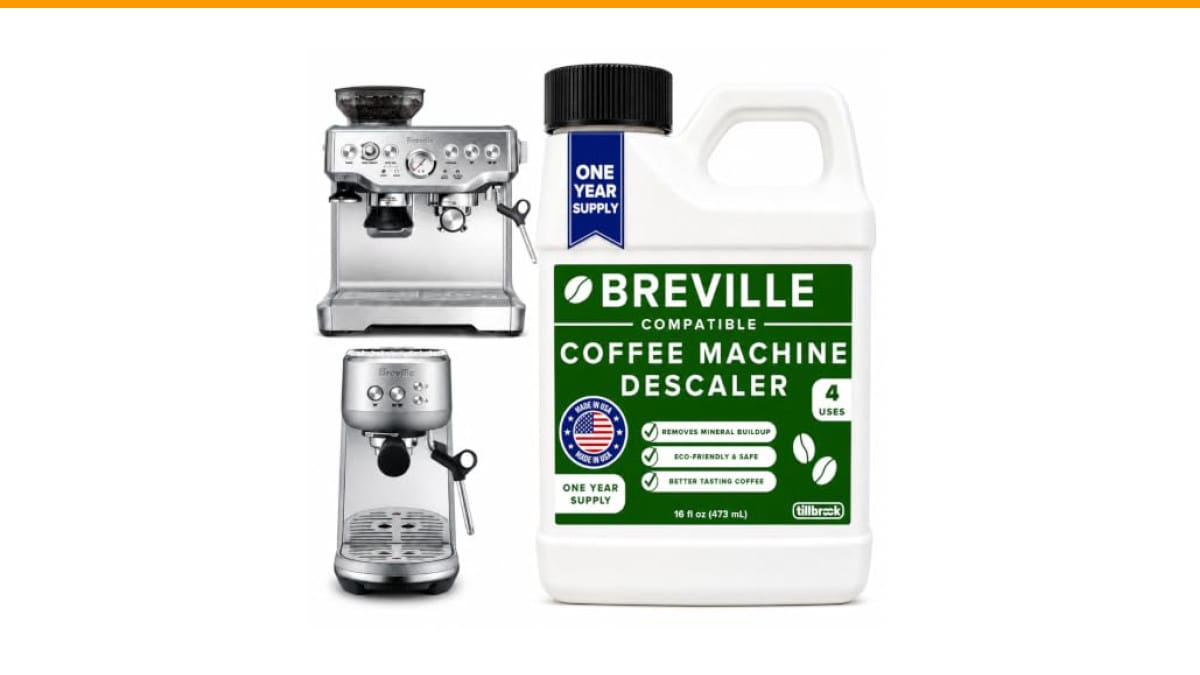
Breville Espresso Machine Compatible Descaler, 4 Uses,…
- EXCEPTIONAL RESULTS: Introducing Tillbrook Coffee Machine Descaler specifically formulated for Breville—the best choice for removi…
- 1 YEAR SUPPLY: Our concentrated formula is easy to use and provides remarkable value with 4 cleanings per bottle. Simply add 1/2 c…
- SCIENTIFICALLY ENGINEERED: Our advanced descaling solution is carefully crafted with powerful, all-natural ingredients that remove…
As an Amazon Associate I earn from qualifying purchases.
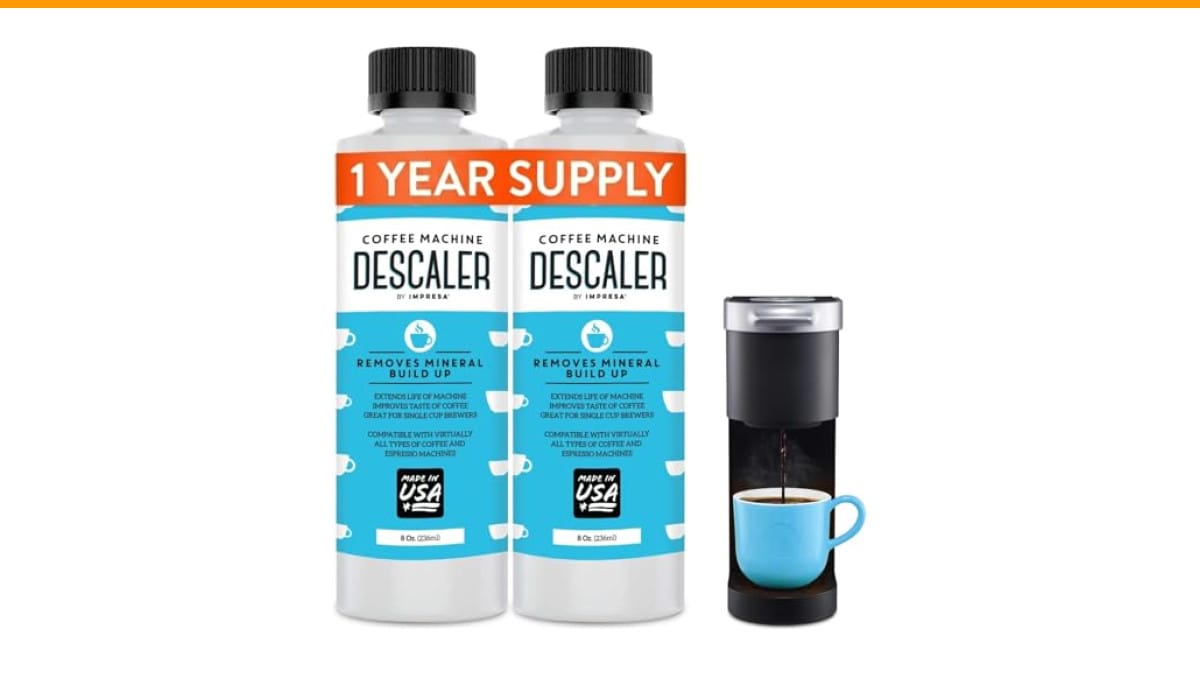
One quick note before we dive in: if your machine is due for a deep clean, a dedicated descaling solution makes the job far easier. The Tillbrook Breville-compatible descaler is a concentrated formula that removes mineral buildup without leaving an aftertaste. It’s formulated for Breville but works on most automatic machines, and one bottle gives you four cleanings — roughly a year of maintenance if you descale quarterly.
Why Automatic Machines Get Dirty Faster Than You Think
Automatic espresso machines combine a boiler, a pump, and a group head — plus a grinder if you have a super-automatic. That’s three places where coffee oils, minerals, and bacteria can accumulate. Coffee oil is the worst offender. It’s sticky, it goes rancid, and it coats the internal pipes and the group head screen. You can’t see most of it, but you can taste it.
Hard water makes everything worse. Calcium and magnesium scale build up inside the boiler and heating element. A layer of scale just 1 mm thick reduces heat transfer by about 10%. That means your machine works harder, uses more energy, and your water temperature drops below the ideal 195–205°F range. The result? Sour, under-extracted shots.
Here’s the part most owners miss: the grinder burrs in a super-automatic also collect coffee oil. That oil goes rancid and affects the flavor of every shot you pull. You can’t clean the grinder by running a cleaning tablet through the brew group — you need to address it separately. We’ll cover that below.
Daily and Weekly Cleaning: The 5-Minute Habit
You don’t need a chemistry set for daily maintenance. Ten minutes total keeps your machine in good shape. Here’s the exact routine.
After every use: Knock out the spent puck, wipe the group head screen with a damp cloth, and purge the steam wand for 2–3 seconds. That purge clears milk residue from inside the wand tip. Milk protein is stubborn — it bakes on like glue if left to dry.
Every evening: Remove the drip tray and empty it. Rinse it with hot water and let it air dry. Wipe the exterior with a microfiber cloth. This prevents sticky residue from building up on the tray rails and the machine body.
Weekly: Backflush the group head if your machine has a blind basket. Fill the blind basket with water, add a drop of mild detergent (or a dedicated espresso cleaner like Cafiza), and run the brew cycle for 10 seconds. Let it sit for 30 seconds, then run another cycle. Repeat 3–4 times. This pushes hot water and detergent through the group head and internal pipes, dissolving coffee oil that a simple rinse can’t touch.
If your machine has a removable brew group — common on models like the Breville Barista Express or Philips Saeco — take it out once a week. Rinse it under warm running water, no soap. Let it dry completely before reinserting. Check the manual, but most brew groups need a light coat of food-grade grease on the moving parts every few months.
For the steam wand, soak the tip in hot water with a drop of detergent for 5 minutes each week. Use a pin to clear the tiny hole if it’s clogged. I’ve seen steam wands completely blocked by dried milk — it’s the most common failure point on automatic machines.
Monthly Maintenance: Deep Clean the Internal Parts
Once a month, do a more thorough clean. This takes about 20 minutes and prevents the slow decline in shot quality that most people mistake for machine aging.
Remove the shower screen and dispersion plate if your machine allows it. Soak them in a solution of hot water and espresso cleaner for 10 minutes. Scrub with a soft brush to remove any remaining coffee oil. Rinse thoroughly and reinstall. A clogged shower screen restricts water flow, which leads to channeling — where water finds the path of least resistance through the puck instead of extracting evenly.
Clean the grinder burrs. For super-automatics, run a grinder cleaning tablet through the hopper. For semi-automatics with a separate grinder, remove the upper burr and brush it clean. Never use water on grinder burrs — it causes rust. A dry brush is all you need. If you’ve never done this, check our coffee grinder cleaning guide for the full process.
Wipe down the inside of the machine where the drip tray sits. This area collects spilled water, coffee grounds, and dust. A damp cloth with a little vinegar works fine here, but keep it away from electrical components.
Descaling: The Quarterly Requirement You Can’t Skip
Descaling is different from cleaning. Cleaning removes coffee oil and residue. Descaling removes mineral scale — the white, chalky buildup that comes from hard water. No amount of backflushing will remove scale. You need an acid-based descaler.
How often? That depends on your water hardness. If you have soft water, every 6 months might be enough. With hard water, every 2–3 months is safer. The rule of thumb: if you see white flakes in your drip tray or the machine takes noticeably longer to heat up, it’s time to descale.
Here’s the process that works on most automatic machines:
- Empty the water reservoir and fill it with a descaling solution — either a commercial product mixed per instructions or a 50/50 white vinegar and water mix. I prefer commercial descalers because they don’t leave a vinegar smell that lingers for days.
- Run a full brew cycle without coffee, letting the solution flow through the group head. Stop halfway and let it sit for 15–20 minutes. This gives the acid time to dissolve scale.
- Run the rest of the cycle, then repeat with the steam wand open so the solution flows through that line too.
- Empty the reservoir and fill it with fresh water. Run two full cycles of plain water to rinse out all traces of the descaler.
For Breville machines specifically, the Tillbrook descaler I mentioned earlier is a solid choice. It’s concentrated — 4 oz per cleaning — and uses all-natural ingredients, so there’s no chemical aftertaste. One bottle covers four descaling sessions, which is a full year of maintenance if you stay on schedule. It’s also tested on most major brands, so it works if you have a DeLonghi or Philips instead.
One warning: never descale a machine with a damaged or worn pump. The acid can dislodge scale that then clogs the pump. If your machine is already leaking or making loud noises, fix that first. Check our guide on loud espresso machine noises to diagnose common issues before you descale.
Cleaning Method Comparison
| Method | Frequency | What It Removes | Time Required | Best For |
|---|---|---|---|---|
| Wipe-down and purge | After every use | Surface oils, milk residue | 2 minutes | Daily habit |
| Drip tray rinse | Daily | Spilled coffee, water | 1 minute | Preventing odor |
| Backflush with detergent | Weekly | Coffee oil inside group head | 10 minutes | All automatic machines |
| Brew group rinse | Weekly | Grounds, oils | 5 minutes | Removable brew groups |
| Shower screen soak | Monthly | Baked-on oils | 15 minutes | When shots run slow |
| Grinder burr brush | Monthly | Rancid coffee oil | 10 minutes | Super-automatics |
| Descaling | Every 2–6 months | Mineral scale | 30–45 minutes | Hard water areas |
That table is the whole routine at a glance. Print it, stick it on your fridge, and follow it.
Common Mistakes That Ruin Automatic Machines
People mess up cleaning in predictable ways. Here are the ones I see most often.
Using dish soap on the brew group. Dish soap leaves a residue that foams up in your next shot. The brew group only needs warm water. Same goes for the shower screen — use espresso cleaner or nothing.
Running a descaling cycle with the brew group installed. The acid solution can damage the plastic and rubber seals on the brew group. Remove it before descaling, then clean it separately with water.
Ignoring the water filter. If your machine has a built-in water filter, replace it every 2–3 months. A saturated filter doesn’t soften water anymore, and it can harbor bacteria. This is a small cost that saves you from descaling twice as often.
Skipping the steam wand purge. I mentioned this earlier, but it deserves repeating. Milk residue inside the wand is the #1 cause of steam wand failure. Two seconds of purging after every use prevents a $50 repair.
If your machine is already leaking water, don’t clean it and hope the problem goes away. A leak usually means a worn seal or a cracked hose — cleaning won’t fix that. Check our water leak troubleshooting guide first.
Frequently Asked Questions
How often should I descale my automatic espresso machine?
Every 2–3 months if you have hard water, every 4–6 months if you use soft or filtered water. The descaling light on your machine is a guideline, not gospel — if you see scale buildup in the drip tray or the machine takes longer to heat, descale sooner.
Can I use vinegar instead of a commercial descaler?
Yes, white vinegar works, but it has drawbacks. It leaves a strong smell that takes multiple rinse cycles to clear. It’s also less effective on heavy scale. Commercial descalers like Tillbrook use stronger acids (citric or lactic) that dissolve scale faster and rinse clean. If you use vinegar, use a 50/50 mix and run an extra rinse cycle.
What’s the difference between backflushing and descaling?
Backflushing cleans coffee oil and residue from the group head using water and detergent. Descaling removes mineral scale from the boiler and pipes using an acid solution. They solve different problems, and you need both. Backflushing weekly, descaling quarterly.
My machine has a cleaning tablet cycle. Is that enough?
No. The cleaning tablet cycle cleans the internal brew path, but it doesn’t descale and it doesn’t clean the grinder. You still need to descale quarterly and brush the grinder burrs monthly. The tablet cycle is a supplement, not a replacement.
How do I know if my machine needs cleaning?
Signs include: shots take longer to pull, crema is thin or absent, coffee tastes bitter or sour, steam wand sputters, and visible buildup on the group head screen. If you notice any of these, run the cleaning routine above. If that doesn’t fix it, check for scale or a worn pump.
What to Do Next: A Simple Maintenance Schedule
- After every use: purge the steam wand, wipe the group head, knock out the puck.
- Daily: empty and rinse the drip tray.
- Weekly: backflush with detergent, rinse the brew group.
- Monthly: soak the shower screen, brush the grinder burrs, clean the drip tray area.
- Every 2–3 months: descale with a commercial solution. The Tillbrook descaler is a good choice — four uses per bottle, no aftertaste.
- Every 2–3 months: replace the water filter if your machine has one.
- If a problem persists after cleaning, troubleshoot the specific issue before buying replacement parts.
Your espresso machine isn’t a set-and-forget appliance. It’s more like a car — regular oil changes keep it running, but ignoring the maintenance light leads to expensive repairs. The routine above takes about 30 minutes per week in total. That’s a small price for consistently great shots and a machine that lasts a decade instead of three years.
If you’re shopping for a new machine and want to avoid high-maintenance models, our best automatic espresso machine under $1000 guide covers models with easy-to-remove brew groups and accessible cleaning cycles. And if you’re deciding between an automatic and a semi-automatic, check out the comparison here — cleaning effort is one of the biggest differences between the two.
One last thing: don’t overthink it. You don’t need a drawer full of specialty brushes and cleaners. A blind basket, one espresso cleaner, one descaler, and a microfiber cloth cover 95% of what you’ll ever need. Start with the daily habit, add the weekly backflush, and work up to the monthly deep clean. Your next shot will taste better within a week.
Products related to this article
Sponsored / affiliate links. As an Amazon Associate I earn from qualifying purchases. I may earn additional commission from eligible campaigns.
 Coffee Espresso Machine Handle Replacement Parts, Cafe Bracket Handle for Lidl Silvercrest CM4621 CM4218 KF5002 KF500S Barista (for 51mm Portafilter Basket - Not included)
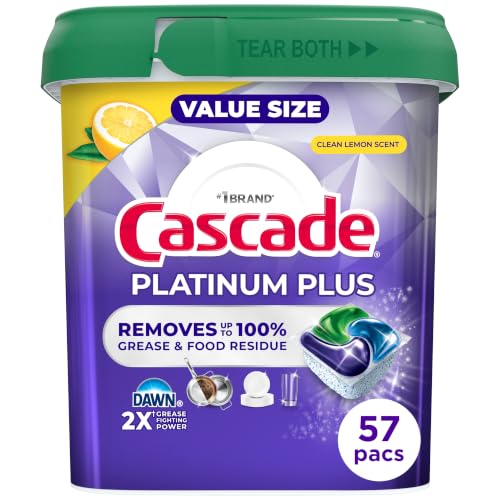 Cascade Platinum Plus Dishwasher Detergent Pods Dish Soap Lemon 57 Count
 MRS. MEYER'S CLEAN DAY Automatic Dishwasher Pods, Lavender, 20 Count - Pack of 3 (60 Total Pods)