You just brewed a cup and noticed a thin, oily film sitting on top. Or maybe the last sip tasted a little bitter, a little dusty. That’s not your beans. That’s yesterday’s coffee oils and micro-grounds stuck in your pour over dripper.
Most people rinse their pour over under hot water for five seconds and call it clean. That works for a while. Then the mesh filter slows down, the brew time stretches from 2:30 to 4 minutes, and your coffee starts tasting flat. This article walks through exactly how to clean a pour over coffee maker, what to use, what to avoid, and how often each part needs attention.
Roogaluckeep
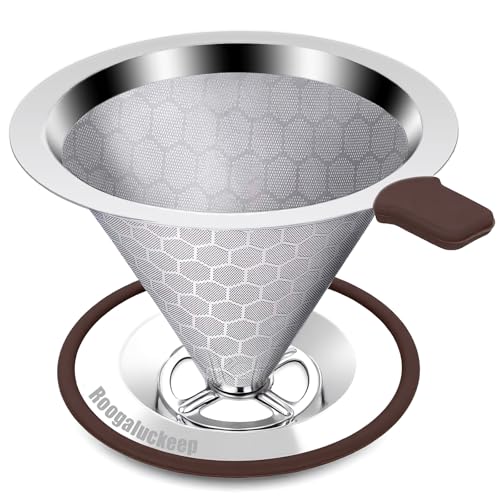
Roogaluckeep Pour Over Coffee Maker, Reusable Stainless…
- RICH, FULL-BODIED FLAVOR EVERY CUP: 600 mesh ultra-fine stainless steel filter with precision spiral ribs ensures slow, even extra…
- No PLASTIC Coffee maker & BPA-FREE BREWING: Made entirely from food-grade 304 stainless steel with zero plastic parts that touch y…
- BREWS 1-2 CUPS IN UNDER 3 MINUTES: Simply add medium-ground coffee and slowly pour hot water in circular motions. One-piece design…
As an Amazon Associate I earn from qualifying purchases.
You’ll leave with a simple routine that takes under a minute daily and a deeper clean you can do weekly. No harsh chemicals, no expensive tablets, just stuff you already have in your kitchen.
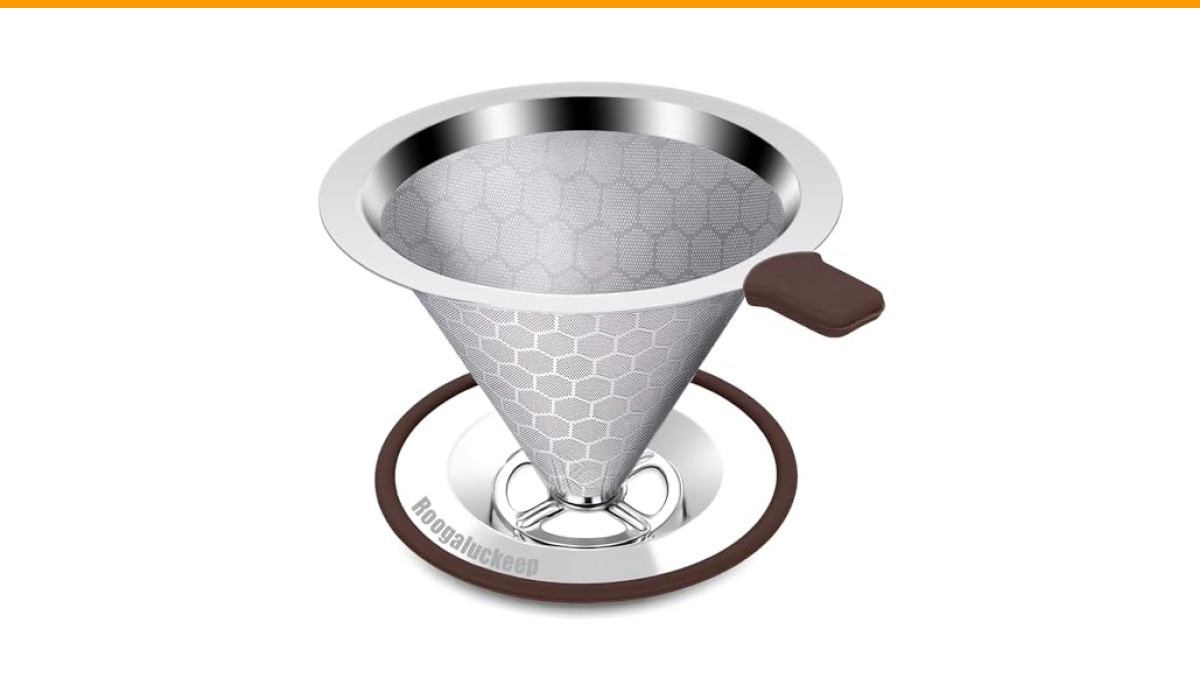
If you’re using a stainless steel dripper, the cleaning routine is even easier. The Roogaluckeep Pour Over Coffee Maker uses a 600-mesh ultra-fine filter that catches sediment but doesn’t absorb oils like paper does. That means no paper filter to replace and no paper taste to rinse out of your cup.
Why Your Pour Over Gets Dirty in the First Place
Coffee contains natural oils, called diterpenes, that cling to surfaces. When those oils oxidize, they turn rancid. That rancid layer is what makes old coffee equipment smell musty and makes fresh coffee taste dull.
Pour over brewers are especially vulnerable because the water passes through the grounds once. There’s no high-pressure spray like in an espresso machine. The oils just sit there on the mesh or ceramic surface until you physically remove them.
Another culprit is hard water. If your tap water has high mineral content, you’ll notice a white, chalky buildup on your dripper within a couple of weeks. That scale doesn’t just look bad. It can clog the pores of a stainless steel filter and slow your brew time significantly.
So you’re dealing with two different types of residue: organic oils and inorganic minerals. Each needs a different cleaning approach. That’s the core of this whole topic.
The Daily Rinse: What Works and What Doesn’t
Right after you finish brewing, the oils are still warm and liquid. That’s the easiest time to remove them. Rinse the dripper and filter under hot running water for 15 to 20 seconds. Use your fingers or a soft sponge to wipe the inside surfaces.
For stainless steel mesh filters, hold the filter up to the light. You should see light passing through evenly. If you see dark spots or clogged patches, those areas need more attention.
Do not use soap on a daily basis. Most dish soaps leave a residue that can affect coffee flavor. You won’t taste it directly, but you might notice your coffee seems slightly muted. The exception is a grease-cutting soap used occasionally for a deep clean, which we’ll cover below.
One thing that doesn’t work well: just running water through the brewer without wiping. Water alone won’t break down the oils. You need some mechanical action, whether that’s your fingers, a sponge, or a brush.
If you use a paper filter with a ceramic or glass dripper, the daily rinse is simpler. Toss the paper filter, rinse the dripper, and let it air dry. The paper absorbs most of the oils, so there’s less buildup to fight.
For those using a reusable stainless steel filter like the one on the Roogaluckeep brewer, the mesh needs a little more attention. The ultra-fine 600-mesh weave catches everything, which means oils get trapped in the tiny gaps. A quick rinse gets the big stuff, but you’ll need a deeper clean regularly.
Deep Cleaning with Baking Soda: The Oil Remover
Once a week, or every 10 to 15 brews, do a baking soda scrub. This handles the rancid oil buildup that hot water alone can’t touch.
Here’s the process:
- Mix 1 tablespoon of baking soda with a few drops of water to make a thick paste.
- Apply the paste to the inside of the dripper and the filter.
- Use a soft toothbrush or a bottle brush to scrub gently. Pay extra attention to the mesh filter if you have one.
- Let the paste sit for 5 minutes. This gives the baking soda time to break down the oils.
- Rinse thoroughly under hot water until every trace of baking soda is gone.
Baking soda is mildly abrasive, so it scrubs without scratching. It’s also alkaline, which neutralizes the acidic rancid oils. This combination makes it the best everyday deep cleaner for coffee equipment.
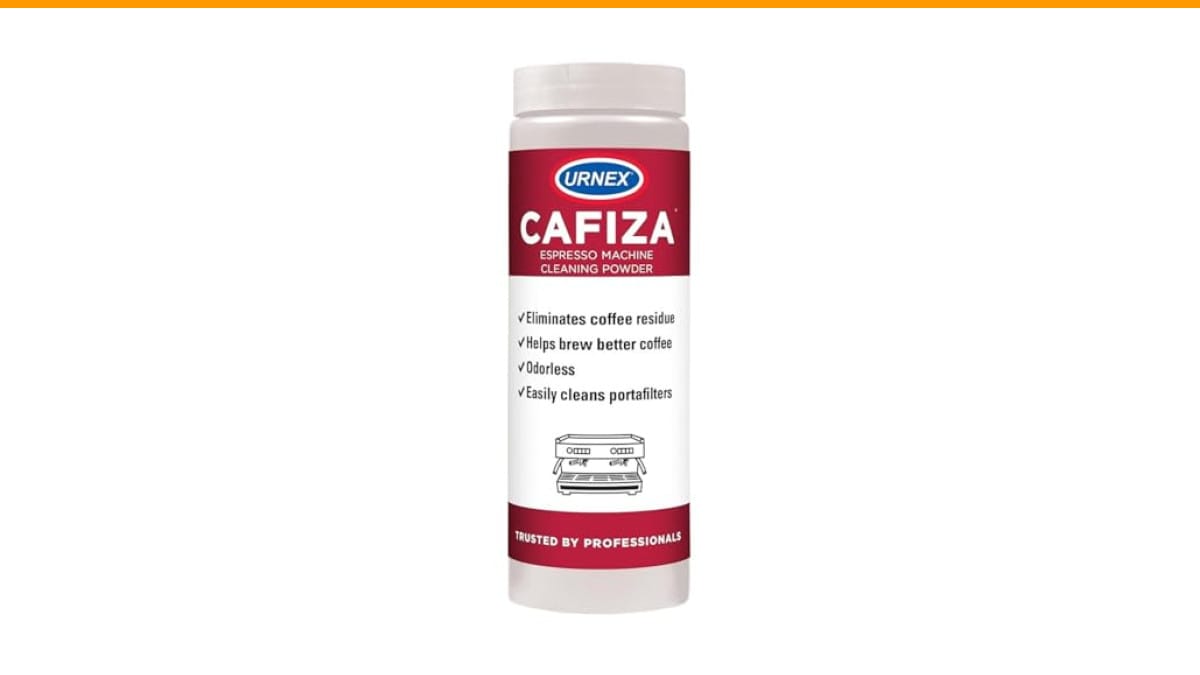
You can also use a dedicated coffee cleaner like Cafiza or Urnex. These are formulated to dissolve coffee oils quickly. Use them according to the package directions, usually one scoop dissolved in hot water with a 10-minute soak. They work faster than baking soda, but they’re an extra product to keep around.
For stainless steel filters specifically, you can also boil them. Place the filter in a pot of water, bring it to a boil, and let it simmer for 5 minutes. This loosens stubborn oils. Add a tablespoon of baking soda to the water for extra cleaning power. Let the filter cool before handling.
Removing Hard Water Scale with Vinegar
Mineral scale is a different problem. Oils dissolve in alkaline cleaners. Minerals dissolve in acid. That’s where white vinegar comes in.
If you see white spots or a chalky film on your dripper, or if your brew time has gotten noticeably slower, it’s time for a vinegar soak.
Mix one part white vinegar with two parts water. Submerge the dripper and filter completely. Let it soak for 30 minutes. For heavy buildup, soak for up to an hour.
After the soak, scrub gently with a soft brush to dislodge any remaining scale, then rinse thoroughly. A quick vinegar rinse won’t leave a taste, but a long soak without rinsing might. Rinse until you can’t smell vinegar anymore.
Do not boil vinegar. Heating vinegar releases strong fumes that are unpleasant and can irritate your lungs. Cold or room-temperature soaking works fine.
Vinegar is safe for stainless steel, glass, and ceramic. Avoid using it on aluminum drippers, as the acid can react with the metal. If you have an aluminum pour over, stick to baking soda only.
For a complete guide on using vinegar across different coffee equipment, check out our vinegar cleaning guide.
How Often Should You Clean Each Part?
Not every part needs the same schedule. Here’s a breakdown of what matters and when.
| Part | Frequency | Method | Why It Matters |
|---|---|---|---|
| Dripper (ceramic/glass) | After every use | Hot water rinse + wipe | Prevents oil film from building up |
| Stainless steel filter | After every use | Hot water rinse from both sides | Keeps mesh pores open for proper flow |
| Dripper (all types) | Weekly | Baking soda paste scrub | Removes rancid oils that affect flavor |
| Stainless steel filter | Weekly | Baking soda soak or boil | Deep cleans the mesh weave |
| All parts | Monthly | Vinegar soak (30 min) | Removes mineral scale from hard water |
| Carafe or mug | After every use | Dish soap and water | Prevents stains and bacterial growth |
The biggest mistake people make is skipping the weekly deep clean. A daily rinse keeps things looking fine, but the oils are still accumulating. By week two, you’ll notice a difference in brew speed and taste.
If you’re unsure how often to clean other parts of your coffee setup, our cleaning frequency guide covers the full picture.
What Not to Do: Common Mistakes
Some cleaning habits do more harm than good. Here are the ones I see most often.
Don’t put your ceramic or glass dripper in the dishwasher unless the manufacturer says it’s safe. The high heat and harsh detergents can dull the glaze or etch the glass. Hand washing takes 30 seconds.
Don’t use steel wool or abrasive scrub pads on stainless steel filters. They can scratch the mesh and create gaps where coffee grounds pass through. Stick to soft brushes or plastic scrub pads.
Don’t soak wooden or bamboo parts. Some pour over stands have wooden collars. Water will warp and crack them. Wipe those with a dry cloth only.
Don’t use bleach. It’s overkill for coffee oils and leaves a chemical residue that’s hard to fully rinse. Baking soda and vinegar handle everything you need.
Don’t skip drying. After cleaning, let your pour over air dry completely before storing. Storing a wet dripper in a cabinet invites mold and mildew. A simple drying rack or a dish towel works.
If your brewer is clogged and won’t drain properly, the fix is usually a vinegar soak followed by a baking soda scrub. That combination clears both scale and oils. For more on that specific problem, read our clogged coffee maker guide.
Signs Your Pour Over Needs a Deep Clean Right Now
You don’t have to guess. Your brewer will tell you when it’s dirty. Here’s what to watch for.
Brew time has increased. If your coffee used to finish in 2 minutes and now takes 3 or 4, your filter is clogged. That’s the most obvious sign.
The coffee tastes bitter or flat. Rancid oils add a stale, cardboard-like flavor. If your beans are fresh but the cup tastes off, clean the equipment first.
You see visible film or spots. A shiny film on the dripper surface or white spots from scale are both clear indicators.
The filter looks discolored. Stainless steel mesh should stay silver. If it’s turning brown or yellow, that’s baked-on oil.
There’s a musty smell. A clean brewer should smell like nothing. If you catch a sour or musty scent, that’s bacteria or mold starting to grow.
Address these signs promptly. A neglected brewer takes longer to clean and can affect every cup you brew until you fix it.
Frequently Asked Questions
Can I use dish soap on my pour over coffee maker?
Yes, but only occasionally. Dish soap is effective at cutting grease, so it works well for a monthly deep clean. The concern is residue. Rinse thoroughly with hot water until you can’t smell any soap. For daily cleaning, stick to plain hot water and a scrub brush.
How do I clean a stainless steel pour over filter?
Rinse it under hot water immediately after brewing, from both sides. Weekly, scrub it with a baking soda paste using a soft toothbrush. Monthly, soak it in a vinegar-water solution to remove mineral scale. You can also boil the filter in water with baking soda for 5 minutes to loosen stubborn oils.
Is vinegar safe for all pour over materials?
Vinegar is safe for stainless steel, glass, and ceramic. It is not safe for aluminum, which can corrode. It’s also best to avoid vinegar on any painted or coated surfaces. When in doubt, test on a small area first or stick to baking soda.
Why does my pour over coffee taste bitter even with fresh beans?
Dirty equipment is a common cause. Rancid coffee oils on the dripper or filter add bitter, stale flavors to fresh coffee. Clean your pour over thoroughly and brew again. If the taste improves, the equipment was the problem. If not, check your grind size and water temperature.
How often should I replace a reusable stainless steel filter?
A well-maintained stainless steel filter can last for years. There are no moving parts and the mesh doesn’t degrade under normal use. Replace it if you notice holes, tears, or if the mesh becomes permanently clogged even after deep cleaning. Most people replace them every 2 to 3 years, but that’s not a hard rule.
What to Remember When Cleaning Your Pour Over
- Rinse your dripper and filter with hot water immediately after every brew. It takes 15 seconds and prevents most buildup.
- Deep clean weekly with a baking soda paste to break down rancid coffee oils.
- Soak monthly in a vinegar solution to dissolve hard water scale that clogs filters.
- Never use steel wool or harsh abrasives on stainless steel mesh filters.
- Dry your pour over completely before storing to prevent mold and mildew.
- Watch for slower brew times or off flavors as early warning signs of buildup.
- A good stainless steel filter, like the one on the Roogaluckeep brewer, simplifies cleaning because there are no paper filters to buy or replace.
Cleaning a pour over coffee maker isn’t complicated. It’s a two-step routine: quick rinse daily, deeper clean weekly. Stick to that and your coffee will taste cleaner, your brew times will stay consistent, and your equipment will last longer than you expect.
Products related to this article
Sponsored / affiliate links. As an Amazon Associate I earn from qualifying purchases. I may earn additional commission from eligible campaigns.
 Belly Moka Coffee Maker Stovetop Espresso Maker 9 Cup Aluminum Moka Pot Percolator 15oz 450ml Easy Brewing for Electric Ceramic Stoves Home Camping Italian Cuban Café Classic Black
 Belly Moka Coffee Maker Stovetop Espresso Maker 6 Cup Aluminum Moka Pot Percolator 10oz 300ml Easy Brewing for Electric Ceramic Stoves Home Camping Italian Cuban Café Classic Silver
 HomeBeyond Espresso Coffee Maker 12 Cups, Classic Stovetop Espresso Maker, 600ml / 20oz Coffeemaker for Gas & Ceramic Stovetops (Silver)