You just dialed in a new bag of beans, ground them perfectly, and brewed a cup that tastes… flat. The beans are fresh. The grind size looks right. The water came straight from the tap. That’s the moment most people realize water isn’t just water. It’s the solvent that extracts everything from your coffee, and it’s carrying minerals, chlorine, and sometimes sediment that work against you.
This guide covers the practical side of using filtered water in a coffee maker with a grinder. You’ll learn what filtration actually removes, why water that’s too pure can ruin a brew, how your water choice affects the grinder burrs and internal parts, and how to test your home water so you can stop guessing. We’ll also get into the specialty coffee approach of building water from scratch, because that’s where the biggest flavor gains hide.

COFFEE WATER
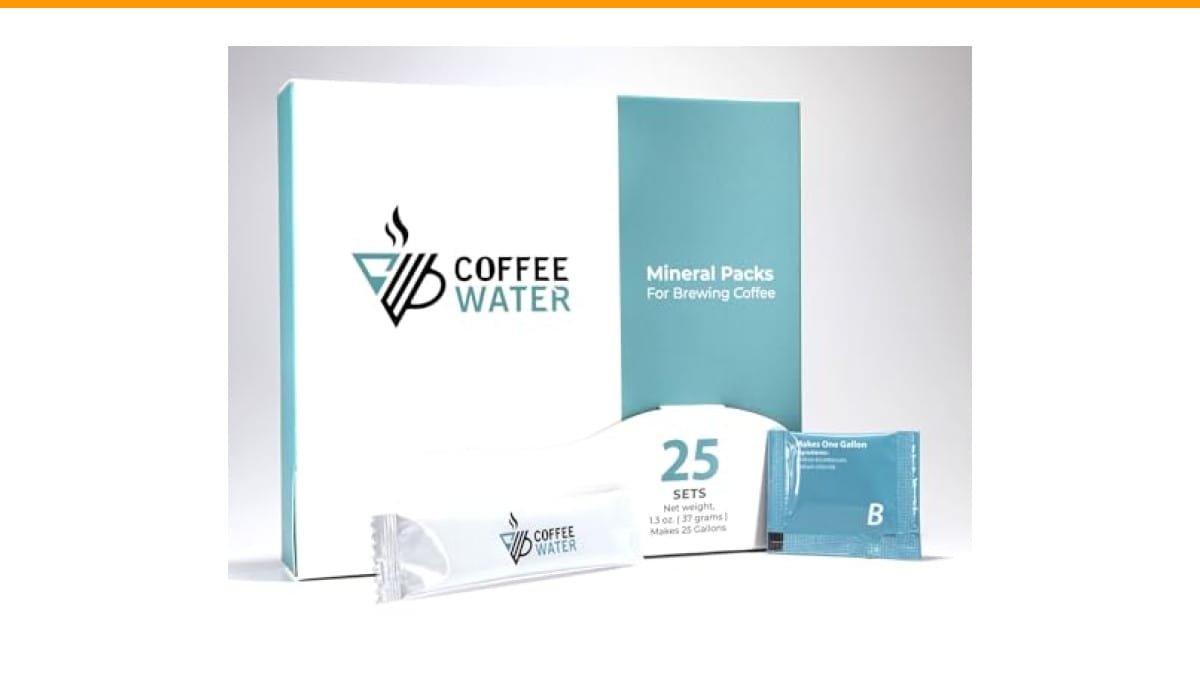
COFFEE WATER Mineral Packs for Making Water…
- COFFEE WATER mineral packs turn pure water into the optimal water for brewing a truly amazing cup of coffee.
- Perfect for use with reverse osmosis (RO) filtered water or distilled water.
- Meets all Specialty Coffee Association, Water for Coffee standards.
As an Amazon Associate I earn from qualifying purchases.
If you’re serious about consistency, consider using COFFEE WATER mineral packs. These dissolve into reverse osmosis or distilled water to create water that meets Specialty Coffee Association standards, so you don’t have to mix your own mineral recipes.
Why Water Quality Matters More Than Your Grinder
Most home baristas obsess over grinders and beans, then fill the tank with whatever comes out of the faucet. That’s backwards. Water sits at the center of extraction. It carries the soluble compounds out of the coffee grounds, and its mineral content directly controls how fast that happens.
Specialty coffee guidelines call for water with a total dissolved solids (TDS) range of 150 to 250 parts per million (ppm). That’s not a random number. Magnesium and calcium ions in that range bind to flavor compounds and pull them out efficiently. Below 100 ppm, extraction stalls. You get sour, weak coffee because the water can’t grab the good stuff. Above 300 ppm, extraction runs too fast and pulls bitter, harsh compounds you didn’t want.
Your grinder matters for particle size distribution, sure. But a $500 grinder with bad water produces worse coffee than a $100 grinder with water dialed to the right mineral profile. That’s not hyperbole. It’s simple chemistry.
So before you blame the burrs or the beans, test your water. A $15 TDS meter tells you more about your future cups than a new grinder upgrade will.
The Real Difference Between Filtered and Unfiltered Water
Filtered water isn’t one thing. A Brita pitcher and a reverse osmosis system both filter water, but they produce wildly different results. The key difference comes down to what each filter removes and what it leaves behind.
What Filtration Actually Removes (and What It Leaves Behind)
Activated carbon filters, like those in most pitcher filters, primarily remove chlorine, chloramine, and organic compounds that cause off-tastes. They do not soften water. They leave calcium and magnesium in place, which is exactly what you want for extraction.
Reverse osmosis systems push water through a semipermeable membrane that strips out nearly everything, including minerals. RO water typically measures below 20 ppm TDS. That’s great for brewing equipment longevity but terrible for flavor on its own. Coffee brewed with pure RO water tastes hollow and acidic because there’s no mineral buffer to moderate extraction.
Water softeners swap calcium and magnesium for sodium. That softens water and prevents scale, but the sodium can make coffee taste salty or flat at high concentrations. A softener alone isn’t a great solution for brewing.
The Hidden Danger of “Too Pure” Water
Here’s the counterintuitive part: demineralized water is corrosive. Water with very low TDS wants to dissolve things to reach equilibrium. In your coffee maker, that means it can leach metal ions from the boiler, heating element, and even the grinder burrs over time.
In the cup, the effect is immediate. Low-mineral water over-extracts the sharp, acidic fractions of the coffee and under-extracts the sweet, balanced ones. The result is a cup that tastes sour, thin, and almost metallic. You’ve removed the very compounds that make coffee taste like coffee.
That’s why the cleaning schedule for your coffee maker matters more when you switch water types. Scale builds up differently depending on what you feed the machine.
How Filtered Water Affects Your Coffee Grinder and Machine
Most articles talk about scale in the boiler and call it a day. But your grinder has moving parts that see water too, especially if you rinse the hopper or use a wet cleaning tablet. And the water you brew with directly affects how often the machine needs maintenance.
Protecting Burrs and Internal Parts
Hard water leaves scale deposits on heating elements and inside boilers. That scale acts as an insulator, forcing the machine to work harder to reach brewing temperature. Over time, the thermal fuse can trip or the thermostat can fail. Descaling dissolves those deposits, but aggressive descaling solutions can also corrode seals and gaskets if used too often.
The grinder burrs themselves rarely touch water during normal use. But mineral dust from hard water can accumulate on the burrs and in the chute, especially if you grind wet coffee beans or use a spray bottle for static control. That mineral residue builds up and eventually affects grind consistency. If you’re already using filtered water, you’re reducing that dust load.
The Scale Buildup Equation
Scale isn’t binary. It’s a function of water hardness multiplied by volume brewed. A household with 200 ppm hard water brewing two cups a day will accumulate scale much slower than a household with 400 ppm water brewing a full carafe daily.
Here’s a practical baseline. With moderately hard water (150-200 ppm), descale every three months. With soft water (under 60 ppm), you can stretch that to six months. With RO water that has no minerals, you might go a year without seeing scale, but you’ll sacrifice flavor unless you remineralize.
Filtered water that keeps minerals in the 100-200 ppm range hits the sweet spot. It protects your machine from the worst scale while giving your coffee the mineral content it needs. If you use a carbon filter pitcher, you’re already most of the way there.
Choosing the Right Filter for Your Coffee Setup
Not all filters suit a coffee maker with a built-in grinder. The filter needs to handle the volume you brew, and it needs to leave enough minerals behind for extraction.
Pitcher Filters vs. Under-Sink vs. RO Systems
Pitcher filters are the easiest entry point. A standard carbon pitcher removes chlorine and improves taste while keeping calcium and magnesium. The downside is flow rate. If you brew a full pot daily, you’ll refill the pitcher constantly, and the filter needs replacing every 40 gallons or so.
Under-sink carbon filters offer more capacity and don’t take up counter space. They also keep mineral content stable, which is what you want. A good under-sink system with a dedicated coffee faucet costs more upfront but pays off in convenience.
RO systems deliver the purest water, but they require remineralization for good coffee. That’s where mineral packs or a remineralizing cartridge come in. You get the benefit of zero scale and the flavor of balanced water, but you’re adding a step and some cost.
For most home users, a carbon pitcher or under-sink carbon filter is the practical answer. RO is overkill unless you already have one installed for drinking water.
The Specialty Coffee Approach: Customizing Your Water Chemistry
Third wave coffee shops don’t just filter water. They build it. The burr grinder comparison on our site covers equipment, but water chemistry is the other half of the equation.
The Specialty Coffee Association publishes a water quality standard that specifies ranges for hardness, alkalinity, and pH. The goal is water that extracts evenly and tastes clean. Home brewers can hit that standard by starting with distilled or RO water and adding minerals back in precise amounts.
That sounds complicated, but it doesn’t have to be. Pre-mixed mineral packs dissolve into a gallon of pure water and give you a consistent result every time. You don’t need a lab scale or a chemistry degree. You just need to measure the water and drop in the packet.
This approach also makes your espresso machine or drip maker easier to maintain. Pure water leaves no scale, so descaling becomes a rare event rather than a monthly chore. The tradeoff is the upfront cost of the mineral packs and the habit of mixing water ahead of time.
Practical Guide: Testing, Filtering, and Descaling
Let’s get specific. Here’s how to figure out what your water is doing and what to do about it.
How to Test Your Tap Water Hardness
You have three options. The cheapest is a TDS meter, which measures total dissolved solids in ppm. It won’t tell you exactly which minerals are present, but it tells you if you’re in the right ballpark. A reading under 100 ppm means soft water. Over 250 ppm means hard water.
For a more detailed picture, use a water hardness test strip. These are cheap and give you a general hardness reading in grains per gallon or ppm of calcium carbonate. They don’t measure magnesium specifically, but they’re good enough for a home decision.
The most accurate option is a lab test, which costs $30 to $50 and gives you a full mineral breakdown. That’s worth it if you’re serious about dialing in water chemistry and want to know exactly what you’re working with.
A Simple Descaling Schedule Based on Your Water Type
| Water Type | TDS Range (ppm) | Descaling Frequency | Flavor Impact |
|---|---|---|---|
| Unfiltered hard tap water | 200+ | Every 1-2 months | Bitter, dull, scale taste |
| Carbon filtered (pitcher or under-sink) | 100-200 | Every 3 months | Clean, balanced |
| Softened water | 50-100 | Every 4-6 months | Can taste flat or salty |
| RO or distilled water | 0-20 | Rarely needed | Sour, hollow unless remineralized |
| RO + mineral packs | 150-250 | Every 6-12 months | Optimal extraction, clean cup |
Your descaling interval also depends on how much coffee you brew. The table assumes one to two pots per day. If you brew three or more, cut the interval in half.
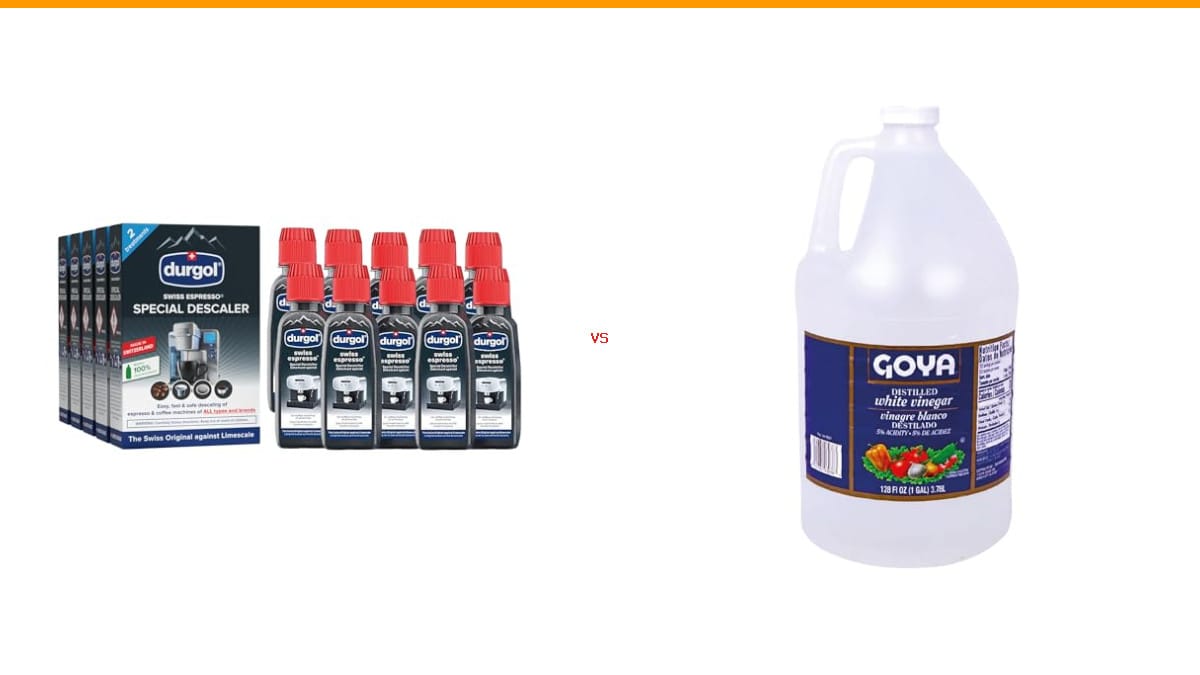
When you do descale, use a solution designed for coffee machines. Vinegar works in a pinch, but it can leave a lingering odor and may not dissolve all scale types. A proper descaler is faster and safer for your machine’s seals.
Frequently Asked Questions
Can I use filtered water from my refrigerator in my coffee maker?
Yes, if it’s carbon filtered. Most fridge filters remove chlorine and improve taste while keeping minerals. Check the TDS if you can. If it reads below 100 ppm, your coffee might taste a bit flat. If it’s in the 100-200 range, you’re good to go.
Is bottled water better than filtered tap water?
Not necessarily. Bottled water varies wildly. Some spring waters have high mineral content that can scale your machine. Others are basically filtered tap water. Look for a TDS in the 150-250 range on the label. If you can’t find that info, stick with filtered tap water you can test yourself.
Will filtered water prevent scale in my espresso machine?
Carbon filters don’t remove hardness minerals, so they won’t prevent scale on their own. You need soft water or RO water to avoid scale. The tradeoff is flavor. That’s why remineralizing RO water is the best path if scale is your main concern.
Does the grinder need special care if I use filtered water?
Not really. The grinder doesn’t see water during normal use. But if you use a wet grind cleaner or rinse the hopper, filtered water leaves less residue. Dry the burrs thoroughly after any wet cleaning to prevent rust on cheaper steel burrs.
How often should I replace my coffee maker’s water filter?
Follow the manufacturer’s recommendation, usually every 2 to 3 months or 40 gallons. A clogged filter stops removing chlorine and can harbor bacteria. Mark your calendar when you install a new one so you don’t forget.
Final Verdict: Is Filtered Water Worth It?
Filtered water is the cheapest upgrade you can make to your coffee setup. A $30 pitcher filter improves taste immediately and reduces scale buildup compared to hard tap water. The grinder benefits indirectly because less mineral dust ends up in the chute and burrs.
- Test your water hardness first. A $15 TDS meter removes all guesswork.
- Carbon filters (pitcher or under-sink) are the best balance of cost, convenience, and flavor for most home users.
- Avoid pure RO or distilled water without remineralizing. It ruins extraction and can corrode metal parts over time.
- Target a TDS of 150-250 ppm for optimal coffee extraction.
- Descale every 3 months with filtered water, every 1-2 months with hard tap water.
- If you want the specialty coffee experience, use mineral packs with RO water to build water from scratch.
- Check the vinegar cleaning guide on our site for a budget descaling method that works in a pinch.
Your coffee maker and grinder are a single system. Feed them water that’s clean but not empty, and they’ll reward you with better flavor and a longer lifespan. That’s a trade worth making.
Products related to this article
Sponsored / affiliate links. As an Amazon Associate I earn from qualifying purchases. I may earn additional commission from eligible campaigns.
 HomeBeyond Espresso Coffee Maker 12 Cups, Classic Stovetop Espresso Maker, 600ml / 20oz Coffeemaker for Gas & Ceramic Stovetops (Silver)
 Belly Moka Coffee Maker Stovetop Espresso Maker 9 Cup Aluminum Moka Pot Percolator 15oz 450ml Easy Brewing for Electric Ceramic Stoves Home Camping Italian Cuban Café Classic Black
 Belly Moka Coffee Maker Stovetop Espresso Maker 6 Cup Aluminum Moka Pot Percolator 10oz 300ml Easy Brewing for Electric Ceramic Stoves Home Camping Italian Cuban Café Classic Silver