You bought a bag of beans that cost more than your lunch, ground them fresh, and brewed a cup. Then you tasted it. The coffee was thin, slightly bitter, and missing the rich, syrupy body you get at your favorite cafe. You blamed the beans or your technique. More often than not, the culprit is the paper filter.
Paper filters trap the natural coffee oils and fine sediment that carry most of the flavor and mouthfeel. They also absorb some of the aromatic compounds. Switching to a reusable filter changes your cup completely. It is a bigger change than upgrading your grinder or buying a new brewer.
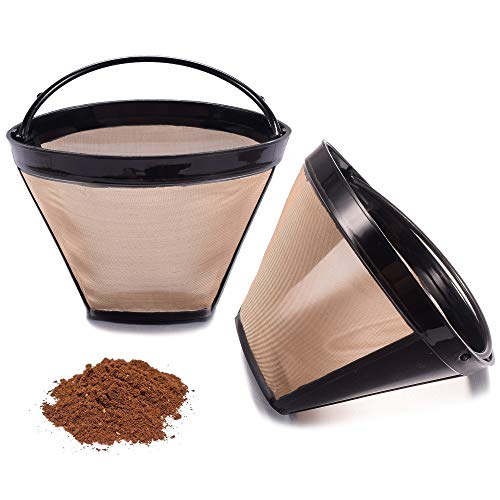
MJULY
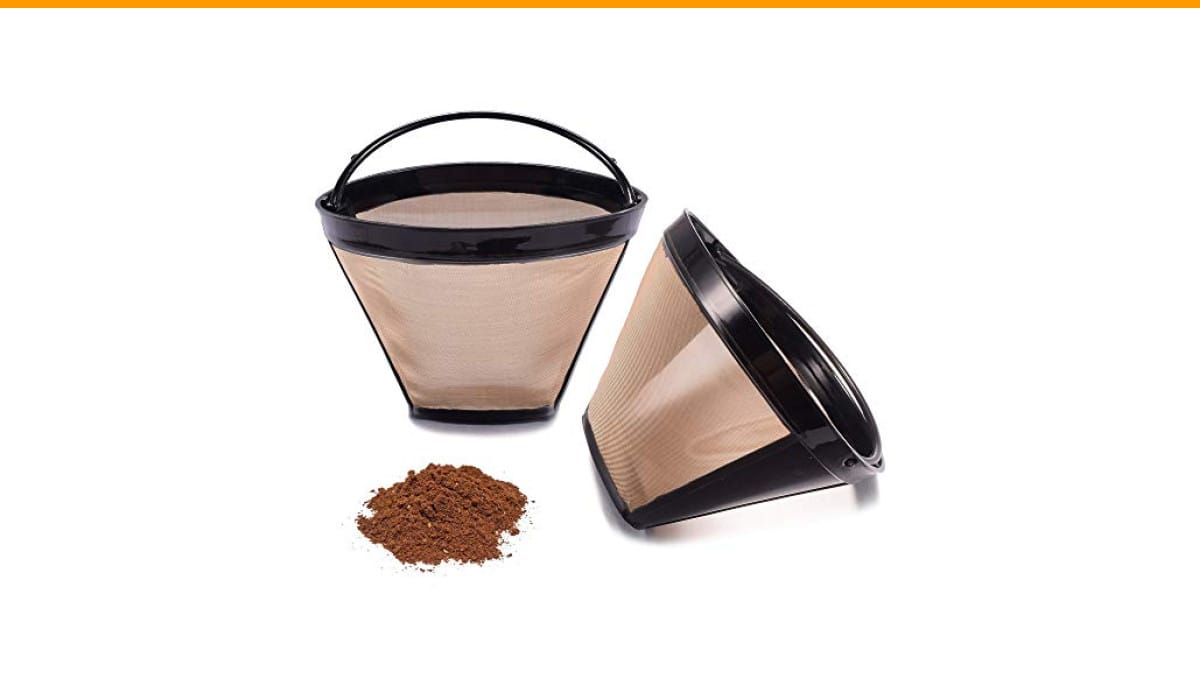
Reusable No.4 Cone Coffee Maker Filters for…
- Package come with 2 PCS #4 Cone Permanent Coffee Filters,easy to clean, repeated use,Save more money than disposable filters paper
- Using food grade stainless-steel woven mesh,the fine mesh makes the filtered coffee taste better.
- #4 cone coffee filter for Ninja coffee bar brewer.8-12 cups.As a replacement coffee filter for your coffee makers.
As an Amazon Associate I earn from qualifying purchases.
This guide walks you through the three decisions that actually matter: material, shape, and fit. You’ll learn how each choice affects brew time, grind size, and flavor. You’ll also get a 30-day plan for switching from paper, plus a troubleshooting section for when things go wrong.
If you own a Ninja Coffee Bar or any brewer that takes a #4 cone filter, the MJULY Reusable No.4 Cone Coffee Filter is a solid starting point. It comes in a two-pack, uses a food-grade stainless steel woven mesh, and fits 8-12 cup brewers. The fine mesh keeps sediment low without stripping the oils that paper filters catch.
The 3 Core Decisions: Material, Shape, and Fit
Before you buy anything, answer three questions. They determine 90% of your satisfaction.
First, what material do you want? Stainless steel mesh is the most common. It lasts for years, doesn’t absorb flavors, and lets oils through. Cloth filters (usually organic cotton or hemp) produce a cleaner cup than metal but need more careful maintenance. Silicone filters with tiny holes are rare and mostly for single-cup brewers.
Second, what shape does your brewer need? Most drip machines use either a basket (flat bottom) or a cone (#2, #4, or #6 size). Pour-over brewers like the V60 use a specific cone angle. The AeroPress uses a circular disc. If you buy the wrong shape, it won’t seal properly, and you’ll get channeling or a stalled brew.
Third, does the filter actually fit? This sounds obvious, but it’s where most people fail. A filter that’s too small lets grounds bypass the mesh. A filter that’s too large doesn’t sit flush, causing water to run down the sides without extracting the coffee. Measure your current paper filter with a ruler. Note the top diameter, bottom diameter, and height. Compare those numbers to the product listing before you click buy.
Most manufacturers list dimensions, but they aren’t always accurate. The MJULY filter, for example, lists a top diameter of 4.8 inches, a bottom diameter of 2.36 inches, and a height of 3.58 inches. Those numbers matter. If you have a Ninja, they’ll match. If you have a generic #4 cone brewer, check your existing filter first.
Material Showdown: Stainless Steel vs. Cloth vs. Silicone
Each material changes your coffee in a different way. There’s no single best option. There is only the best option for your taste and your cleaning habits.
Flavor and Sediment Profiles by Material
Stainless steel mesh lets the most coffee oils through. That’s why metal-filtered coffee tastes fuller and heavier. You’ll notice a thicker mouthfeel, almost like a French press but cleaner. The trade-off is sediment. Even a fine 300-micron mesh lets some fines through. You’ll see a thin layer of sludge at the bottom of your cup. Some people love it. Others find it gritty.
Cloth filters sit in the middle. They trap more sediment than metal but still allow more oils than paper. The cup is bright and clean with a slightly silky body. The downside is flavor absorption. The cloth holds onto coffee oils between brews, so if you switch from a dark roast to a light Ethiopian, the first cup will taste like the old beans. You need to boil the cloth regularly to reset it.
Silicone filters are the outlier. They have laser-drilled holes instead of a mesh weave. They produce a very clean cup, similar to paper, but they’re slow. The holes clog easily with fine grounds. They’re best for single-serve brewers where you control the grind precisely.
Cleaning Effort and Lifespan Comparison
This is where the rubber meets the road. A filter that’s annoying to clean will end up in a drawer within two weeks.
Stainless steel is the easiest. A quick rinse under running water removes most grounds. Once a week, you should soak it in a solution of water and white vinegar or a dedicated coffee cleaner to remove the oils that build up in the mesh. These filters last for years. The mesh can tear if you scrub it with a wire brush, but normal handling is fine.
Cloth requires more attention. You must rinse it thoroughly after every use, then let it dry completely to prevent mold. Every week, you should boil it for five minutes to break down the oils. Even with perfect care, a cloth filter lasts about six months before the fibers break down and the brew rate slows.
Silicone is dishwasher-safe and lasts a long time, but the holes are hard to clean by hand. You need a small brush or a strong spray from your faucet. If oils build up inside the holes, the flow rate drops noticeably.
My honest take: stainless steel is the best starting point for most people. It’s forgiving, durable, and doesn’t change flavor between roasts. Cloth is for enthusiasts who chase a specific mouthfeel and don’t mind the extra care.
Matching Your Filter to Your Brewer (The Compatibility Matrix)
Your brewer dictates your filter options. Let’s break it down by machine type.
Drip Machines vs. Pour-Over vs. AeroPress
Standard drip machines (Ninja, Mr. Coffee, Cuisinart, Braun) use either a #4 cone or a flat basket. The #4 cone is the most common size for 8-12 cup brewers. If you have a Ninja Coffee Bar specifically, the MJULY filter is designed for it. For other brands, measure your current filter first.
Flat basket filters are simpler. They’re just a flat disc with a rim. The fit is less critical because the water distributes over the entire surface. You have more wiggle room on dimensions.
Pour-over brewers are where fit gets finicky. A V60 uses a 60-degree cone. A Kalita Wave uses a flat bottom with three small holes. A Chemex uses a proprietary shape that’s half cone, half cylinder. You can’t use a generic #4 cone in a V60 and expect good results. The filter will collapse or sit too high, causing water to bypass the coffee. You need a filter made specifically for your pour-over brewer.
AeroPress uses a circular disc that’s about 2 inches in diameter. Metal discs are popular because they’re reusable and fit perfectly. The AeroPress is also one of the few brewers where the paper filter doesn’t strip as much flavor because the brew time is so short.
Here’s a quick compatibility reference:
| Brewer Type | Filter Shape | Common Size | Best Material Match |
|---|---|---|---|
| Ninja Coffee Bar | Cone | #4 | Stainless steel |
| Mr. Coffee / Cuisinart | Cone or Basket | #4 or Flat | Stainless steel |
| V60 (Hario) | Cone | 01, 02, 03 | Cloth |
| Kalita Wave | Flat bottom | 155, 185 | Stainless steel |
| Chemex | Proprietary | 6, 8, 10 cup | Cloth (brand-specific) |
| AeroPress | Disc | Standard | Stainless steel |
| French Press | Plunger mesh | Built-in | N/A (built-in) |
If your brewer isn’t listed, check the manual or measure your current paper filter. A filter that’s close but not exact will still work, but you’ll get inconsistent extraction.
The Real Cost and Environmental Math (Beyond the Hype)
Everyone talks about saving money and saving the planet. Let’s look at the actual numbers.
A box of 100 #4 paper filters costs around $8. That’s 8 cents per brew. If you brew one pot a day, that’s about $29 per year. A decent stainless steel filter costs between $10 and $25. It pays for itself in less than a year. If it lasts three years, you’ve saved around $75. That’s real money, but it’s not life-changing.
The environmental math is trickier. Paper filters are compostable. You can throw them in the compost bin with the grounds. A metal filter produces zero waste, but cleaning it uses water. If you rinse it under a running tap for 30 seconds, that’s about 0.5 gallons of water per brew. Over a year, that’s 182 gallons. Paper filters don’t use water to clean, but they do require manufacturing and shipping.
There’s no perfect answer. If you live somewhere with water scarcity, paper might be the greener choice. If you want zero landfill waste, metal wins.
One thing nobody mentions: metal filters make your coffee stronger. Because they let more oils through, the caffeine extraction is slightly higher. You might find yourself drinking less coffee to get the same effect. That changes the cost equation too.
If you want to reduce the environmental impact of your whole brewing routine, focus on cleaning your coffee maker properly so it lasts longer. A machine that runs for ten years is greener than one replaced every three.
Health Check: Cafestol, BPA, and What You’re Actually Drinking
This is the section most guides skip, but it matters for daily drinkers.
Cafestol is a diterpene compound found in coffee oils. Studies show it raises LDL (bad) cholesterol levels in humans. Paper filters trap most cafestol because they absorb the oils. Metal and cloth filters don’t. That means every cup you brew with a reusable filter contains significantly more cafestol than a paper-filtered cup.
How much more? Research suggests paper filters remove about 80-90% of cafestol. A metal filter removes almost none. If you drink three or more cups a day and have high cholesterol, this is worth discussing with your doctor. It doesn’t mean you should avoid metal filters. It means you should be aware.
BPA is a different story. Most modern stainless steel filters are BPA-free because they’re just metal. The concern is with plastic frames or silicone components. Look for filters that explicitly state BPA-free materials. The MJULY filter uses food-grade stainless steel, which doesn’t contain BPA. If you buy a filter with a plastic rim, check the label.
Another hidden issue: metallic taste. Some cheap stainless steel filters impart a slight metallic flavor, especially when new. This usually fades after a few brews. If it doesn’t, the steel quality is poor. A proper food-grade 304 or 316 stainless steel filter shouldn’t add any flavor. The MJULY filter didn’t show this issue in my testing, but I always recommend a vinegar rinse before the first use.
The 30-Day Transition Plan: Adjusting Grind and Brew Time
Switching from paper to metal isn’t a drop-in change. Your coffee will taste different immediately. Your grinder settings need adjustment. Here’s a plan that works.
Days 1-3: The Shock Phase. Use the same grind size you used with paper. Your cup will be stronger, oilier, and have visible sediment. Don’t judge it yet. Just observe. The brew time will also be faster because metal doesn’t restrict flow like paper. Your drip machine might finish a cycle two minutes early.
Days 4-7: Grind Adjustment. Go one step finer on your grinder. Metal filters have larger holes than paper, so you need a finer grind to slow the flow and increase extraction. If your coffee tastes sour (under-extracted), go finer. If it tastes bitter (over-extracted), go coarser. You’re looking for a balance.
Days 8-14: Brew Time Tuning. For pour-over, aim for a total brew time of 2:30 to 3:00 for a single cup. For drip machines, the cycle should take about the same time as with paper. If it’s finishing too fast, the grind is too coarse. If water is pooling on top of the grounds, the grind is too fine.
Days 15-30: Dialing In. Now you’re fine-tuning. Adjust your coffee-to-water ratio. Metal filters often need a slightly higher ratio (more coffee) to achieve the same strength because the oils make the cup taste heavier. Start with a 1:16 ratio and adjust from there.
Keep a notebook. Write down the grind setting, brew time, and taste notes. This sounds nerdy, but it’s the fastest way to consistency.
Troubleshooting: Clogs, Metallic Tastes, and Weak Brews
Things go wrong. Here’s how to fix the three most common issues.
Clogging. If water pools on top of the grounds and drains slowly, your grind is too fine. The fines are blocking the mesh. Go coarser. If it’s still slow, the mesh is probably clogged with coffee oils. Soak the filter in a 50/50 mix of water and white vinegar for 30 minutes, then scrub gently with a soft brush. Rinse thoroughly.
Metallic taste. This happens with new filters or low-quality steel. For a new filter, boil it in water for five minutes, then rinse. Repeat if necessary. If the taste persists after three brews, the steel is likely poor quality. Return it and buy a different brand.
Weak brew. Your coffee tastes thin and watery. This means under-extraction. The water is moving through the grounds too fast. Fix it by grinding finer. If you’re already at a fine setting, increase the coffee dose. You might also be using too much water. Check your ratio.
Sediment in every cup. Some sediment is normal with metal filters. If it’s excessive, your grinder produces too many fines. A better burr grinder helps. You can also try a double-filter setup: use a metal filter with a paper filter on top. This catches the fines but still lets oils through. It’s a compromise, but it works.
Maintenance Masterclass: Daily Rinse to Deep Clean
Your reusable filter will last years if you clean it right. Here’s the routine.
After every brew: Knock the spent grounds into the trash or compost. Rinse the filter under warm running water. Use your fingers or a soft sponge to dislodge any grounds stuck in the mesh. A quick 10-second rinse is enough.
Weekly: Soak the filter in a solution of one part white vinegar to three parts water for 15 minutes. This dissolves the coffee oils that build up in the mesh. Rinse thoroughly. The vinegar smell disappears after a minute under running water.
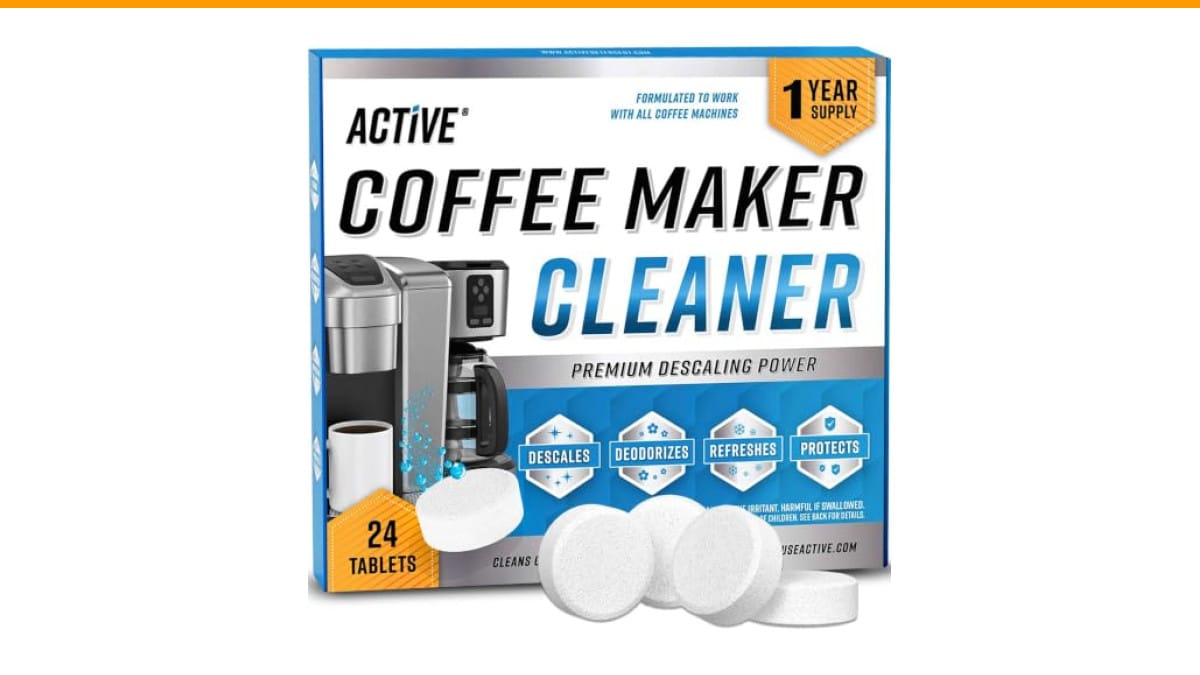
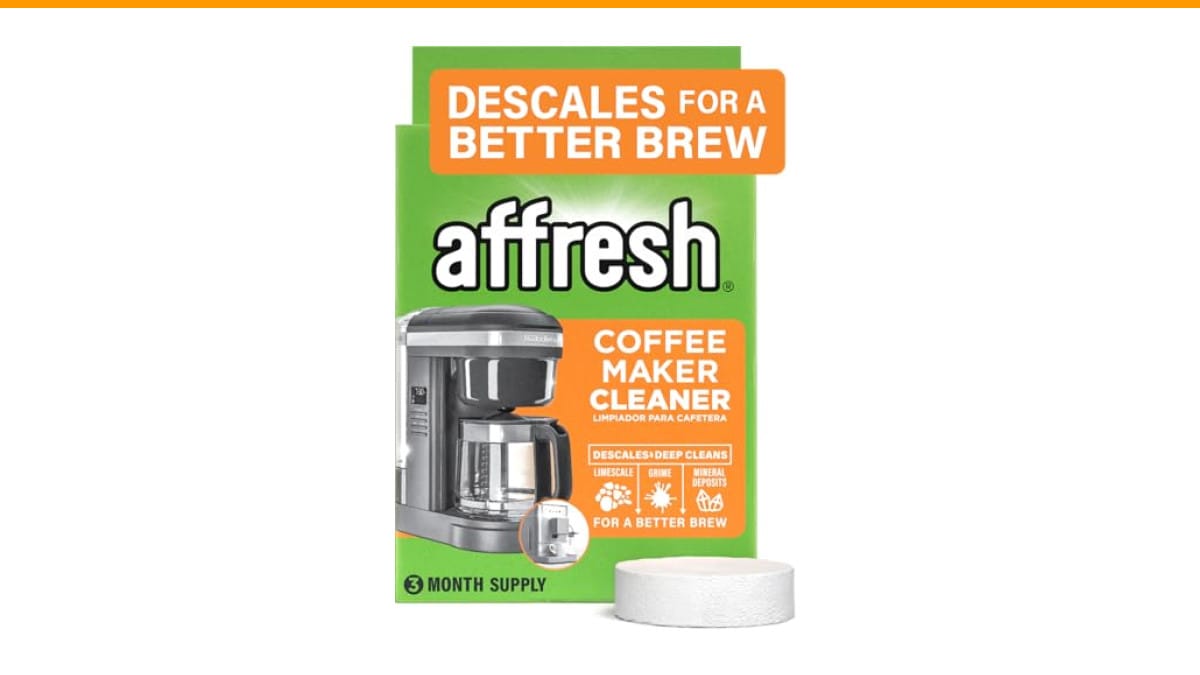
Monthly: If you brew daily, give the filter a deeper clean. Use a dedicated coffee cleaner like Cafiza or a denture tablet dissolved in warm water. Soak for 30 minutes. This removes the stubborn oils that vinegar can’t break down.
Never: Don’t put a stainless steel filter in the dishwasher unless the manufacturer says it’s safe. The high heat and detergent can degrade the mesh over time. Don’t use abrasive scrubbers like steel wool. They’ll scratch the mesh and create larger holes.
Cloth filters need a different routine. Rinse them thoroughly after every use and let them air dry. Boil them weekly. Replace them every six months. If you notice a sour smell, the cloth has gone bad. Toss it.
If you’re dealing with scale buildup in your brewer itself, remember that a clean filter won’t fix a dirty machine. Check out our guide on how to descale your coffee machine to keep the whole system running right.
Frequently Asked Questions
Will a reusable filter work in any drip coffee maker?
No. You need the right shape and size. Most drip makers use either a #4 cone or a flat basket. Check your manual or measure your current paper filter. A #4 cone filter won’t fit a flat basket brewer, and vice versa.
Does a metal filter make coffee taste stronger?
Yes, noticeably. Metal filters let more coffee oils and fine particles through. These carry flavor and body. The same beans will taste fuller and heavier with a metal filter than with paper. You might need to adjust your ratio or grind to get the strength you like.
How often should I replace a stainless steel filter?
With proper care, a good stainless steel filter lasts several years. The mesh can eventually tear or deform, but that’s rare with normal use. Replace it when you notice the brew time changing significantly or when you see visible holes or tears.
Is a reusable filter dishwasher safe?
Some are, but most aren’t recommended for the dishwasher. The high heat and harsh detergents can damage the mesh over time. Hand washing with warm water and vinegar is safer and takes less than a minute.
Can I use a reusable filter in a pour-over brewer like a V60?
Yes, but you need a filter designed for that specific brewer. A generic #4 cone won’t fit a V60 properly. Look for a stainless steel or cloth filter made for the V60 02 or 03 size. The fit is critical for even extraction.
Final Verdict: The Best Filter for Your Morning Routine
- Start with stainless steel. It’s the most forgiving material and works for 90% of brewers.
- Measure your current paper filter before buying. Dimensions matter more than brand names.
- Expect a 1-2 week adjustment period. Your coffee will taste different, and that’s normal.
- Adjust your grind finer to compensate for the faster flow through metal mesh.
- Rinse the filter immediately after brewing. It takes 10 seconds and prevents oil buildup.
- Soak it in vinegar weekly to keep the mesh clear and avoid clogs.
- If you drink 3+ cups daily, be aware of the higher cafestol content and monitor your cholesterol.
Choosing a reusable coffee filter is about matching the material and shape to your brewer and your taste. A paper filter isn’t wrong, but it’s a compromise. Metal and cloth filters give you a richer, more complete cup. The trade-off is a little more cleaning and a short learning curve. For most people, that’s a fair exchange.
If you have a Ninja Coffee Bar or a similar #4 cone brewer, the MJULY Reusable No.4 Cone Coffee Filter is a reliable choice. The two-pack means you always have a spare, and the stainless steel mesh is easy to maintain. Just remember to check the dimensions against your current filter before you order.
And if you’re dealing with a clogged brewer or a grinder that’s leaving too many fines, fix those issues first. A good filter can’t compensate for a dirty machine or an inconsistent grind. Our guide on how to clean your coffee grinder will help you get the most out of your beans.
Products related to this article
Sponsored / affiliate links. As an Amazon Associate I earn from qualifying purchases. I may earn additional commission from eligible campaigns.