You brew your morning coffee, take that first sip, and something tastes off. Not bad, exactly, but dull. Oily. Slightly bitter in a way that wasn’t there last week. The culprit is almost certainly your reusable K Cup. These little baskets trap coffee oils, fine grounds, and mineral deposits in every nook and cranny, and if you don’t clean them properly, those residues go straight into your next cup.
Most people rinse their reusable pod under the tap for five seconds and call it done. That handles the loose grounds, but it doesn’t touch the oils that cling to the mesh or the buildup inside the lid. This guide covers exactly how to clean a reusable K Cup the right way, with specific steps for daily, weekly, and monthly maintenance. You’ll also learn why vinegar works, when to use soap, and how to tell if your pod is past saving.

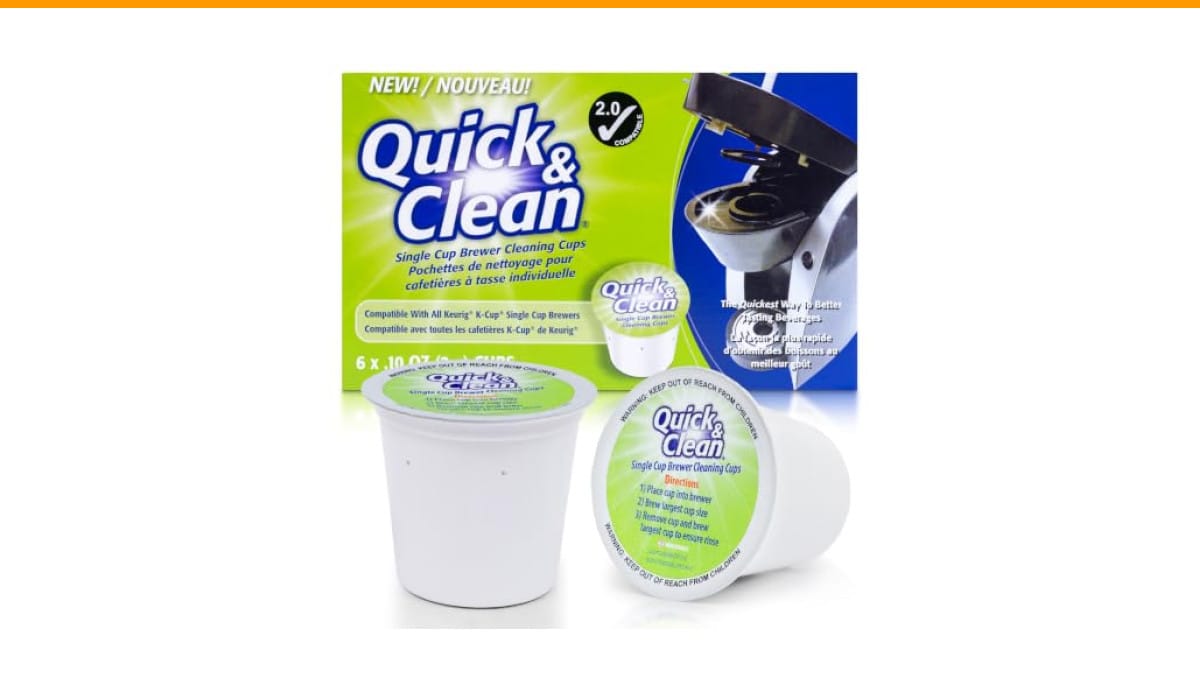
Quick & Clean
Quick & Clean [6-Pack] Keurig Cleaning Pods…
- Get That Fresh Coffee Taste Back - Over time, Keurig (TM) machines build up old grinds and residues, tainting the flavor of your c…
- Lengthens The Life Of Your Machine - Residue built up in the pack holder, funnel & exit needle can eventually cause damage to your…
- Safe & Easy To Use - Completely safe - non-toxic, biodegradable and gentle on your Keurig brewer (1.0 & 2.0- compatible). Easy to…
As an Amazon Associate I earn from qualifying purchases.
If you prefer a zero-maintenance option, a disposable cleaning pod like the Quick & Clean Keurig Cleaning Pods handles the machine side of things while you focus on your reusable filter. It’s a decent shortcut for the brewer itself, though it won’t clean your reusable cup.
Why Your Reusable K Cup Gets Dirty So Fast
Reusable K Cups have more surface area than you think. The mesh filter alone has hundreds of tiny holes that catch coffee oils and micro-grounds. The plastic frame has ridges and corners where residue hides. And the lid, especially the rubber gasket, traps moisture that encourages mold growth.
Here’s the thing about coffee oils: they’re hydrophobic. Water alone won’t break them down. That’s why a quick rinse leaves your pod feeling slick to the touch. The oils need a degreaser, which means soap or a vinegar solution, to actually lift off the surface.
Mineral deposits are the other culprit. If you have hard water, calcium and magnesium build up on the mesh and inside the brew chamber. These deposits restrict water flow, which means your coffee brews slower and extracts more bitterness. Over time, they can also harbor bacteria.
Daily Cleaning: The 30-Second Routine
After every brew, do this immediately. Waiting until the pod dries makes everything harder.
- Pop the used coffee puck out into the trash or compost bin.
- Rinse the pod under warm running water, holding the mesh side down so water pushes through from the inside.
- Use your thumb to gently rub the mesh in a circular motion while rinsing. This dislodges grounds stuck in the holes.
- Check the lid and the rubber gasket for any trapped grounds and pick them out.
- Let the pod air dry completely before storing it. A damp pod in a closed cabinet is a mold farm.
That’s it. Thirty seconds, maybe less. The key is consistency. If you let residue dry on the mesh, you’ll need a deeper clean to get it off.
Weekly Deep Clean: Soap and a Soft Brush
Once a week, your reusable K Cup needs more than a rinse. Coffee oils accumulate no matter how diligent you are, and they’ll start affecting flavor after about five or six brews.
Here’s the method I use and recommend:
- Disassemble the pod completely. Most reusable K Cups have three parts: the cup, the mesh filter, and the lid. Check your model to see if it comes apart.
- Rinse all parts under warm water to remove loose grounds.
- Fill a small bowl with warm water and add a drop of mild dish soap. Dawn or Seventh Generation work well. Avoid anything with bleach or harsh chemicals.
- Submerge the parts and let them soak for 10-15 minutes. This loosens the oils.
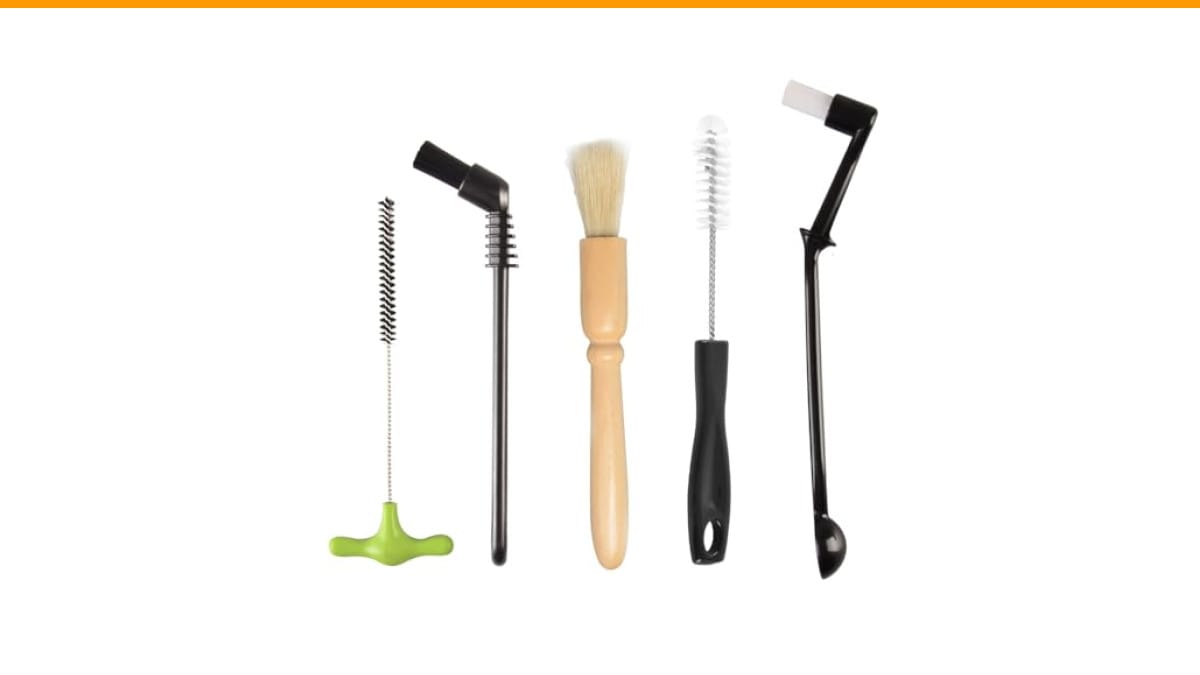
- Use a soft-bristled brush, like a bottle brush or a dedicated coffee brush, to scrub the mesh gently. Work from both sides. A toothbrush works too, but make sure it’s clean and unused.
- Pay extra attention to the rubber gasket on the lid. Stretch it slightly and wipe underneath.
- Rinse everything thoroughly under running water. Soap residue will ruin your next cup, so rinse until the parts no longer feel slick.
- Air dry completely before reassembling.
One caveat: don’t use a wire brush or anything abrasive on the mesh. You’ll scratch it, and scratches become permanent traps for grounds and bacteria.
If your pod has stubborn buildup that soap won’t shift, move on to the vinegar treatment below.
The Vinegar Soak: When Soap Isn’t Enough
Every month or so, your reusable K Cup needs a vinegar soak. This handles mineral deposits and any lingering odors that soap leaves behind.
- Disassemble the pod completely.
- Mix a 50/50 solution of white vinegar and warm water in a bowl. You need enough to fully submerge the parts.
- Soak for 30 minutes. Don’t go longer than an hour, especially if the pod is plastic. Vinegar is acidic and can degrade plastic over time.
- Remove the parts and scrub the mesh gently with your soft brush.
- Rinse thoroughly under warm water. You’ll likely smell vinegar, so rinse for a solid 30 seconds per part.
- Air dry completely.
Vinegar also works for the machine itself. If you’re dealing with a slow brew or odd tastes from your Keurig, a full descaling cycle with vinegar or a commercial descaler is worth doing. Our guide on cleaning with vinegar covers the process step by step.
What About Dishwashers and Microwave Sterilization?
Some reusable K Cups are dishwasher safe, but you need to check the manufacturer’s instructions. The high heat and strong detergents can warp plastic lids or damage the mesh over time. If the packaging says top-rack only, respect that.
Microwave sterilization is a common trick, but I’d skip it. The mesh can heat unevenly and warp, and plastic parts may release chemicals when overheated. Boiling the parts in water for five minutes is a safer alternative if you want to sanitize, but only if the pod is made of heat-safe materials. Again, check the specs.
For most people, the weekly soap scrub and monthly vinegar soak are plenty. You don’t need to sterilize a coffee filter that you use daily and dry properly.
When to Replace Your Reusable K Cup
Even with perfect care, reusable K Cups wear out. Here are the signs that it’s time to replace yours:
- The mesh has visible tears or holes, which lets grounds through into your cup.
- The plastic is cracked, warped, or discolored beyond normal staining.
- The lid no longer snaps shut securely, which causes pressure leaks and weak coffee.
- The rubber gasket is hardened or cracked, which affects the seal.
- You’ve had it for more than a year of daily use.
Most reusable pods last six to twelve months with regular cleaning. They’re inexpensive, so don’t be shy about replacing one that’s past its prime. A worn pod ruins coffee just as fast as a dirty one.
Comparing Cleaning Methods
| Method | Frequency | Time | Effectiveness | Best For |
|---|---|---|---|---|
| Quick rinse | After every use | 30 seconds | Removes loose grounds | Daily maintenance |
| Soap scrub | Weekly | 15 minutes | Removes coffee oils | Regular deep clean |
| Vinegar soak | Monthly | 45 minutes | Removes mineral buildup and odors | Hard water areas, stubborn residue |
| Dishwasher | As needed | Machine cycle | Varies; may warp parts | Only if manufacturer approves |
| Boiling | As needed | 10 minutes | Sanitizes but doesn’t remove oils | Occasional sterilization |
Your situation determines the right mix. If you have soft water and brew once a day, the rinse plus weekly soap scrub is probably enough. If you have hard water and brew multiple times daily, add the monthly vinegar soak and consider descaling your machine more often. Our piece on cleaning frequency gives you a broader schedule for the whole brewer.
Common Mistakes That Ruin Reusable K Cups
People make a few predictable errors when cleaning these pods. Avoid them and your pod will last longer and brew better.
Using harsh detergents. Bleach, ammonia, or abrasive cleaners can damage plastic and leave toxic residues. Stick to mild dish soap.
Scrubbing with steel wool. This scratches the mesh and creates permanent traps for grounds. Use a soft brush only.
Putting it away wet. Mold develops within 24-48 hours in a damp, closed space. Always air dry completely.
Forgetting the lid gasket. This is where mold and bacteria hide. Clean it every time you do the weekly scrub.
Ignoring the machine itself. A clean pod in a dirty machine still produces bad coffee. The needle that pierces the pod can clog with grounds, and the internal lines accumulate scale. If your Keurig is brewing slowly or making odd noises, check our guide on Keurig brewing issues for troubleshooting steps.
Frequently Asked Questions
Can I use soap on my reusable K Cup?
Yes, mild dish soap is safe for most reusable K Cups. Avoid harsh detergents, bleach, and anything abrasive. Rinse thoroughly after washing to remove all soap residue.
How often should I deep clean my reusable K Cup?
Weekly is the sweet spot for the soap scrub. Monthly vinegar soak handles mineral buildup. If you brew multiple times a day, move the soap scrub to every five or six brews.
Will vinegar damage my reusable K Cup?
Vinegar is acidic, so prolonged exposure can degrade plastic. Limit soaks to 30-60 minutes and rinse thoroughly afterward. If your pod is old or made of fragile plastic, consider a shorter soak.
Why does my coffee taste bitter even after cleaning?
Bitter coffee often comes from over-extraction, which happens when the grind is too fine or the water flow is restricted. Check your grind size and make sure the mesh isn’t clogged. Also, descale the machine itself if you haven’t done so recently.
Can I put my reusable K Cup in the dishwasher?
Only if the manufacturer says it’s dishwasher safe. Even then, use the top rack and skip the heated dry cycle to minimize warping risk. Hand washing is gentler and generally recommended.
What Actually Matters
- Rinse your reusable K Cup immediately after every brew to prevent dried-on residue.
- Do a soap scrub weekly, paying attention to the mesh and the lid gasket.
- Soak in vinegar monthly to remove mineral deposits, especially with hard water.
- Air dry every part completely before reassembling and storing.
- Replace the pod when the mesh tears, the plastic cracks, or the lid loses its seal.
- Don’t forget the machine. A clean pod in a dirty brewer still makes bad coffee.
- Consider a disposable cleaning pod like the Quick & Clean Keurig Cleaning Pods for the brewer itself, but keep your reusable pod clean separately.
Cleaning a reusable K Cup isn’t complicated, but it does require consistency. Build these habits into your routine and your coffee will taste noticeably better within a week. The effort pays off in every cup.
Products related to this article
Sponsored / affiliate links. As an Amazon Associate I earn from qualifying purchases. I may earn additional commission from eligible campaigns.
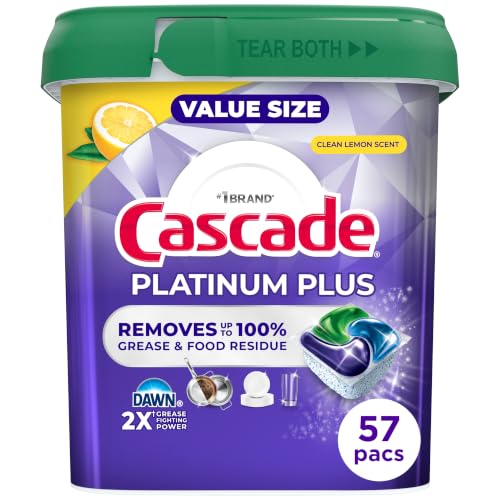 Cascade Platinum Plus Dishwasher Detergent Pods Dish Soap Lemon 57 Count
 Quick Heating Cup Warmer, Three Temperature Settings, Splashproof and Portable, for Coffee, Milk, Lightweight ABS Material
 SOLUSTRE Electric USB Coffee Cup Warmer with Temperature Settings Portable Milk and Beverage Heating Coaster for Office Desk Small Lightweight Design Easy to Clean Surface Multi Functional