You just pulled a great shot, and now the machine sits on the counter. But next week you’re moving, or you’re swapping it out for a smaller brewer, or you simply need the counter space for holiday cooking. Storing a compact espresso machine sounds simple, but I’ve seen too many people pull a machine out of a closet three months later to find a greenish film inside the boiler and rust spots on the drip tray.
The difference between a machine that survives storage and one that doesn’t comes down to water. Every espresso machine holds water somewhere, and water left sitting in a dark, warm space grows mold and corrodes metal. This article walks you through the exact process: prepping the machine, drying it properly, choosing where to put it, and covering it so it stays clean. You’ll also learn what not to do, because the most common storage mistakes are the ones people make with the best intentions.

EiiJugaloo
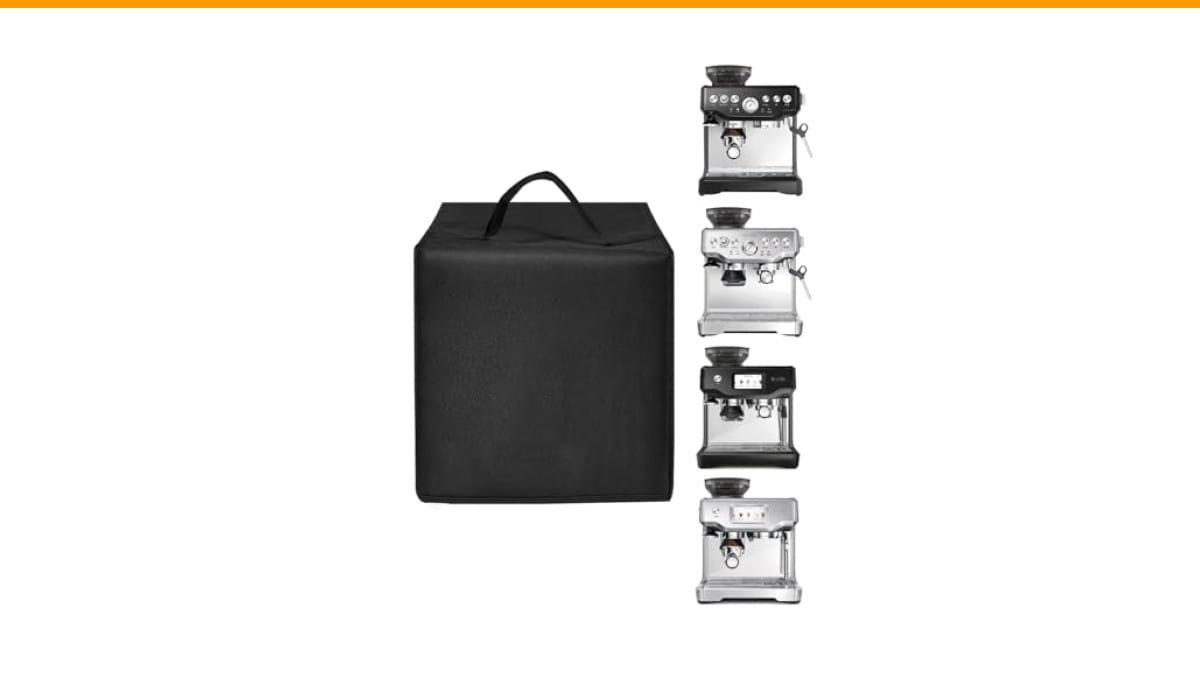
Espresso Machine Cover for BES870XL/ BES880BSS/BES876BSS Coffee…
- Coffee Maker Cover size:15.8"W x 15.4"D x 15.8"H (40x39x40cm),cover compatible with Express Espresso Maker BES870XL/BES870BSXL/BES…
- Waterproof Nylon: Cover made of durable heavy duty 600D nylon, it is waterproof, scratch resistant and anti-static; it provides re…
- Kitchen Protective Cover:Keep the kitchen and dining room clean; avoid the trouble of dust, oil smoke and cooking steam; prolong t…
As an Amazon Associate I earn from qualifying purchases.
If your machine is a Breville model like the BES870XL or BES880BSS, a fitted cover makes a big difference. The EiiJugaloo espresso machine cover is sized for those exact models and keeps dust and kitchen grease off during the weeks or months the machine sits idle.
Why Water Is Your Machine’s Worst Enemy in Storage
Every espresso machine has three water zones: the reservoir, the boiler, and the internal tubing. The reservoir is obvious, but the boiler holds water even after you think you’ve drained it. A compact machine like the Dedica or the Bambino holds maybe 100 to 300 milliliters in the boiler, and that water sits there unless you actively push it out.
Here’s what happens when you skip the draining step. Water left in the boiler evaporates slowly, leaving mineral deposits that scale up the heating element. When you finally plug the machine back in, the element has to heat through a layer of crust, which takes longer and can trigger the thermal fuse. I’ve repaired two machines that died this way, and both owners swore they had ’emptied’ them.
Mold is the other problem. The group head and the portafilter have tiny crevices where coffee oils and water mix. In a warm closet, that mixture turns into a fuzzy colony within two weeks. You don’t want to think about where those spores go when you brew your first cup after storage.
The rule is simple: if water can sit in it, it will grow something. So your storage prep is really a drying project, not a cleaning project.
The Step-by-Step Prep Before You Store Anything
Start this process a day before you plan to store the machine. You need time for parts to air dry completely, and rushing this step is how you end up with a musty-smelling machine.
- Run a cleaning cycle with hot water. Fill the reservoir, run a full tank through the group head without coffee, and let the machine heat up first. This flushes loose oils from the brew path.
- Drain the reservoir. Lift it out and pour the water down the sink. Wipe the inside with a dry cloth to catch droplets clinging to the walls.
- Purge the boiler. This is the step most people miss. With the reservoir removed, run the pump for five to ten seconds. The machine will push out whatever water remains in the boiler through the group head. Do this twice, waiting a few seconds between runs. You’ll hear the pump sound change when it’s pushing air instead of water.
- Remove and clean the portafilter and basket. Wash them in warm soapy water, rinse, and dry them with a towel. Leave them on the counter overnight, not in the machine.
- Dry the drip tray. Pop out the grid, wipe down the tray, and let both dry. The drip tray is a hidden mold magnet because people forget it holds a shallow layer of water.
- Wipe the exterior. A damp cloth with a drop of dish soap removes fingerprints and coffee splatter. Dry it immediately with a second cloth.
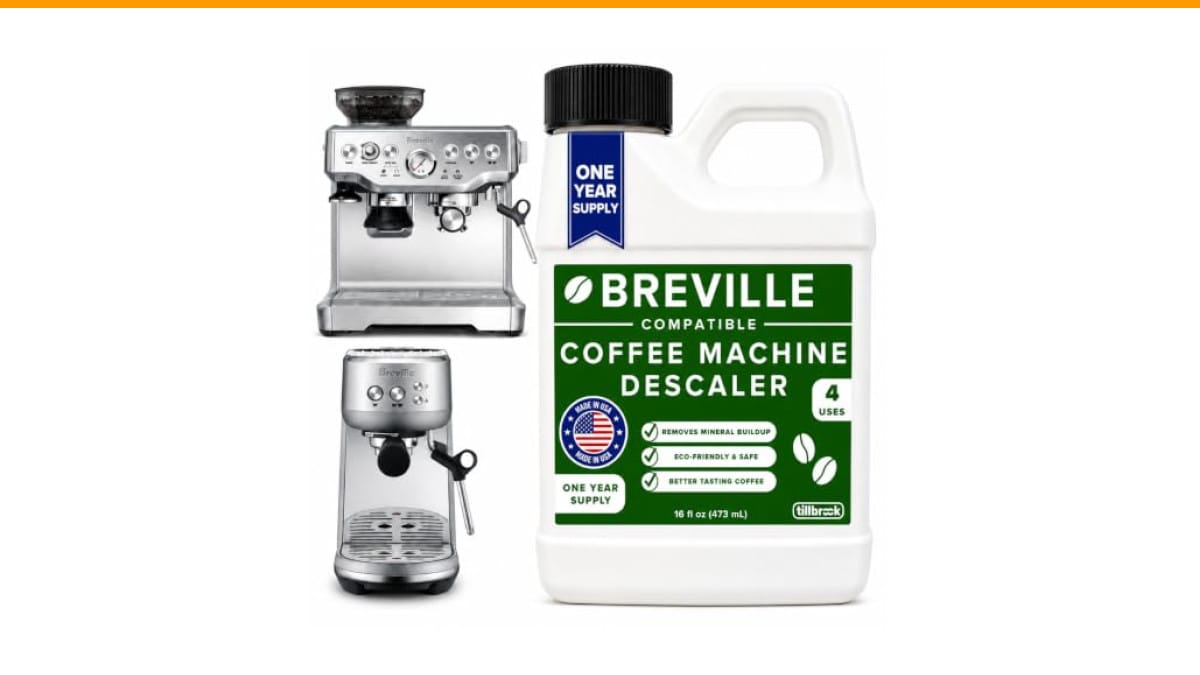
Do not use vinegar or descaling solution right before storage. Descaler left in the boiler can attack the seals while the machine sits idle. If your machine is due for descaling, do it two weeks before storage, then run fresh water through it several times. This is a detail from our descaling guide that applies here even more than in regular use.
Where to Store It: Climate Matters More Than You Think
Your garage might seem like a good spot, but it’s often the worst. Temperature swings cause condensation inside the machine. Warm air holds more moisture than cold air, so when the garage heats up during the day, the air inside the machine expands and deposits water on cool metal surfaces. That’s how you get rust on the boiler and the frame without a single drop of water being spilled.
Choose a spot that meets these conditions:
- Room temperature, ideally 60 to 75 degrees Fahrenheit. Avoid attics, garages, and unheated basements.
- Low humidity. If your basement reads above 60 percent humidity on a cheap hygrometer, find another spot or run a dehumidifier.
- No direct sunlight. UV light degrades plastic housings and can yellow white panels over time.
- Off the floor. A shelf or cabinet is better than the floor, where dust settles and spills happen.
- Away from heat sources. Don’t store it next to a furnace, water heater, or radiator.
If you have the original box and foam inserts, use them. The box is designed to hold the machine’s weight and protect the group head from impacts. If you don’t have the box, wrap the machine in a large towel or a moving blanket before placing it in a plastic bin. The bin keeps out dust, and the towel cushions bumps.
One thing I recommend against: storing the machine on its side. Some people do this to fit it in a tight space, but the boiler can trap water in a spot that doesn’t drain when the machine is upright. Keep it in its normal orientation, flat on its base.
Cover It or Don’t? The Answer Is Yes, But Choose Wisely
A cover does two jobs: it blocks dust and it absorbs the humidity that would otherwise settle on the machine. But not all covers are equal. A tight plastic bag traps moisture against the machine, which is exactly what you’re trying to avoid. You want a cover that breathes while still keeping dust out.
For Breville models like the BES870XL and BES880BSS, the EiiJugaloo cover is built from 600D nylon, which is the same material used in many tool bags. It’s waterproof, so it blocks splashes, but the bottom opening lets air circulate. That’s the key feature: if the cover is sealed at the bottom, any moisture that evaporates from the machine has nowhere to go and condenses back onto it. The open bottom prevents that cycle.
The cover also has a handle on top, which sounds minor until you try to lift a machine out of a low cabinet without scratching the sides. And when you don’t need it, it folds flat. That’s a real convenience if you live in a small kitchen where storage space is a premium.
If you don’t have a fitted cover, a cotton pillowcase works as a temporary solution. It’s breathable, soft, and won’t scratch the finish. Just don’t use a plastic grocery bag or cling wrap. Those trap moisture and can leave a sticky residue on the machine’s surface.
Here’s a quick comparison of the common storage approaches I’ve tested with compact machines:
| Method | Dust Protection | Moisture Risk | Scratch Risk | Best For |
|---|---|---|---|---|
| Fitted nylon cover (open bottom) | High | Low | Low | Long-term storage, countertop display |
| Original box with foam | High | Medium (if stored in damp area) | Low | Moving, long-term closet storage |
| Cotton pillowcase | Medium | Low | Low | Short-term, quick cover |
| Plastic bag or cling wrap | High | High (traps condensation) | Medium | Not recommended |
| No cover | None | Low | High (dust scratches) | Only if stored in sealed cabinet |
The fitted nylon cover wins for most people because it solves the dust problem without creating a moisture problem. The original box is better if you’re moving, but it takes up more space.
What to Do When You Pull It Back Out
Storage is only half the job. When you bring the machine back, you can’t just plug it in and brew. The boiler and tubing have been sitting dry, and the first thing you want is to flush everything thoroughly.
Fill the reservoir with fresh water, plug in the machine, and let it heat up. Run a full tank of hot water through the group head with the portafilter in place but no coffee. This rehydrates the seals and flushes out any dust that settled inside the group head. Then run a second tank through just to be safe. If you smell anything odd, run a third tank.
Check the portafilter and basket for any residual coffee oil. If they sat in a drawer for months, they might have a faint rancid smell. Wash them again with warm soapy water before first use.
If the machine was stored for more than six months, inspect the power cord for cracks or damage. Rodents and insects sometimes chew on cords in storage, and a damaged cord is a fire hazard. Also check the drip tray for any signs of rust, especially if you stored it in a humid spot.
One more tip: before you store the machine, take a photo of the setup with your phone. It sounds silly, but when you pull it out months later, you’ll remember exactly how the portafilter and drip tray fit. I’ve lost count of how many times I’ve seen people force parts into the wrong position after storage.
Common Questions About Storing Espresso Machines
Can I store my espresso machine with water in the reservoir?
No. Even a small amount of water in the reservoir will grow algae or bacteria within a few weeks. The reservoir is transparent, so light gets in, and that accelerates growth. Always empty and dry the reservoir before storage. This is non-negotiable.
How long can I leave my espresso machine unused before it needs special prep?
If you’re leaving it for more than a week, you should at least empty the reservoir and wipe the drip tray. For anything longer than two weeks, do the full prep: purge the boiler, clean the portafilter, and cover the machine. Two weeks is the threshold where mold and scale start to become visible problems.
Is it safe to store the machine upside down or on its side?
No. The boiler and pump are designed to work in the upright position. Storing the machine on its side can cause residual water to pool in the pump or the solenoid valve, which can corrode those parts. Keep the machine flat on its base.
Do I need to descale before or after storage?
Before, but not immediately before. Descale the machine two weeks before you store it, then run fresh water through it several times to flush out any remaining descaler. If you descale right before storage, the acidic solution sits in the boiler and can eat at the seals. After storage, you don’t need to descale unless you see scale buildup.
Can I store the machine in a cold garage or shed?
You can, but you shouldn’t. Cold temperatures cause condensation when the space warms up, and that moisture leads to rust and mold. If you have no other option, wrap the machine in a breathable cover and place it in a sealed plastic bin with a desiccant pack. But a climate-controlled room is always better. This is the same logic as regular coffee machine maintenance, just applied to a dormant period.
What I’ve Learned From Storing Dozens of Machines
After testing and storing compact espresso machines for years, a few patterns stand out. The machines that come out of storage in perfect condition all share one habit: the owners treated the drying step as the most important part of the process. They didn’t just dump the water; they purged the boiler, dried the drip tray, and left the portafilter out overnight.
The machines that come out damaged almost always have the same story. Someone stored them in a garage or a basement, skipped the boiler purge, and covered them with a plastic bag. Three months later, the boiler was scaled, the group head was moldy, and the plastic had a sticky film.
Here’s the bottom line for your situation:
- Empty and dry the reservoir completely before storage.
- Purge the boiler by running the pump with the reservoir removed.
- Clean and dry the portafilter, basket, and drip tray separately.
- Store the machine upright in a climate-controlled room.
- Use a breathable cover, not a sealed plastic bag.
- If you have a Breville BES870XL or similar, use a fitted nylon cover like the EiiJugaloo dust cover that allows airflow through the bottom.
- When you bring it back, flush two full tanks of water through the group head before brewing.
Take the extra twenty minutes to prep your machine properly, and it will reward you with years of reliable service. Skip it, and you’ll be shopping for a replacement sooner than you’d like. The choice is straightforward.
Products related to this article
Sponsored / affiliate links. As an Amazon Associate I earn from qualifying purchases. I may earn additional commission from eligible campaigns.
 Coffee Espresso Machine Handle Replacement Parts, Cafe Bracket Handle for Lidl Silvercrest CM4621 CM4218 KF5002 KF500S Barista (for 51mm Portafilter Basket - Not included)
 Linnkyfloa Coffee Espresso Maker Handle Replacement for Stovetop Moka Pot or Percolator, Black Plastic for Spare Part Compatible with Italian(9-12 Cup)
 Wrenmor Replacement Handle For Coffee Espresso Moka Stove Pot, Black Plastic Accessory Compatible With 1/3/6/9/12 Cup Sizes For Easy Installation And Long-Lasting Use(1 Cup)