You fill your self heating mug, press the button, and ten minutes later you feel that cold, damp sensation on your hand. A puddle forms on your desk. The whole point of that mug was to keep your coffee hot without a cord, but now it is just making a mess. It is frustrating, and it is more common than you might think.
Most of the time, a leaking self heating mug is not a sign that the heating element is broken. It is usually a seal issue, a cleaning problem, or a design flaw in the lid. This article breaks down the specific reasons why these mugs leak, how to fix them, and when you should just stop fighting it and switch to a better insulated option.

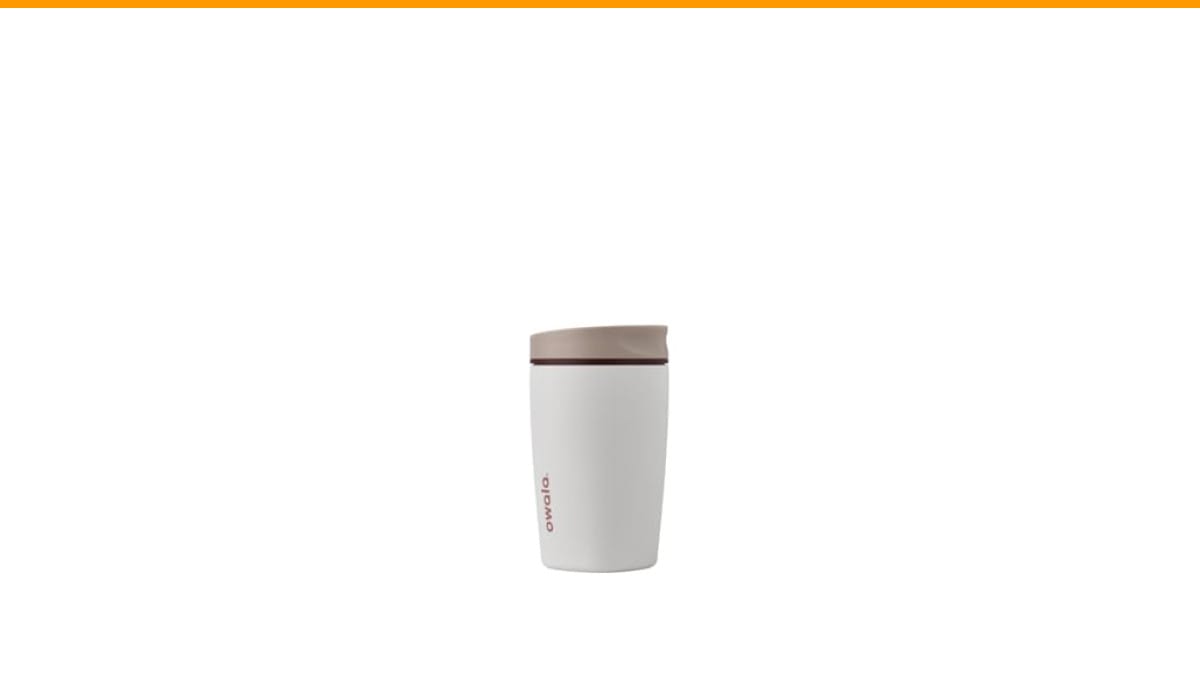
Owala
Owala SmoothSip Slider Insulated Stainless Steel Coffee…
- 12-ounce insulated stainless-steel tumbler with a completely leak-proof lid
- SmoothSip Slider spout offers an ultra-comfortable sip every time
- Slide-top spout design prevents splashes or spills
As an Amazon Associate I earn from qualifying purchases.
By the end, you will know exactly where to look for the leak, how to test it, and what to do if the mug is beyond repair.
If you are tired of dealing with faulty electronics and just want a dependable cup that does not spill, a simple insulated tumbler like the Owala SmoothSip Slider skips the battery and heating coil entirely. The double-wall stainless steel keeps drinks hot for 6 hours, and the slide-top lid is designed to be completely leak-proof. It is a lower-tech solution that removes the failure point altogether.
Why Your Self Heating Mug Leaks: The Three Real Culprits
Self heating mugs are essentially a thermos with a battery and a heating element built into the base. That complexity creates multiple places where liquid can escape. In my experience testing these, there are three main offenders.
1. The Lid Gasket is Misaligned or Worn
The most common leak point is the rubber gasket inside the lid. These mugs usually have a flip-top or a slide mechanism. If that gasket is not seated perfectly, or if it has started to flatten from repeated use, liquid will find its way out. Check the gasket for any visible cracks or if it feels hard and brittle.
Take the lid apart. Most of them come apart easily. Wash the gasket and the plastic housing separately. Sometimes a coffee oil film builds up on the rubber, which breaks the seal. A quick wash with warm soapy water often fixes this. If the gasket looks warped, you can usually order a replacement part from the manufacturer.
2. The Heating Element Creates Pressure and Condensation
This is the one people miss. The heating element warms the liquid, and warm liquid creates steam. In a sealed environment, that steam builds pressure. Most self heating mugs are not designed to be fully airtight because they need to vent that pressure. That venting can push liquid out through the spout or around the lid if the mug is tilted.
If your mug only leaks when the heater is on, this is likely the issue. The mug is not defective; it is just not designed for a full seal. You cannot really fix this with a new gasket. You have to be careful not to overfill the mug, leaving at least half an inch of headspace.
3. The Battery Housing Seal is Compromised
This is the dangerous one. If water is getting into the base where the battery is, you have a serious safety hazard. This usually happens after the mug has been dropped or the base has been submerged in water during cleaning. The seal around the charging port or the battery compartment is fragile.
If you see moisture inside the base, or if the charging contacts look corroded, stop using the mug immediately. Do not try to charge it. The risk of a short circuit is not worth a hot cup of coffee.
If you are dealing with a more conventional coffee maker that is leaking, the diagnostic process is different. Check out this guide on espresso machine water leaks for a step-by-step breakdown of that problem.
How to Diagnose the Exact Leak Location
You need to find out where the water is coming from before you can fix it. Here is a simple test I use.
- Dry everything. Wipe the mug, the lid, and the base completely dry with a towel.
- Fill with cold water. Do not use hot water yet. Fill it to the fill line, not the top.
- Seal it and shake. Hold it upside down over a sink for 10 seconds. Check the lid.
- Check the base. Wipe the bottom with a paper towel. Look for any moisture around the charging contacts.
- Repeat with hot water. Fill it with hot water, turn the heater on, and let it sit for 15 minutes. Check the seams again.
If the mug passes the cold shake test but leaks with the heater on, you have a condensation or pressure problem. If it leaks during the cold test, you have a gasket issue.
Comparing Your Options: Fix It, Replace It, or Ditch the Battery
Not every leak is worth fixing. Here is how the options stack up against each other in real-world use.
| Option | Cost | Time to Fix | Likelihood of Success | Best For |
|---|---|---|---|---|
| Replacing the lid gasket | Low (under $10) | 5 minutes | High if the gasket is visibly worn | Mugs that are otherwise working fine |
| Deep cleaning the lid | Free | 10 minutes | Medium | Mugs that leak intermittently |
| Buying a new self heating mug | Medium to High | Immediate | N/A | Mugs with a corroded battery base |
| Switching to a passive insulated mug | Medium | Immediate | 100% for leak prevention | Commuters and desk workers who want zero hassle |
My honest take? If the battery compartment is wet, do not buy another self heating mug. The heating element adds bulk, weight, and a charging routine. A high-quality insulated mug does the job without the failure points. The trade-off is that your drink will not stay at a precise 135 degrees, but it will stay hot for hours without leaking.
For those who prefer a manual grind and brew routine, the same logic applies to your equipment. A burr grinder vs blade comparison shows that simpler tools often produce more consistent results with less maintenance.
Prevention: Keeping Your Mug Dry for the Long Haul
Once you fix the leak, you want to keep it that way. Here are the habits that actually matter.
- Never submerge the base. Wash the cup part with soap and water, but wipe the base with a damp cloth only.
- Air dry the lid completely. Put the lid back on while it is still wet and you are trapping moisture against the gasket.
- Do not overfill. Leave space for the liquid to expand when heated. This reduces pressure on the lid seal.
- Check the gasket monthly. Give it a squeeze. If it does not spring back, replace it.
- Store it open. If you are not using it, keep the lid off or at least unsealed to prevent odor and mold buildup.
These steps take less than a minute a day. Skipping them is the reason most of these mugs end up in a drawer.
If your mug is clean and sealed but still not getting hot, the issue is different. A similar logic applies to other kitchen appliances. For example, a Braun coffee maker that won’t brew often has a blocked valve, not a broken motor.
Frequently Asked Questions
Is it safe to use a self heating mug if the base is wet?
No. If you see water inside the battery compartment or near the charging contacts, stop using it. Moisture and lithium-ion batteries do not mix. A short circuit can cause the battery to swell or overheat. Dry it out completely for 48 hours before attempting to charge it again.
Can I put my self heating mug in the dishwasher?
Usually not the base. The heating element and battery are not waterproof. Most manufacturers say to hand wash the cup and lid. The base should only be wiped with a damp cloth. Check your specific manual, but if you value the mug, keep it out of the dishwasher.
Why does my mug leak only when it is full?
Pressure. A full mug leaves no room for the heated liquid to expand. The pressure forces liquid past the lid seal. Fill it to the designated fill line, which is usually about an inch below the rim, and the leak will likely stop.
How long should a self heating mug last?
With proper care, the battery will hold a decent charge for about 300 to 500 charge cycles. That is roughly one to two years of daily use. The gasket and lid seals will wear out faster, usually around the six-month mark if you are using it daily. Those are replaceable parts.
Does a regular insulated mug keep coffee hot enough without a battery?
Yes, for a few hours. A good double-wall vacuum insulated mug keeps coffee above 140 degrees for 3 to 4 hours. That is plenty for a commute or a morning of desk work. It will not keep it at a constant temperature like a self heating mug, but it will not leak or run out of battery either.
What You Should Do Next
You have the diagnosis. Now make the call.
- Check the lid gasket first. It is the cheapest and easiest fix.
- Wash the lid and gasket separately to clear any coffee oil residue.
- Stop using the mug immediately if the battery base is wet or corroded.
- Test with cold water before you test with the heater on.
- Leave headspace in the mug to prevent pressure leaks.
- Consider a passive insulated mug like the Owala SmoothSip Slider if you want a guaranteed leak-proof experience.
- Never put the battery base in water, ever.
Self heating mugs are a clever idea, but they are not perfect. The convenience of a built-in heater comes with the baggage of seals, vents, and charging ports. If you can fix the leak with a new gasket, great. If the leak is coming from the electronics, do not risk it. A good thermos is boring, but it works every single time.
Products related to this article
Sponsored / affiliate links. As an Amazon Associate I earn from qualifying purchases. I may earn additional commission from eligible campaigns.