You notice it around week three: your morning cup tastes a little flat, the brew takes ten seconds longer than it used to, and a faint mineral ring has formed inside the water reservoir. Most people ignore these signs until the machine stops working entirely. That’s a mistake. A single serve coffee maker collects coffee oils, limescale, and bacteria in places you never see—and the fix is simpler than you think.
This guide covers the exact cleaning schedule for single serve coffee makers, the difference between a quick rinse and a deep descale, and how your local water hardness changes everything. You’ll also learn the most skipped step—unclogging the exit needle—and how to fix slow brews and weak coffee. By the end, you’ll know precisely when to clean, what to use, and why it matters for your machine’s lifespan.

IMPRESA
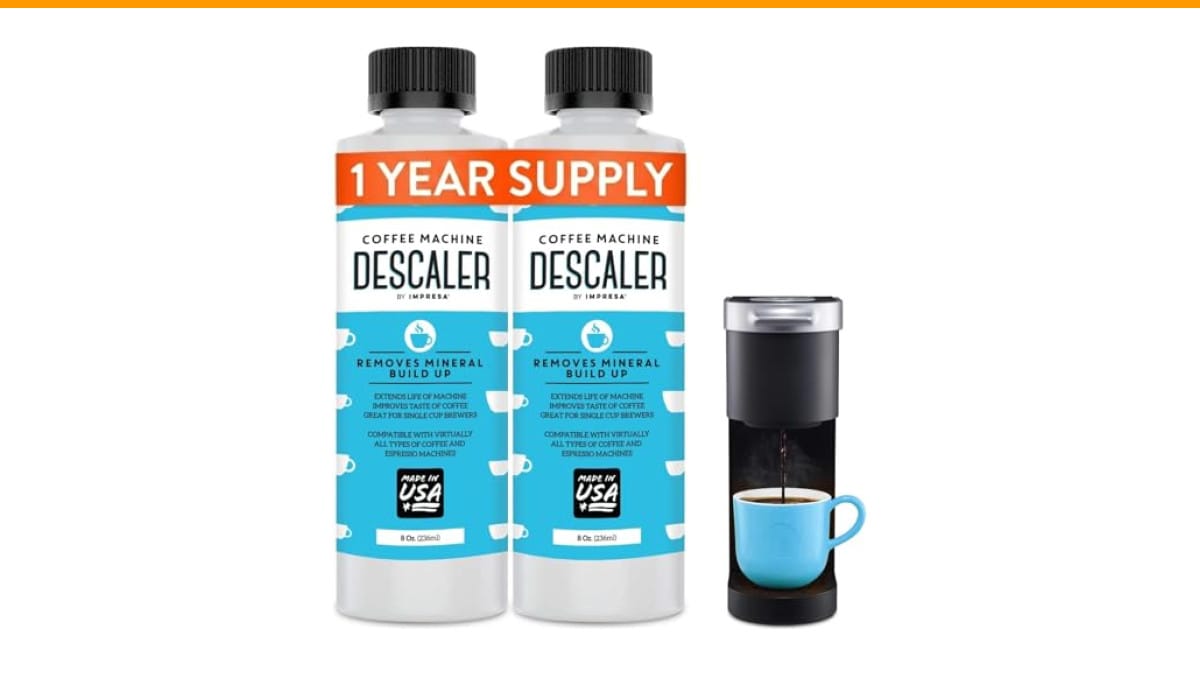
IMPRESA Coffee Machine Descaler, 2-Pack (1-Year Supply)…
- 2-Pack Coffee Descaler and Cleaner - Clean and rinse away residue and oil buildup in your coffee maker with Impresa's Coffee Desca…
- Highly Effective, Made in USA Formula - Unlike most common solutions, our coffee machine cleaner uses just 4 ounces (1/2 bottle) p…
- Preserves Your Machine - Using a coffee descaling solution eliminates limescale and mineral build-up to prevent corrosion, signifi…
As an Amazon Associate I earn from qualifying purchases.
If you’re ready to descale soon, a universal descaler like this one makes the job easier—it’s a two-pack with enough solution for four sessions, and it works with most single serve machines. But you don’t need it right away. Start with the basics below.
Why Your Single Serve Coffee Maker Gets Dirty (and Why It Matters)
Every cup you brew leaves behind two types of residue. Coffee oils stick to the internal tubing and the needle that pierces your pod. Minerals from your water—calcium and magnesium—build up as limescale inside the heating element and water lines. Over time, both restrict water flow, which means your coffee spends more time in contact with old oils and less time extracting properly. That’s why your brew tastes bitter or weak.
There’s also a bacterial angle. The warm, damp environment inside a single serve machine is a perfect breeding ground for mold and bacteria, especially if you leave water sitting in the reservoir for days. A 2026 NSF International study found that coffee makers harbor some of the highest bacteria counts in the kitchen—more than a doorknob. Regular cleaning isn’t just about taste; it’s about not drinking something that should be labeled ‘biohazard.’
Your machine’s manual probably recommends a descaling cycle every 3 to 6 months, but that’s a generic guess. The real number depends on how often you brew and how hard your water is. We’ll get to the exact math later.
What You Need: Supplies for a Deep Clean
You don’t need a drawer full of specialty products. Here’s the short list:
- White vinegar or a commercial descaler (like the IMPRESA one mentioned above)
- Citric acid powder (if you prefer a scent-free option)
- A soft cloth or sponge
- A paper clip or a specialized cleaning needle (often included with your machine)
- A bowl or mug to catch rinse water
- Dish soap for the removable parts
Skip the bleach, the abrasive scrubbers, and anything labeled ‘descaler’ that doesn’t list citric acid, lactic acid, or sulfamic acid as the active ingredient. Those are the ones that actually dissolve limescale. Others are just weak detergents.
One note on vinegar: it works, but it leaves a smell that takes two or three rinse cycles to eliminate. If you’re sensitive to that, citric acid or a commercial product is worth the extra cost.
Step 1: Disassemble and Wash the Removable Parts
Start by unplugging the machine and letting it cool completely. Then pull out everything that comes off: the water reservoir, the drip tray, the K-cup holder (or pod basket), and the funnel. Wash each piece in warm, soapy water. The drip tray and K-cup holder are usually dishwasher safe, but check your manual—some plastic parts warp in the dishwasher. If you’re unsure, hand wash.
Cleaning the Drip Tray and K-Cup Holder
The drip tray collects overflow and stray drips. It’s a magnet for mold because it stays damp. Wash it with dish soap and a sponge, then dry it completely before putting it back. The K-cup holder is worse—it’s covered in coffee oils that turn rancid. Soak it in hot, soapy water for 10 minutes, then scrub the mesh filter with an old toothbrush. Rinse well and air dry.
Unclogging the Exit Needle (The Most Missed Step)
Here’s the step almost everyone skips. The exit needle is the sharp metal tube that pierces the top of your pod. It has a tiny hole where coffee comes out. Over time, coffee grounds and oils clog that hole, which slows your brew and makes the machine work harder. If your coffee takes more than a minute to brew, this is likely the culprit.
To clean it: locate the needle under the K-cup holder (or on the top of the brew head, depending on your model). Take a paper clip, straighten it, and gently insert it into the needle hole. Move it in and out a few times to dislodge any grounds. Be careful—the needle is sharp, and you don’t want to bend it. Do this every 2-3 weeks, or whenever you notice a slow brew.
Some machines also have an intake needle on the bottom of the water reservoir. Same deal: use the paper clip to clear it if you see buildup.
Step 2: The Descaling Cycle (Vinegar vs. Commercial Descaler)
Descaling removes limescale, which is the white, chalky buildup that clogs your heating element. This is the deep clean that actually extends your machine’s life. You have three options, and they’re not equal.
| Method | Cost per Use | Effectiveness | Warranty Impact | Smell |
|---|---|---|---|---|
| White vinegar | ~$0.20 | Good for light buildup | May void warranty if used too often | Strong, lingers |
| Citric acid powder | ~$0.30 | Very good, dissolves heavy scale | Generally safe, but check manual | None |
| Commercial descaler | ~$2-3 | Best, designed for your machine | Recommended by most manufacturers | Minimal |
Vinegar is the cheapest, but it’s not the best. It’s acidic enough to dissolve mild limescale, but it can leave a residue that’s hard to rinse out, and some manufacturers (like Keurig) explicitly warn against using it because it can void your warranty. Citric acid is a better middle ground—it’s food-safe, odorless, and works just as well as commercial descalers for most machines. Commercial descalers like the IMPRESA solution are formulated to be gentle on internal seals and are the safest choice for warranty purposes. They cost more per use, but they’re still a fraction of the price of a new machine.
How to Run a Vinegar Cycle
Mix equal parts white vinegar and water (about 2 cups each for most machines). Pour the mixture into the reservoir. Place a large mug or bowl under the spout. Run a brew cycle without a pod, then let the machine sit for 30 minutes to let the vinegar work. Discard the liquid, then run 2-3 cycles with fresh water to rinse. That’s it.
How to Run a Citric Acid Cycle
Dissolve 1-2 tablespoons of citric acid powder in 2 cups of warm water. Pour it into the reservoir and run a brew cycle. Let it sit for 15-20 minutes, then run another cycle. Rinse with 2-3 fresh water cycles. The advantage is no smell, and it’s equally effective.
Step 3: Flush and Rinse (Getting Rid of the Aftertaste)
After any descaling, you must flush the system. The leftover acid or vinegar will ruin your next cup if you don’t. Run at least 3 full cycles with fresh water, using a large mug to catch the liquid. If you still taste vinegar or a chemical aftertaste, run another two cycles. For heavy buildup, you might need to repeat the entire descaling process twice—that’s normal.
One trick: leave the reservoir empty for a few hours after the final rinse. This lets any lingering moisture evaporate and prevents mold growth.
Step 4: Wipe Down the Exterior and Warming Plate
Don’t forget the outside. Coffee drips, fingerprints, and dust accumulate on the exterior, and they can get into the internals if you’re not careful. Wipe the exterior with a damp cloth, paying attention to the area around the brew head. If your machine has a warming plate (some single serve models do), wipe it down with a soft cloth and a bit of vinegar to remove coffee stains. Dry everything thoroughly.
How Often to Clean vs. Descale (The Real Answer)
Now for the main question: how often to clean a single serve coffee maker? The answer depends on two variables—usage and water hardness. Here’s a realistic schedule:
- Daily: Empty the drip tray, wipe the exterior, and dump any leftover water in the reservoir. This takes 30 seconds.
- Weekly: Wash the removable parts (drip tray, K-cup holder, reservoir) with soap and water. Run a water-only brew cycle to flush the internal lines.
- Monthly: Deep clean the exit needle with a paper clip. This is your best defense against clogs.
- Every 3-6 months: Run a full descaling cycle. This is the big one that removes limescale.
The ‘Every 3 Months’ Rule vs. The ‘Water Hardness’ Rule
The 3-month rule is a good baseline for average water and average use (1-2 cups per day). But if you live in an area with hard water—meaning your tap water has high mineral content—you need to descale more often. How do you know? Check your local water hardness report, or look for white scale on your kettle or faucets. If you see it, descale every 6-8 weeks. If you have soft water, you can stretch it to 6 months.
Usage matters too. If you brew 4-5 cups a day, you’re running more water through the system, which means more mineral buildup. In that case, descale every 2-3 months. The point is, the schedule isn’t set in stone—it’s a starting point that you adjust based on your situation.
Signs Your Machine Needs Cleaning Now
Don’t wait for a calendar reminder. Watch for these signs:
- Brew time increases by more than 10 seconds
- Your coffee tastes bitter, sour, or ‘off’
- There’s visible scale in the water reservoir
- The machine makes a louder, higher-pitched noise during brewing
- Water flow is slower or sputters
Any one of these means it’s time to clean, even if it’s been only a month.
Troubleshooting: Fixing Slow Brews and Bad Tastes
If your machine is brewing slowly, the first thing to check is the exit needle. A clogged needle is the #1 cause of slow brewing. If that’s clean, check the water reservoir—sometimes the intake valve at the bottom is blocked by scale. Soak it in vinegar for 15 minutes, then rinse.
If your coffee tastes weak, it’s often a sign of mineral buildup in the heating element. The water isn’t getting hot enough to extract properly. Run a descaling cycle, and that usually fixes it. If the taste persists, it could be old coffee oils—so wash the K-cup holder and run a water-only brew cycle.
A machine that’s louder than usual is also a red flag. It often means the pump is working harder because of a partial clog. Clean the needle and descale. If the noise continues, you might have a more serious issue, but cleaning solves most cases.
Frequently Asked Questions
Can I use vinegar instead of a commercial descaler?
Yes, but with caveats. Vinegar works on light scale, but it can leave a smell and may void your warranty if used repeatedly. Citric acid is a better DIY option—it’s odorless and just as effective. For a guaranteed warranty-safe clean, use a commercial descaler.
How do I clean the needle on a Keurig?
Turn off the machine and unplug it. Remove the K-cup holder. Underneath, you’ll see the exit needle. Take a paper clip, straighten it, and gently insert it into the needle hole. Move it in and out a few times. Do this monthly to prevent clogs.
What’s the difference between cleaning and descaling?
Cleaning removes coffee oils and residue from the removable parts and the needle. Descaling removes mineral buildup (limescale) from the internal water lines and heating element. You need both. Cleaning is more frequent; descaling is less frequent but more thorough.
Does hard water really affect how often I descale?
Yes, significantly. Hard water contains more calcium and magnesium, which means more limescale. If you have hard water, you should descale every 6-8 weeks. If you have soft water, you can go 6 months. Check your local water report or look for scale on your kettle.
Can I run a descaling cycle with just water?
No. Water alone won’t dissolve limescale. You need an acid—vinegar, citric acid, or a commercial descaler. Running water-only cycles is a good weekly rinse, but it won’t replace a proper descale.
The Bottom Line: A Simple Routine That Works
You don’t need to obsess over your coffee maker, but you do need a routine. Here’s what to remember:
- Rinse the reservoir and wipe the exterior daily—takes 30 seconds.
- Wash removable parts weekly with soap and water.
- Unclog the exit needle monthly with a paper clip.
- Descale every 3 months for average water, or every 6-8 weeks if you have hard water.
- Use a commercial descaler or citric acid instead of vinegar to avoid smell and warranty issues.
- Watch for slow brews, off tastes, or louder noise—those are your cues to clean now.
- Flush with fresh water after every descale to remove all residue.
Stick to this schedule, and your single serve coffee maker will last years longer and brew better coffee. If you need a reliable descaler, check the IMPRESA 2-pack on Amazon—it’s a solid choice that won’t break the bank.
For more detailed guides on coffee maker maintenance, see our cleaning frequency guide and the vinegar cleaning tutorial.
Products related to this article
Sponsored / affiliate links. As an Amazon Associate I earn from qualifying purchases. I may earn additional commission from eligible campaigns.
 HomeBeyond Espresso Coffee Maker 12 Cups, Classic Stovetop Espresso Maker, 600ml / 20oz Coffeemaker for Gas & Ceramic Stovetops (Silver)
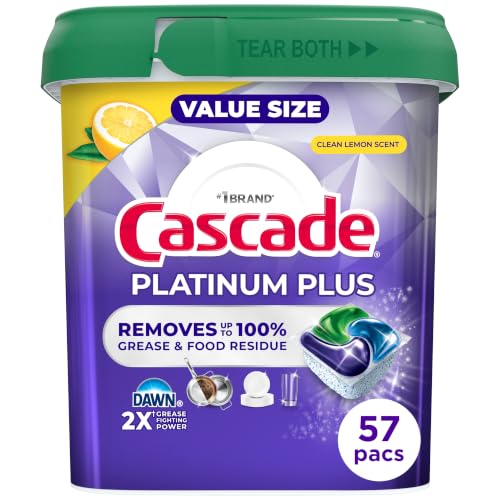 Cascade Platinum Plus Dishwasher Detergent Pods Dish Soap Lemon 57 Count
 Belly Moka Coffee Maker Stovetop Espresso Maker 9 Cup Aluminum Moka Pot Percolator 15oz 450ml Easy Brewing for Electric Ceramic Stoves Home Camping Italian Cuban Café Classic Black