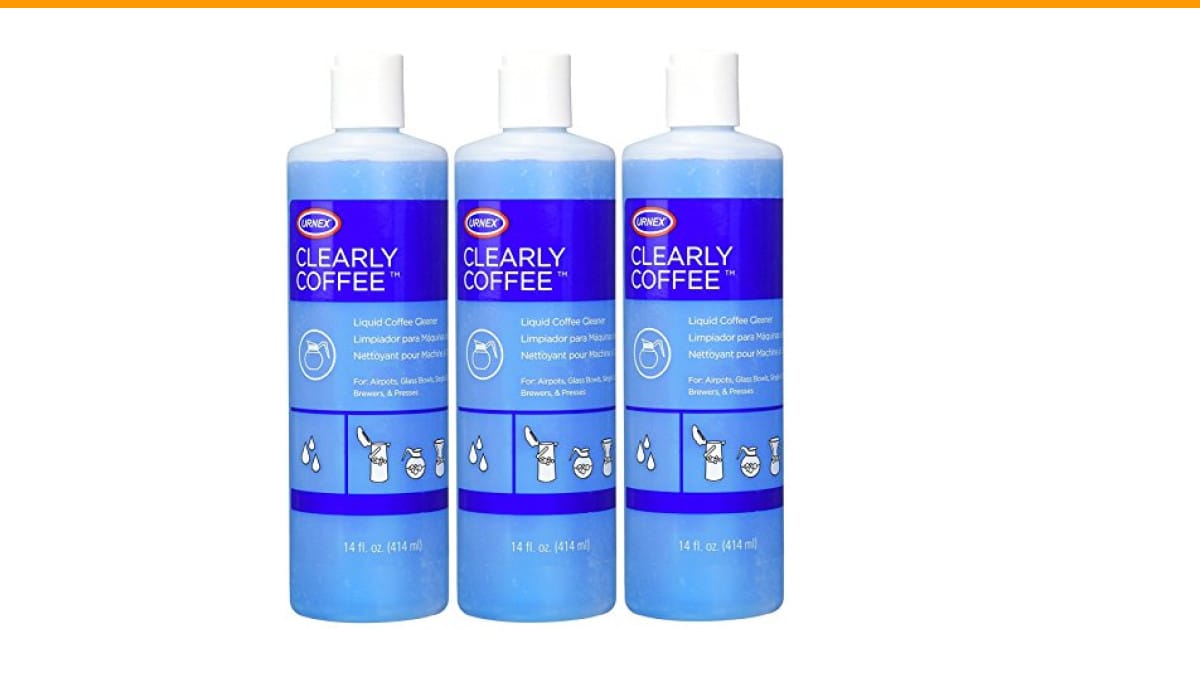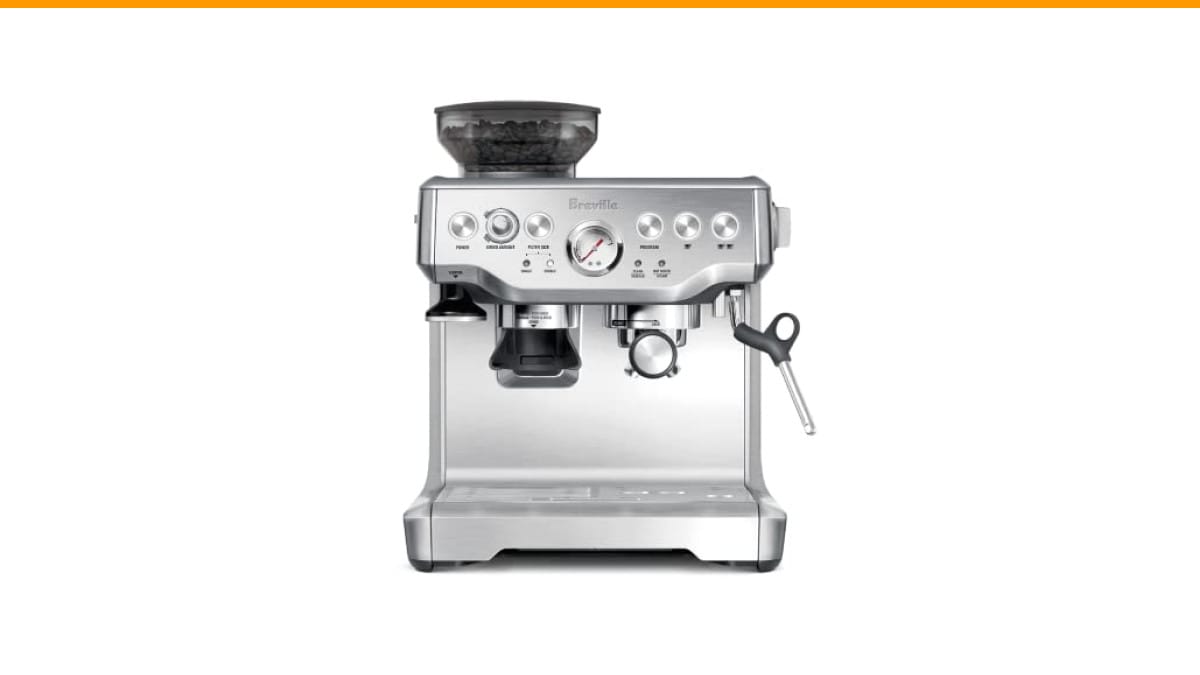
You notice it on a Tuesday morning. The shot pulls slower than usual, or the steam wand sputters like it’s out of breath. Your super automatic espresso machine is telling you something, and that something is limescale.
Hard water leaves minerals behind every time the machine heats water. Those minerals build up inside the boiler, the brew group, and the pipes. Left alone, they choke the machine’s flow, change the temperature, and eventually kill the pump. The fix is a descaling routine, and it’s not as scary as the manual makes it sound.

Tillbrook
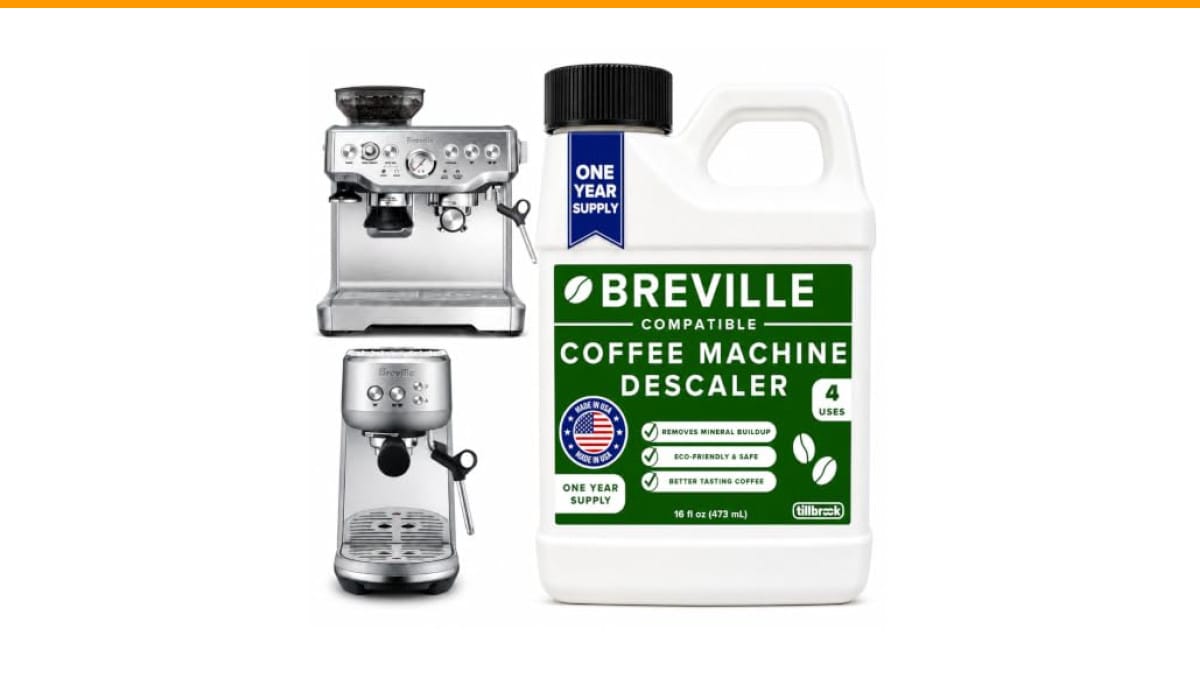
Breville Espresso Machine Compatible Descaler, 4 Uses,…
- EXCEPTIONAL RESULTS: Introducing Tillbrook Coffee Machine Descaler specifically formulated for Breville—the best choice for removi…
- 1 YEAR SUPPLY: Our concentrated formula is easy to use and provides remarkable value with 4 cleanings per bottle. Simply add 1/2 c…
- SCIENTIFICALLY ENGINEERED: Our advanced descaling solution is carefully crafted with powerful, all-natural ingredients that remove…
As an Amazon Associate I earn from qualifying purchases.
This guide covers the exact steps to descale a super automatic espresso machine, the right cleaner to use, and how often you actually need to do it. You’ll walk away knowing how to keep your machine running like new without paying a repair tech $200 to do what you can do in 30 minutes.
For most home machines, a dedicated cleaner like the Tillbrook Breville Descaler handles the job safely. It’s formulated for Breville machines but works across most super automatics. A 16 oz bottle gives you four full descaling cycles, which is about a year of maintenance for the average home user.
Why Super Automatics Need Special Care
Super automatic espresso machines are different from manual machines. They grind, tamp, brew, and eject the puck all on their own. That complexity means more internal parts that water touches.
The brew group is the biggest concern. It’s a plastic and metal assembly that moves up and down, pushing water through the coffee grounds. Limescale on the brew group makes it stick. When it sticks, the machine errors out or grinds to a halt mid-cycle.
You also have a thermoblock or boiler, a pump, and a network of small tubes. Scale in any of those restricts water flow. A machine that used to pull a 30-second shot might take 60 seconds. The water temperature drops because the heating element is insulated by scale, so your espresso tastes sour or flat.
Here’s the part most people miss: descaling isn’t just about cleaning. It’s about protecting the machine’s internal seals and gaskets. Scale crystals are sharp. They wear down rubber seals as water pushes past them. A machine that’s never descaled will eventually leak from seals that wore out prematurely.
If you’re hearing odd noises from the pump or noticing loud grinding sounds, scale is often the culprit. The pump works harder to push water through narrowed pipes, and it whines as it struggles.
How Often Should You Descale?
The standard answer is every 3 to 4 months. That’s what most manufacturers print in the manual, and it’s a good baseline for average tap water.
But your actual schedule depends on water hardness. If you live in an area with very hard water, you’ll need to descale monthly. If you use filtered or bottled water, you can stretch it to every 5 or 6 months.
You can test your water hardness with a simple strip test from a hardware store. Or you can watch for the signs: slower brew times, weaker steam pressure, or a machine that’s noisier than it used to be. Those are all early warnings.
One thing I’ll say plainly: don’t wait for the machine to tell you it’s time. Most super automatics have a descaling indicator light, but that light is triggered by a counter or a flow sensor, not by actual scale buildup. It’s a rough estimate at best. Your machine’s performance is the real indicator.
If your machine has been sitting with hard water for a year or more, check out this guide on removing limescale before you start. Heavy buildup needs a different approach than routine maintenance.
The Step-by-Step Descaling Process
Every super automatic is slightly different, but the core process is the same across Breville, Jura, DeLonghi, Philips, and Gaggia machines.
What You’ll Need
- Descaling solution (liquid, not powder, for most machines)
- A large empty container to catch the rinse water
- Access to the water tank
- About 30 minutes of time
You’ll want a container that holds at least 2 liters. The descaling cycle pushes a lot of water through, and you don’t want to be emptying a small cup six times.
Step 1: Prep the Machine
Remove the water tank and empty it. Take out the drip tray and empty that too. Remove any water filter inside the tank. Most super automatics have a charcoal or resin filter, and descaling solution will destroy it. Set the filter aside and remember to put it back later.
If your machine has a removable brew group, take it out and rinse it under the tap. Do not put the brew group in the dishwasher, and do not run it through the descaling cycle. It’s not meant to handle the chemicals.
Step 2: Add the Descaler
Check your machine’s manual for the exact ratio. Most machines want a specific amount of concentrate mixed with water in the tank.
For the Tillbrook descaler, you add 4 oz of concentrate to the empty tank, then fill with water to the max line. That’s enough for one full cycle.
If you’re using the descaler that came with your machine, follow that ratio. It’s usually similar, but some brands use a stronger concentrate that needs more water.
Step 3: Run the Descaling Cycle
This part varies by brand. Some machines have a dedicated descaling mode you activate from the menu. Others require a specific button combination. Check the manual for how to enter descaling mode.
Once the cycle starts, the machine will pump the solution through the internal system, pause, and then pump more. It alternates between the coffee spout and the steam wand. This is normal. The solution needs to reach every part of the water path.
The entire cycle takes 10 to 20 minutes depending on the machine. You’ll see the tank empty out as the solution gets pushed through. When the tank is nearly empty, the machine will beep and ask for more water.
Step 4: Rinse, Then Rinse Again
This is the step people skip, and it’s the most important one. After the descaling solution has done its job, you need to flush it all out.
Empty the tank completely and refill it with fresh water only. Run the cycle again, or at minimum, run several cups of water through the spout and steam wand. The goal is to flush every trace of the descaler out of the system. Descaler tastes terrible, and it can leave a chemical aftertaste in your coffee if you don’t rinse thoroughly.
I usually run two full rinse cycles. The first gets the bulk of the solution out. The second catches what’s left in the pipes.
Step 5: Reassemble and Run a Test Shot
Put the water filter back in the tank, reinstall the brew group, and replace the drip tray. Run a blank shot (no coffee) to confirm the water flows at the right speed and temperature.
If the shot pulls faster than before, the descaling worked. If it’s still slow, you may need a second descaling pass, especially if the machine hasn’t been cleaned in over a year.
Choosing the Right Descaler
Not all descalers are the same. The cheap stuff from the grocery store might be citric acid, which works but can be harsh on some machines. The expensive stuff from the manufacturer is usually a blend of acids and inhibitors that clean without corroding internal parts.
You have three main options: manufacturer-brand descaler, third-party liquid descaler, or DIY citric acid. Here’s how they compare.
| Descaler Type | Best For | Cost per Use | Safety for Machine | Effectiveness |
|---|---|---|---|---|
| Manufacturer brand (Jura, Breville, etc.) | Warranty compliance, specific machine models | Higher | Excellent, formulated for the machine | Very good |
| Third-party liquid (Tillbrook, Urnex, Dezcal) | Most super automatics, better value | Moderate | Very good, tested on multiple brands | Excellent |
| DIY citric acid powder | Budget users, occasional cleaning | Lowest | Risky if over-concentrated | Good, but can be harsh |
I’ll be honest about DIY citric acid: it works, but it’s easy to mess up. Too much acid can etch the metal inside your boiler. Too little won’t dissolve the scale. A purpose-made descaler takes the guesswork out, and the cost difference per cleaning is only a few dollars.
For most home users, the Tillbrook descaler hits the sweet spot. It’s tested on Breville machines specifically, which matters because Breville’s thermoblock design is sensitive to harsh acids. The 4-use bottle means you won’t have to think about it again for a year.
If you’re comparing super automatic machines before buying one, check out our breakdown of automatic vs semi-automatic machines to see which type fits your routine better.
What Happens If You Don’t Descale?
I’ve seen the aftermath of neglected machines. It’s not pretty.
The most common failure is a clogged steam wand. Scale builds up inside the narrow wand tip, and steam comes out in weak, sputtering bursts. You can sometimes clear it with a pin, but if the scale has hardened inside the wand itself, you’ll need to soak it in descaler.
The second most common issue is a dead pump. The pump is a small electric motor that pushes water through the system. When scale narrows the pipes, the pump has to work harder. Over time, it overheats and burns out. Replacing a pump on a super automatic costs $100 to $200 in parts alone, plus labor if you don’t do it yourself.
Then there’s the taste issue. Scale doesn’t just affect flow; it affects flavor. A scaled-up boiler heats water unevenly, so your espresso temperature fluctuates. You get sour shots one day and bitter ones the next, and you can’t figure out why. The coffee is fine, the grind is fine, but the machine is sabotaging you.
Regular maintenance prevents all of this. If you want the full routine beyond descaling, including cleaning the brew group and wiping down the internal grinder, read our guide on deep cleaning your coffee machine. Descaling is one part of a larger care routine.
Frequently Asked Questions
Can I use vinegar to descale my super automatic espresso machine?
You can, but I wouldn’t. Vinegar is acetic acid, and it’s not strong enough to dissolve heavy limescale in a machine’s boiler. It also leaves a lingering smell that’s hard to rinse out completely. If you’re in a pinch and have nothing else, use it, but plan on running at least three rinse cycles afterward. A dedicated descaler is stronger, odorless, and safer for the machine’s internal seals.
How long does a descaling cycle take?
Most super automatics take 15 to 25 minutes for the full cycle, including the rinse. The actual descaling portion is about 10 minutes. The rinse phase adds another 10. Budget about 30 minutes from start to finish, and you won’t feel rushed.
Do I need to remove the water filter before descaling?
Yes. Always. The water filter is made of activated carbon or ion-exchange resin. Descaler will strip the filter of its active properties and may release the trapped minerals back into the water. Remove it before you start and reinstall it after the final rinse.
My machine has a descaling light. Do I have to wait for it to turn on?
No. The light is a reminder, not a sensor. It’s usually triggered by a counter that estimates usage based on time or number of brews. If you use hard water, you should descale more often than the light suggests. If you use soft water, you can wait. Trust your machine’s performance over the light.
Can I descale too often?
Yes, you can overdo it. Descaling every week is unnecessary and can wear down seals faster because the acidic solution is slightly abrasive. Stick to the 3-to-4-month schedule, or adjust based on water hardness. If you’re unsure, err on the side of every 4 months for normal tap water.
What to Remember Next Time
- Descale every 3 to 4 months with normal tap water; adjust based on your water hardness.
- Always remove the water filter and brew group before running a descaling cycle.
- Use a liquid descaler made for espresso machines, not vinegar or generic kitchen descaler.
- Rinse the machine twice with fresh water after descaling to remove all chemical residue.
- Watch for slow brew times or weak steam as early signs that descaling is overdue.
- If the machine hasn’t been cleaned in over a year, plan on running two descaling cycles back to back.
- Keep a bottle of descaler on hand so you’re never tempted to skip a cycle because you ran out.
Products related to this article
Sponsored / affiliate links. As an Amazon Associate I earn from qualifying purchases. I may earn additional commission from eligible campaigns.
 Coffee Espresso Machine Handle Replacement Parts, Cafe Bracket Handle for Lidl Silvercrest CM4621 CM4218 KF5002 KF500S Barista (for 51mm Portafilter Basket - Not included)
 Linnkyfloa Coffee Espresso Maker Handle Replacement for Stovetop Moka Pot or Percolator, Black Plastic for Spare Part Compatible with Italian(9-12 Cup)
 HomeBeyond Espresso Coffee Maker 12 Cups, Classic Stovetop Espresso Maker, 600ml / 20oz Coffeemaker for Gas & Ceramic Stovetops (Silver)