You walk over, press the button for your morning double shot, and nothing happens. Or the pump runs but the cup fills with brown water that tastes burnt. Or maybe it leaks a puddle every time you pull a shot. Automatic espresso machines are supposed to make this easy, but they are still small appliances with pumps, valves, and heaters. When one part acts up, the whole routine falls apart.
This guide covers the most common problems you will face with a super-automatic or automatic espresso machine: no flow, weak shots, strange noises, leaks, and bad taste. You will get specific steps to diagnose each one, the tools you need, and the exact numbers to look for. Most fixes take under ten minutes and cost nothing. A few require a part you can order. I will tell you which is which.

Tillbrook
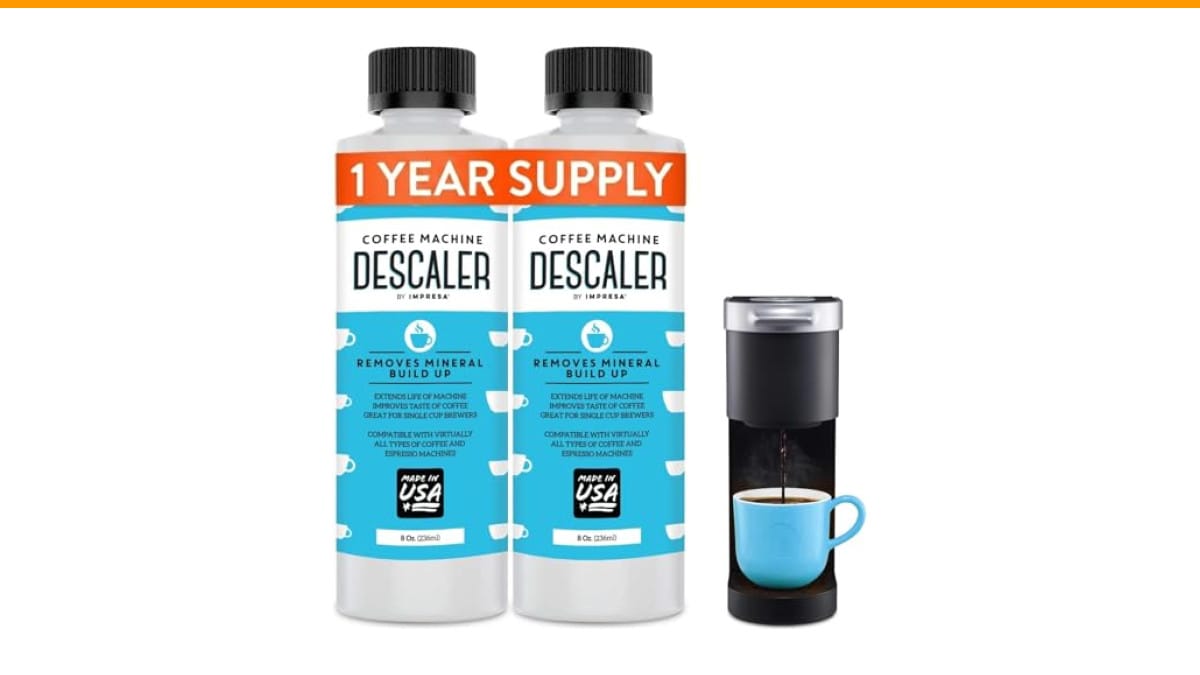
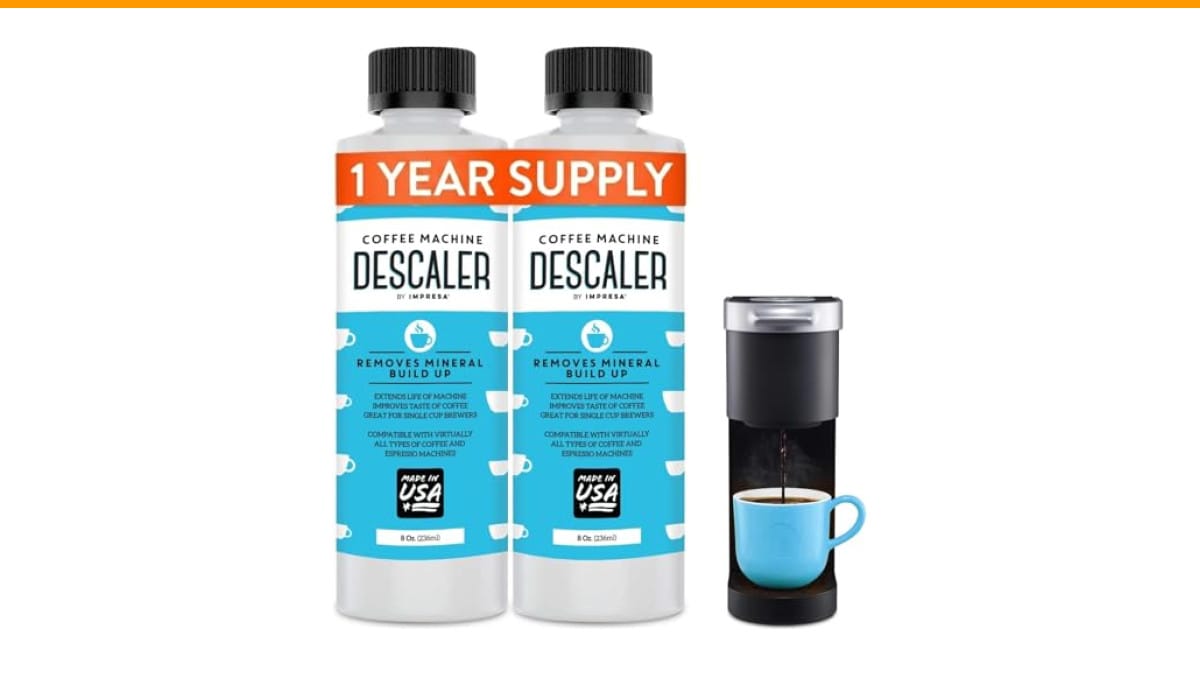
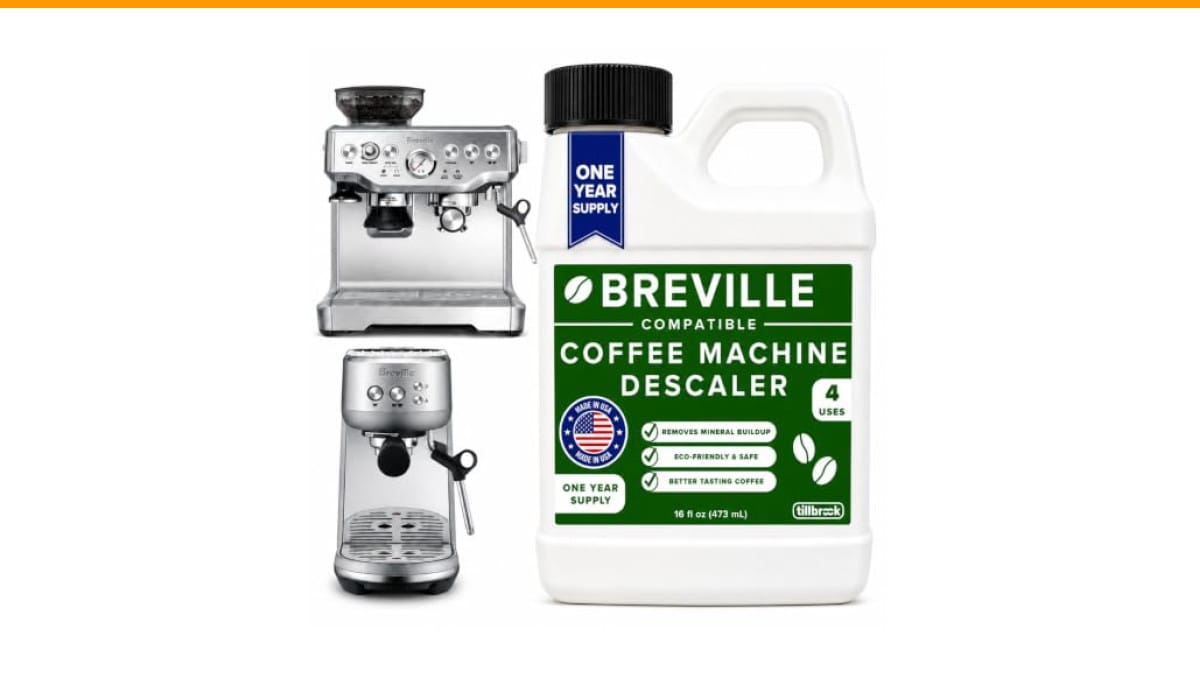
Breville Espresso Machine Compatible Descaler, 4 Uses,…
- EXCEPTIONAL RESULTS: Introducing Tillbrook Coffee Machine Descaler specifically formulated for Breville—the best choice for removi…
- 1 YEAR SUPPLY: Our concentrated formula is easy to use and provides remarkable value with 4 cleanings per bottle. Simply add 1/2 c…
- SCIENTIFICALLY ENGINEERED: Our advanced descaling solution is carefully crafted with powerful, all-natural ingredients that remove…
As an Amazon Associate I earn from qualifying purchases.
Before we dig in, one thing to understand: a shocking number of so-called breakdowns are just scale buildup. Hard water leaves minerals inside the boiler and brew group, and those minerals choke the machine. A proper descale every three to four months prevents most of the issues below. I keep a bottle of Tillbrook Descaler on hand for this exact purpose. It is formulated for Breville machines but works on most brands, and one 16-ounce bottle gives you four full cleanings. That is a year of maintenance for the price of a couple of lattes.
Start Here: The 30-Second Diagnostic Checklist
Before you take anything apart, run through these five checks. They solve more problems than any replacement part.
- Water level. Sounds obvious, but low water is the number one cause of a dead pump. Fill the tank to the max line and try again.
- Bean hopper. If the hopper is empty, the grinder runs but the brew chamber gets nothing. Refill and purge one shot.
- Drip tray. Many machines refuse to brew if the tray is full or misaligned. Empty it and push it back until it clicks.
- Error code. Check the display. Most machines show a code like E01 or a flashing light. Look it up in your manual before guessing.
- Last descale date. If it has been more than four months, skip straight to the descaling section below. This is the most common fix.
Run through that list first. It takes less time than reading the rest of this article, and it will fix maybe a third of all calls.
No Water Coming Out: Pump, Valve, or Scale
You hear the pump buzzing, but nothing comes out of the spout. That tells you the motor works. The problem is downstream.
First, feel the water tank. Is the tube at the bottom clear? Sometimes a coffee ground or a piece of rice from the hopper blocks it. Pull the tube out and rinse it under the tap.
Next, check the brew group. On most automatics, you can slide it out by opening the side door. Look at the mesh filter inside. If it is clogged with oily coffee residue, the water cannot push through. Soak the brew group in warm water with a drop of dish soap for ten minutes, then rinse thoroughly. Do not put it in the dishwasher unless the manual says so.
If the group is clean but you still get no flow, you are looking at scale. Hard water deposits close off the narrow pipes in the thermoblock or boiler. This is not a DIY fix for most people. You need a descaling cycle, which uses a chemical solution to dissolve the minerals. Running a descale cycle is the first thing I try before ordering any parts.
Pro tip: if your machine has a hot water wand, test that separately. If hot water comes out fine but the brew spout does not, the problem is in the brew path, not the pump.
Weak or Watery Espresso: Grind, Dose, and Pressure
A shot that pours too fast and looks pale usually means the water is rushing through the coffee. Three things cause this.
Grind is too coarse. Automatic machines have a dial to adjust the grinder. Turn it one step finer, then pull a shot. Wait, taste it, and adjust again. One step at a time is the rule. Going from coarse to fine in one jump can choke the machine entirely.
Dose is too low. If the machine does not grind enough coffee, the puck is thin and water passes through quickly. Check the dose setting. Most machines let you adjust the amount of ground coffee per shot. Increase it by one gram and test.
Pressure is low. This is trickier. A healthy espresso machine runs at about 9 bars of pressure during extraction. If the pump is weak or the pressure valve is stuck, you get a slow, watery dribble. You can test this with a blind filter (a disc that blocks the water). If the pressure gauge reads below 8 bars, the pump may be failing. That is a repair job unless your machine has a user-serviceable valve.
One more thing: stale beans. If your beans were roasted three months ago, they will not produce crema no matter what you adjust. Buy fresh beans with a roast date on the bag.
Leaking Water: Where Is It Coming From?
Leaks are annoying, but they are usually easy to trace. Dry the machine with a towel, then run a shot and watch where the water appears.
- Under the machine: Check the drip tray and the hose that connects to it. A cracked hose is a common failure after a few years. Order a replacement hose and swap it yourself.
- Around the door: The brew group gasket may be worn. This rubber ring seals the brew chamber. If it is hard or cracked, replace it. It is a cheap part and takes five minutes to swap.
- From the steam wand: The wand has a rubber seal where it connects to the boiler. Over time, that seal dries out and leaks steam. Tighten the fitting first; if the leak persists, replace the o-ring.
- Inside the drip tray: That is not a leak. That is the machine purging excess water after brewing. Normal.
If you cannot find the source, run the machine with the top cover off (if you are comfortable doing that) and watch the internal lines. Do this with the machine unplugged and cold first. Safety first.
Loud Noises and Grinding Sounds
Automatic machines are not silent, but there is a difference between a hum and a shriek.
A high-pitched whine from the pump usually means it is struggling to draw water. Check the tank tube for an air lock. Sometimes a bubble gets trapped in the line. Lift the tube out, let the water flow back, and reinsert it.
A rattling or clicking noise from the grinder means a foreign object is in the burrs. A small stone can get into the hopper with the beans. You will need to open the grinder and remove it. Unplug the machine first. This is a less common issue, but it happens more often with cheaper beans.
If the machine is vibrating violently, check that it is on a flat, level surface. A wobbly counter amplifies normal vibration. Place a silicone mat under it if needed.
Persistent loud noise that you cannot trace? There is a dedicated guide on automatic espresso machine making loud noise that goes deeper into specific models and sounds.
Bad Taste: Sour, Bitter, or Burnt
Taste issues are the hardest to troubleshoot because they are subjective. But there are two common culprits.
Sour or acidic shots are under-extracted. The water did not pull enough flavor out of the beans. Fix this by grinding finer or increasing the brew time. If your machine has a pre-infusion setting, turn it on. That soaks the grounds before full pressure hits, which helps extraction.
Bitter or burnt taste is over-extraction or old coffee residue. If the machine has not been cleaned in a while, old oils on the group head go rancid and ruin every shot. Run a cleaning cycle with a tablet or use the deep clean method described in our deep clean coffee machine guide. Also, lower your water temperature by 2 degrees if the machine allows it.
And check your water. Tap water with high chlorine or heavy minerals tastes terrible regardless of the machine. Use filtered water.
Comparison: DIY Fix vs. Descaling vs. Professional Repair
| Approach | Best For | Time | Cost | Skill Level |
|---|---|---|---|---|
| DIY Quick Fix | Empty tank, clogged tube, full drip tray | 5 minutes | $0 | Anyone |
| Descaling | Slow flow, low pressure, noise, bad taste | 30-45 minutes | Under $15 per cleaning | Beginner |
| Brew Group Cleaning | Oily residue, weak shots, rancid taste | 15 minutes | $0 (soap and water) | Beginner |
| Part Replacement | Cracked hose, worn gasket, leaky o-ring | 1 hour | $10-$30 for parts | Intermediate |
| Professional Service | Failed pump, PCB issues, persistent internal leaks | 3-7 days turnaround | Check local rates | N/A |
My rule of thumb: try the first three rows before you spend any money. If those do not fix it, a professional is usually cheaper than replacing the machine.
Frequently Asked Questions
How often should I descale my automatic espresso machine?
Every three months if you use tap water, every four to six months if you use filtered water. Hard water areas need more frequent descaling. If you notice the flow slowing down or the pump getting louder, descale sooner.
Can I use vinegar to descale my espresso machine?
You can, but I do not recommend it. Vinegar is acidic enough to dissolve scale, but it leaves a smell and a taste that is hard to rinse out completely. It can also degrade the rubber seals over time. A purpose-made descaler like the Tillbrook Descaler is formulated for coffee machines and rinses clean. The cost difference is small.
Why is my espresso machine leaking water from the bottom?
Most likely a cracked hose or a loose fitting. Remove the outer shell (check your manual), dry everything, and run a shot to see the exact drip point. Replace the hose if cracked. If the leak is coming from the boiler itself, that is a professional repair.
What does it mean when the pressure gauge stays at zero?
It means the pump is not building pressure. Check the water tank first. If the tank is full, the pump may be air-locked. Run the hot water wand for 30 seconds to purge air. If the gauge still reads zero, the pump or the pressure sensor is faulty.
My machine grinds but does not brew. What is wrong?
The grinder works, so the issue is in the brew unit. The brew group may be jammed or not seated properly. Remove it, clean it, and reinsert it until it clicks. If the machine has a bypass chute for pre-ground coffee, try that. If pre-ground brews fine, the grinder is dispensing too fine and clogging the group.
Three Mistakes to Avoid When Troubleshooting
Mistake #1: Running the descale cycle without removing the brew group. The chemical solution can foam up and push debris into the group. Always remove the brew group and clean it separately before descaling.
Mistake #2: Using a paperclip or pin to clear a clogged jet. You will scratch the nozzle and change the spray pattern, ruining extraction. Use a soft brush or a specialized cleaning tool instead.
Mistake #3: Ordering a new pump before checking the water inlet valve. The inlet valve is a small solenoid that opens to let water into the boiler. If it is stuck closed, the pump runs but no water passes. It is a $20 part, and it is a much easier swap than a pump.
Take your time, unplug the machine before any disassembly, and keep a towel under everything.
What to Do Next
- Run the 30-second diagnostic checklist before anything else. It resolves a third of all issues instantly.
- Descale every 3-4 months. Use a real descaler, not vinegar. A bottle with four uses covers a year.
- Clean the brew group every two weeks. Soak it in warm soapy water and rinse well.
- Adjust the grinder one step at a time. Test between each change.
- Replace worn gaskets and hoses before they fail completely. They are cheap and easy to swap.
- Use filtered water. It reduces scale and improves taste more than any other single change.
- Know when to call a professional. If you have tried descaling and cleaning, and the problem persists, a $100 service call beats a $1,000 replacement.
If you are still stuck, read through the automatic espresso machine vs semi comparison to see if your machine’s design is part of the issue. And for persistent water problems, the automatic espresso machine leaking water guide covers that specific fault in detail.
Most espresso machine failures are maintenance failures, not hardware failures. A little routine care keeps the machine running, and your morning routine stays intact.
Products related to this article
Sponsored / affiliate links. As an Amazon Associate I earn from qualifying purchases. I may earn additional commission from eligible campaigns.
 Coffee Espresso Machine Handle Replacement Parts, Cafe Bracket Handle for Lidl Silvercrest CM4621 CM4218 KF5002 KF500S Barista (for 51mm Portafilter Basket - Not included)
 Linnkyfloa Coffee Espresso Maker Handle Replacement for Stovetop Moka Pot or Percolator, Black Plastic for Spare Part Compatible with Italian(9-12 Cup)
 Quick Heating Cup Warmer, Three Temperature Settings, Splashproof and Portable, for Coffee, Milk, Lightweight ABS Material