You press the brew button, hear the click, and then… nothing. No gurgle, no steam, no hot coffee dripping into the carafe. The machine hums, the light turns on, but the water stays cold. It’s frustrating, especially when you’re running on three hours of sleep and the only thing standing between you and a functional morning is a 4-inch-wide appliance that suddenly quit.
Most small coffee makers fail in the same few ways. The good news: a large chunk of those failures are fixable at home with basic tools and about twenty minutes. This guide walks you through the actual causes, the order to test them, and the honest answer on when to stop troubleshooting and just buy a new unit.
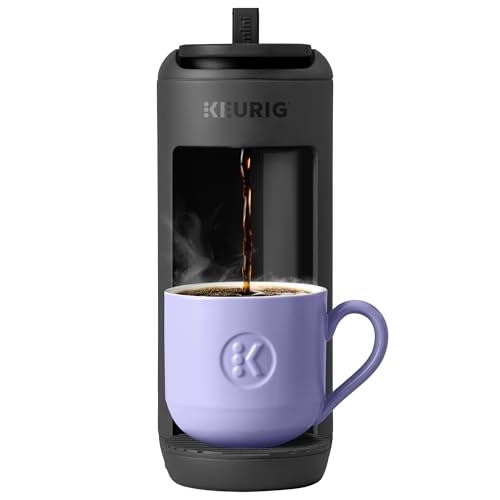
Keurig
Keurig K-Mini Mate Single Serve K-Cup Pod…
- SMALL SPACE SAVER: Compact at 4" wide for brewing the perfect cup of coffee in small kitchens, dorm rooms, offices, and surfaces w…
- 12 OZ CUP: Features a One Cup reservoir for a freshly brewed cup, up to 12 oz.
- TRAVEL MUG FRIENDLY: Fits up to a 7.25” to-go coffee cup so you can brew and go!
As an Amazon Associate I earn from qualifying purchases.
You’ll learn the difference between a clogged heating element and a dead thermal fuse, how to test both safely, and why descaling fixes more “broken” machines than any other single step. We’ll also cover the trade-off between repairing a $30 brewer versus replacing it, so you don’t sink more time into a lost cause.
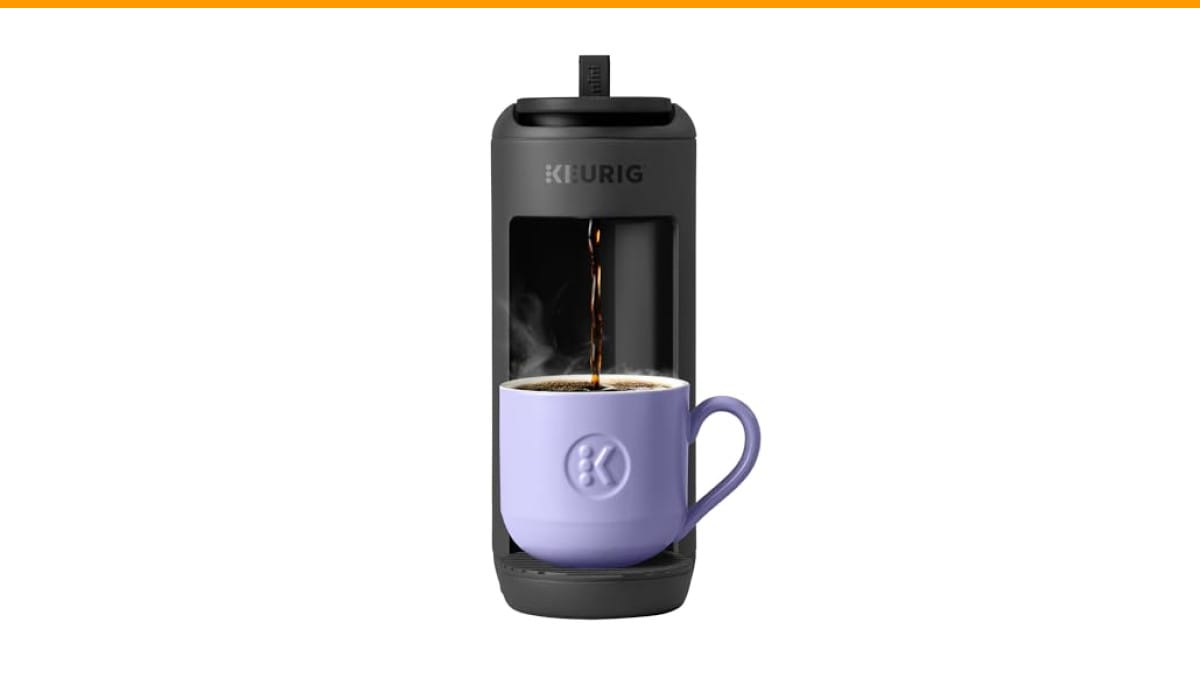
If you’re in the market for a replacement, the Keurig K-Mini Mate is a solid compact option that takes up barely any counter space at 4 inches wide. It brews up to a 12-ounce cup and fits travel mugs up to 7.25 inches tall, so you can still get your fix without dedicating half the kitchen to a bulky machine.
Why Your Small Coffee Maker Isn’t Heating Up
Every basic drip brewer works the same way. Cold water sits in the reservoir, a pump or gravity pushes it into a thin metal tube, and a heating element wrapped around that tube boils the water as it passes through. When your machine isn’t heating, the problem lives in one of four places: the power supply, the heating element itself, the thermal fuse, or a clogged tube.
The power supply is the easiest to rule out. Check that the outlet works by plugging in a phone charger or a lamp. If the outlet is fine, the next suspect is the machine’s own power cord — flex it near the base while it’s on. If the light flickers or the machine powers up intermittently, the cord has an internal break and needs replacing. That’s a $5 part and a soldering job, which might not be worth it on a budget brewer.
The heating element is a coiled resistance wire embedded in an aluminum block. It either works or it doesn’t — there’s no in-between. You can test it with a multimeter set to ohms. Unplug the machine, open the base, and locate the two wires leading to the heating block. A healthy element reads between 10 and 100 ohms. If you see infinite resistance (OL on the display), the element is burned out and the machine is done.
The thermal fuse is a small white or yellow component that looks like a resistor. It’s a one-time safety device that blows when the machine overheats, often due to scale buildup. When it blows, the circuit breaks and the heater gets no power. You can test it the same way — unplugged, multimeter set to continuity. If it reads OL, it’s blown. Replacing a thermal fuse costs about $3 and requires a crimp connector or a soldering iron.
Clogs are the sneaky one. If the element works but water flows too slowly, the tube is scaled up with calcium deposits. The water sits in the tube longer, boils off, and the machine sputters. This isn’t a heating failure — it’s a flow failure that looks like one. Descaling fixes it.
The Descaling Fix That Works 70% of the Time
Before you open the case, descale the machine. Hard water leaves calcium carbonate deposits inside the heating tube, and those deposits insulate the water from the heat. The element gets hot, but the water never reaches boiling. You’ll see steam, maybe a trickle of warm water, but no actual brew.
Mix one part white vinegar with one part water. Pour it into the reservoir. Run the machine through a full brew cycle with no coffee in the basket. Let it sit for 30 minutes, then run two more cycles with plain water to rinse. That’s it. If the machine brews hot after that, you’re done.
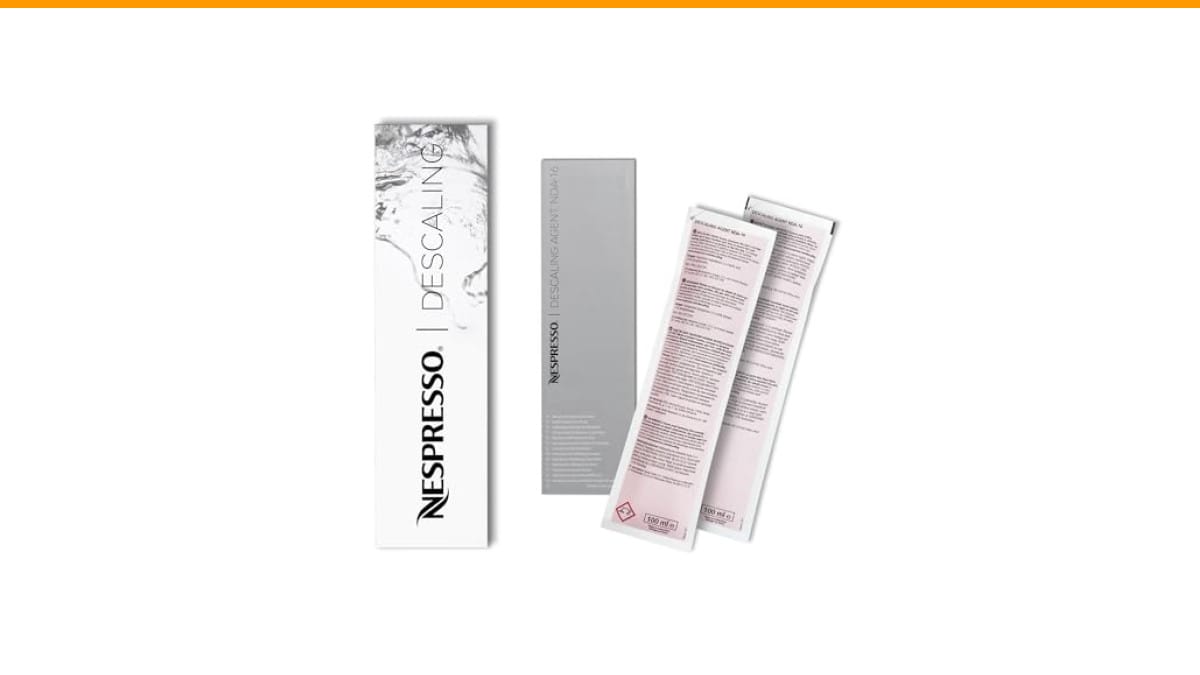
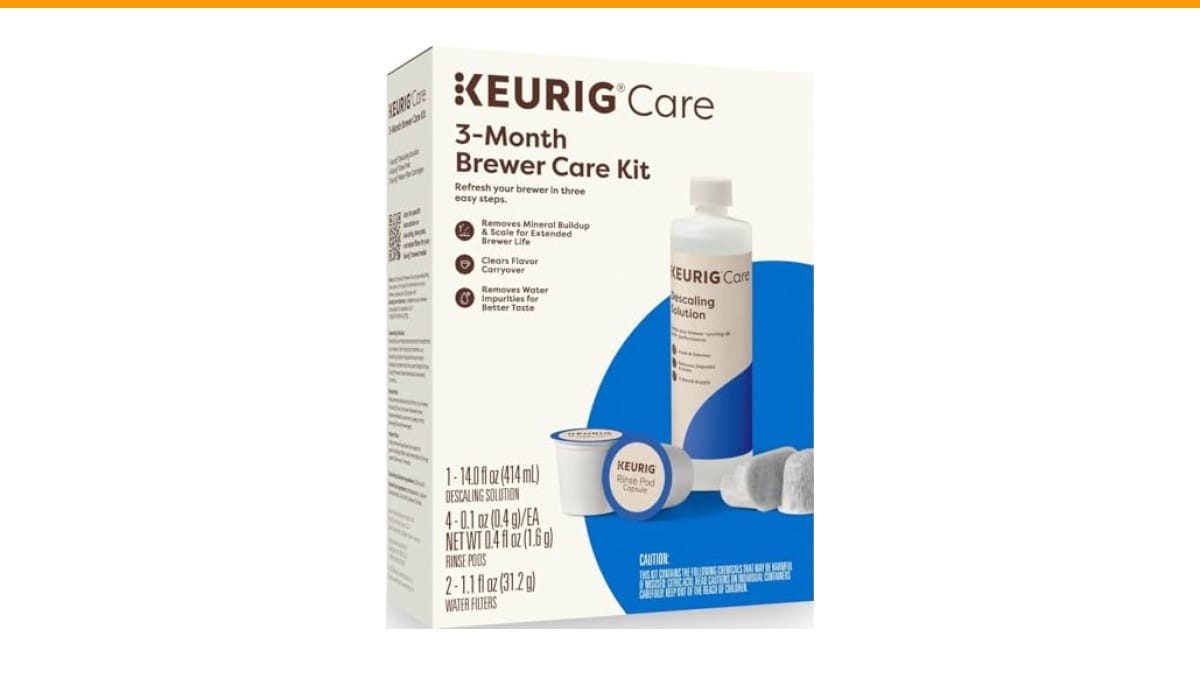
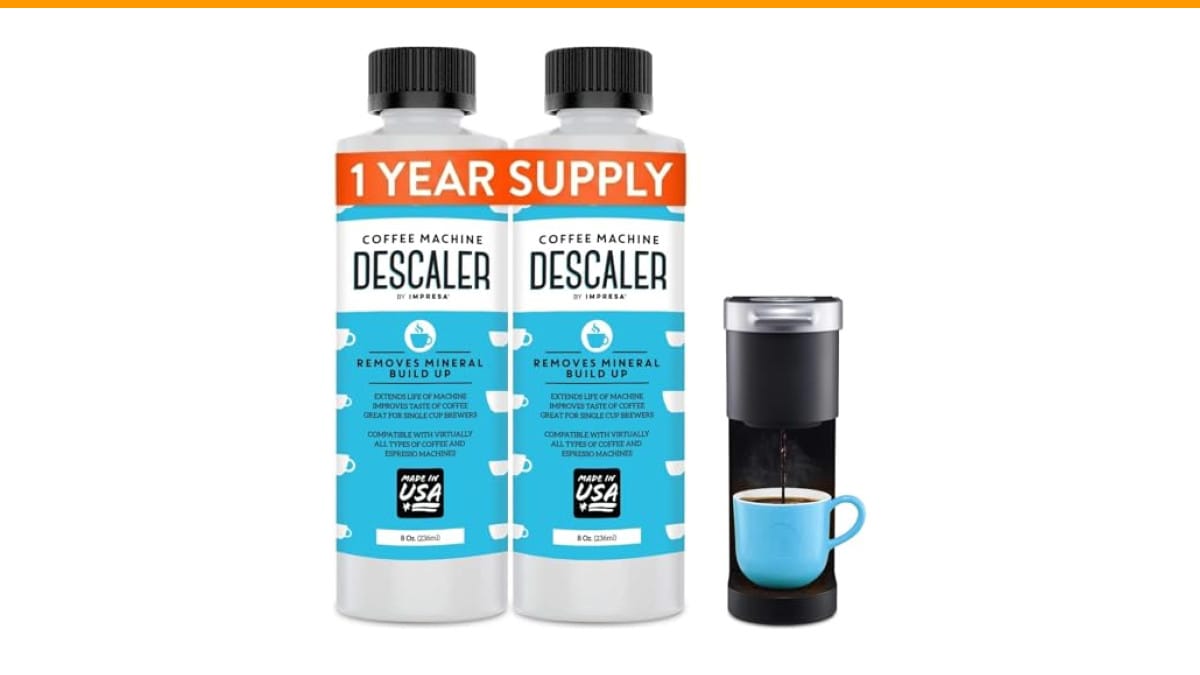
For stubborn scale, use a commercial descaler like Dezcal or Urnex. They’re stronger than vinegar and work faster. Follow the package directions — most require a soak cycle of 20 to 45 minutes. The difference is noticeable; a scaled machine that took 6 minutes to brew a cup will drop back to 3 minutes after a proper descale.
Prevention matters more than treatment. If your tap water is hard, use filtered water. Run a descaling cycle every 2 to 3 months with regular use. A clean machine heats faster, tastes better, and lasts years longer. This is the same advice we give in our cleaning frequency guide.
If descaling doesn’t fix it, move to the electrical tests. You’ll need a multimeter, a Phillips screwdriver, and about 20 minutes. Work on a dry surface, unplug the machine, and remove the base plate screws. Most small brewers have three to five screws holding the bottom cover.
Testing and Replacing the Thermal Fuse
The thermal fuse is the most common electrical failure in small coffee makers. It’s a cheap safety part that sacrifices itself to prevent a fire when the machine overheats. Once it blows, it’s gone — there’s no reset button.
Locate the fuse. It’s usually clipped to the heating element or wired in series with the power cord. It’s a small cylinder, about half an inch long, with two metal leads. Sometimes it’s wrapped in heat-shrink tubing. You’ll see a temperature rating printed on it, like 240°F or 115°C.
Test it with your multimeter set to continuity or ohms. Touch one probe to each lead. If the meter beeps or reads near zero ohms, the fuse is fine. If it reads OL, the fuse is blown. Replace it with the exact same temperature rating — never a higher one, or you defeat the safety purpose.
To replace it, snip the old fuse’s leads, strip the wires, and crimp on the new fuse with butt connectors. If you can solder, that’s more reliable. Heat-shrink the connection and reassemble. This fix costs under $5 and takes 15 minutes. It’s worth doing on a machine you otherwise like.
But here’s the honest caveat: if the fuse blew, something caused it to overheat. Usually that’s scale. If you replace the fuse without descaling, the new fuse will blow too. Fix the root cause, not just the symptom.
When to Stop Fixing and Just Replace It
Not every machine deserves repair. A $20 no-name brewer with a burned-out heating element is a parts donor, not a project. The heating element itself is rarely replaceable — it’s riveted or welded into the aluminum block. If your multimeter says the element is dead, skip the repair and shop for a new unit.
Here’s the math. A new thermal fuse costs $5 and 15 minutes of your time. That’s a worthwhile repair. A new heating element costs $15 to $25 plus an hour of labor, and you’ll likely break a plastic tab or strip a screw along the way. For a machine that retailed at $30, that’s not a good trade.
Also consider the machine’s age. If it’s over three years old and has never been descaled, the internal tubing is likely corroded beyond saving. Even if you replace the fuse, the flow rate will stay poor. You’ll be brewing 8-minute cups forever.
If you’re replacing it, think about what you actually need. A compact single-serve brewer like the Keurig K-Mini Mate is a good choice for tight spaces — it’s only 4 inches wide and brews directly into a travel mug. For a full pot, look for a simple drip machine with a removable water reservoir, which is easier to clean and descale.
We’ve covered similar troubleshooting for other brands, including Ninja brew button issues and Mr. Coffee pump failures. The same diagnostic logic applies across most machines.
Repair vs. Replace: A Quick Comparison
Here’s a practical breakdown to help you decide in about 30 seconds.
| Issue | Fix Time | Cost | Worth It? |
|---|---|---|---|
| Thermal fuse blown | 15-20 min | $3-5 | Yes, if you descale after |
| Heating element dead | 1+ hour | $15-25 + labor | No, unless machine is high-end |
| Clogged tube (scale) | 30-45 min | $2 vinegar or $10 descaler | Always — simplest fix |
| Power cord break | 30 min | $5-10 | Only if you can solder |
| Control board failure | Not repairable | N/A | No — buy new |
That table assumes you already own a multimeter and basic tools. If you don’t, add $20 to the cost of any electrical repair. For most people, that pushes the decision toward replacement.
Five Questions People Actually Ask
Why does my coffee maker make noise but not heat water?
That’s almost always a clogged heating tube. The pump or gravity system pushes water into the tube, but scale blocks the path. The element heats up, the water boils into steam, and you hear bubbling or hissing with no liquid coming out. Descale the machine first. If the noise continues after cleaning, test the element with a multimeter.
Can I use vinegar instead of commercial descaler?
Yes, but it’s slower. White vinegar works fine on light scale. Run a 50/50 vinegar-water mix through a full cycle, let it sit for 30 minutes, then rinse with two clean water cycles. For heavy buildup, commercial descalers contain stronger acids that dissolve scale in half the time. Vinegar also leaves a smell that takes a few brews to clear.
How do I know if the heating element is bad?
Unplug the machine, open the base, and test the element’s wires with a multimeter set to ohms. A good element reads between 10 and 100 ohms. Infinite resistance means it’s burned out. There’s no visual test — the element can look fine and still be dead.
Is it safe to open and repair my coffee maker?
Yes, if you unplug it first and wait a few minutes for the capacitors to discharge. The heating element can hold residual heat, so let it cool completely. Work on a dry, non-conductive surface. If you’re uncomfortable with a multimeter, stop and replace the machine. The risk isn’t worth a $30 appliance.
How often should I descale a small coffee maker?
Every 2 to 3 months with regular use, or every 40 to 60 brew cycles. If you use hard tap water, cut that interval in half. Machines that get descaled quarterly rarely have heating issues. It’s the single most important maintenance step, and most people skip it until something breaks.
What to Do Next: A Practical Checklist
- Descale with vinegar or a commercial cleaner before touching any electrical parts — it fixes most “not heating” complaints.
- Test the outlet and power cord first. A dead outlet is not a broken coffee maker.
- Use a multimeter to check the thermal fuse and heating element. Both are easy to test with the machine unplugged.
- Replace the thermal fuse only if you also descale — otherwise it’ll blow again.
- Skip repairs on machines over three years old or with a dead heating element. The cost-to-benefit ratio doesn’t work out.
- If you buy a replacement, choose one with a removable reservoir or easy-access heating area — it makes future cleaning far simpler.
- Run a descaling cycle every 2-3 months, and use filtered water if your tap is hard.
Products related to this article
Sponsored / affiliate links. As an Amazon Associate I earn from qualifying purchases. I may earn additional commission from eligible campaigns.
 Belly Moka Coffee Maker Stovetop Espresso Maker 9 Cup Aluminum Moka Pot Percolator 15oz 450ml Easy Brewing for Electric Ceramic Stoves Home Camping Italian Cuban Café Classic Black
 Belly Moka Coffee Maker Stovetop Espresso Maker 6 Cup Aluminum Moka Pot Percolator 10oz 300ml Easy Brewing for Electric Ceramic Stoves Home Camping Italian Cuban Café Classic Silver
 HomeBeyond Espresso Coffee Maker 12 Cups, Classic Stovetop Espresso Maker, 600ml / 20oz Coffeemaker for Gas & Ceramic Stovetops (Silver)