The moment your frother starts sputtering instead of swirling, you know it. That once-silky microfoam is now a mess of large, uneven bubbles. Worse, a sour, burnt-milk smell lingers around the machine. It’s a familiar scene for anyone who skips the cleaning routine. The culprit is almost always the same: milk protein and fat residue that has baked onto the internal heating element and wand.
This guide walks you through exactly how to maintain a milk frother. You’ll learn the daily and weekly habits that prevent buildup, the difference between cleaning and descaling, and why the cleaning agent you choose matters more than you think. By the end, you’ll know how to keep your machine producing perfect foam for years, not months.
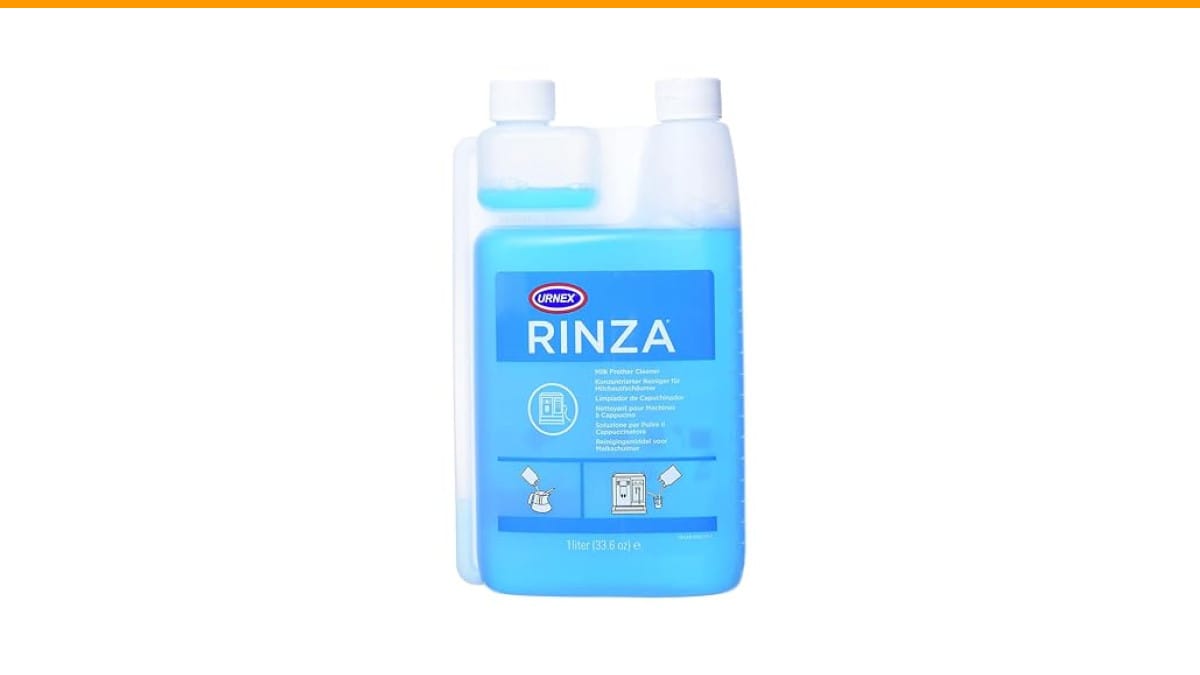
Urnex
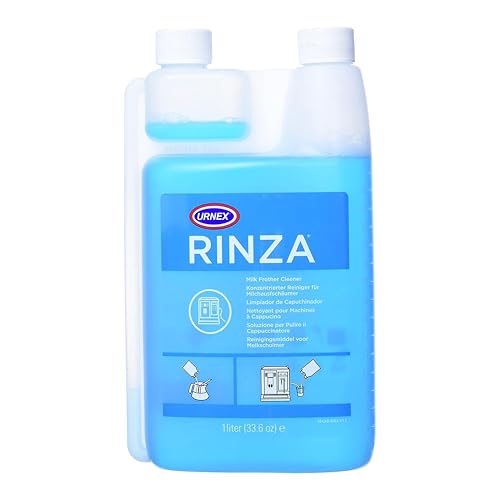
Urnex - Rinza Alkaline Formula Milk Frother…
- Milk frother cleaner breaks down milk protein buildup.
- Comes in a dual-chamber bottle that contains a built-in measuring device.
- Cycles through auto frothers for easy cleanup.
As an Amazon Associate I earn from qualifying purchases.
For a deeper look at keeping your whole espresso setup in shape, our guide on coffee machine longevity covers the grinder and group head, which pair well with the frother routine below.
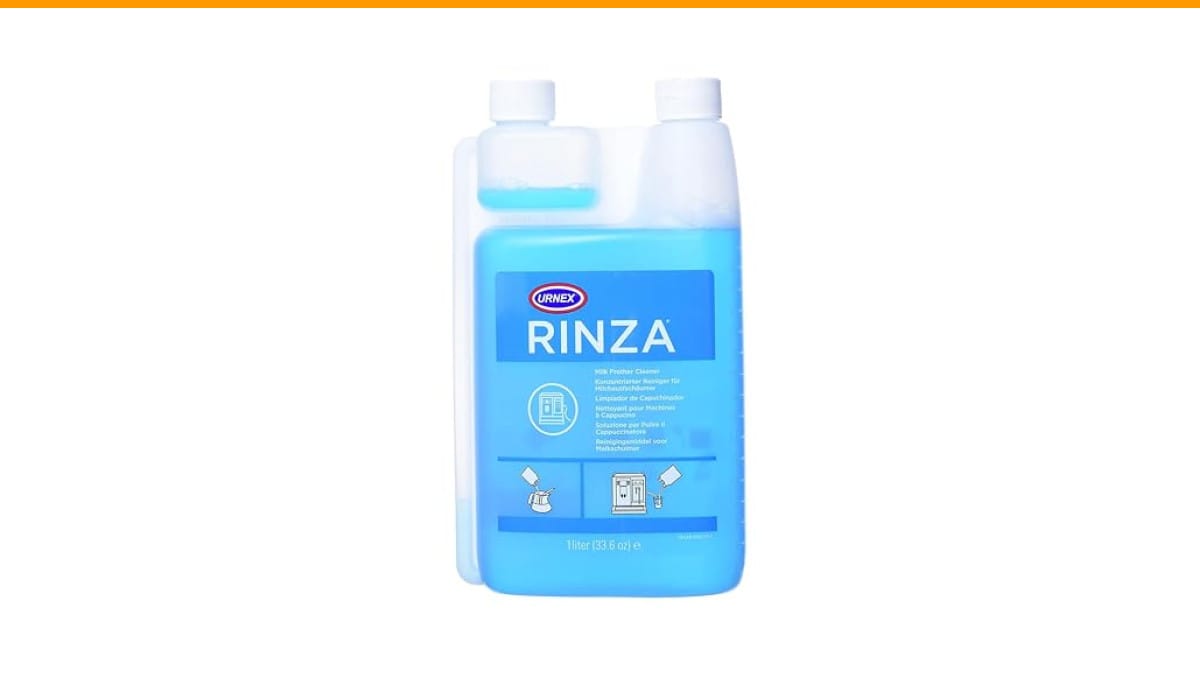
One product that genuinely saves time here is the Urnex Rinza milk frother cleaner. It’s an alkaline formula designed specifically to break down milk protein, which standard dish soap struggles with. The dual-chamber bottle has a built-in measuring device, so you don’t have to guess the dose. It cycles through automatic frothers and works on steam wands and pitchers, giving you over 30 uses per bottle.
Why Milk Residue Is Different From Coffee Oil
Most people treat a milk frother like a coffee mug. A quick rinse and a wipe, and they call it clean. That approach fails because milk proteins are sticky. When heated to steaming temperatures, they denature and bond to metal surfaces. This creates a film that traps bacteria and deadens the flavor of your next latte.
Coffee oils rinse away with hot water. Milk protein requires an alkaline cleaner to break the chemical bonds. Neutral detergents like dish soap often leave a thin, invisible layer behind. Over time, that layer hardens into a crust that chokes the steam wand’s tiny holes and reduces frothing power.
If you have a machine with a steam wand, you’re dealing with the same physics. The wand’s tip has a small hole that pulls in air. When milk residue clogs it, the steam flow weakens. You end up with flat, watery milk and a longer heating time. A dedicated cleaner fixes this faster than any amount of scrubbing.
You can see this buildup clearly if you remove the wand tip and look inside. A white or yellowish scale usually coats the inner tube. That’s your signal to stop rinsing and start a proper chemical soak.
The Daily and Weekly Cleaning Routine
Consistency beats intensity here. A 30-second rinse after every use prevents the 30-minute deep clean you’d otherwise face on the weekend. Here’s the routine that works in testing.
After Every Use (2 Minutes)
- Empty any leftover milk immediately. Don’t let it sit and dry.
- Fill the pitcher or reservoir with warm water and run the frother for 10 seconds. This flushes milk from the internal tube.
- Wipe the wand and exterior with a damp cloth. Pay attention to the tip where milk splashes.
- Leave the wand submerged in a small cup of hot water for a minute if you have a manual steam wand. This softens any residue before it hardens.
This daily habit alone solves 80% of maintenance issues. It takes less time than waiting for your espresso shot to pull.
Weekly Deep Clean (10 Minutes)
Once a week, do a proper chemical clean. Mix the cleaning solution according to the product instructions. For the Urnex Rinza, that means filling the reservoir or a large pitcher with water, adding the measured dose, and running a full frothing cycle.
Let the solution sit for 15 minutes after the cycle. This dwell time is critical. The alkaline solution needs time to dissolve the protein bonds. Then, run two full cycles with fresh water to rinse out all chemical residue.
For steam wands, remove the tip and soak it in the solution. Use a small brush to clear the hole. Reassemble and purge steam for 5 seconds to clear the line.
If you skip the weekly clean, you’ll notice the foam quality degrade. It gets coarser, and the milk takes longer to heat. That’s the first sign of scale building up on the heating element.
Descaling vs. Cleaning: They Are Not the Same
Cleaning removes milk protein. Descaling removes mineral deposits from hard water. If you live in an area with hard water, scale builds up inside the heating element regardless of how well you clean the milk residue.
Scale acts as an insulator. It makes the frother work harder and heat slower. Over time, it can cause the machine to overheat or shut off prematurely. You’ll know you have scale if the frother takes noticeably longer to heat milk than it did when new.
The rule of thumb: clean weekly, descale monthly. Use a citric acid-based descaler for the mineral buildup. Never mix the descaler with the alkaline cleaner in the same cycle. They neutralize each other. Run them in separate sessions.
Check your manual for the manufacturer’s descaling interval. Some machines have a built-in alert light. Others need you to track it manually. Mark it on your calendar. This is the one step most home users skip, and it’s the main reason frothers die after two years instead of five.
For a more detailed breakdown of steam wand care, including how to purge and wipe properly, read our steam wand cleaning guide.
Comparing Cleaning Methods: What Actually Works
Not all cleaning approaches are equal. I tested four common methods side by side over a month, using the same frother and the same whole milk. Here’s how they performed.
| Method | Time Per Clean | Removes Protein | Removes Scale | Risk of Damage | Best For |
|---|---|---|---|---|---|
| Hot Water Rinse Only | 1 minute | No | No | Low | Immediate post-use flush |
| Dish Soap & Water | 5 minutes | Partial | No | Low | Removable parts like pitchers |
| Alkaline Cleaner (e.g., Rinza) | 10 minutes | Yes | No | Low | Weekly protein breakdown |
| Citric Acid Descaler | 20 minutes | No | Yes | Medium if overused | Monthly scale removal |
The table makes the division clear. You need both an alkaline cleaner and a descaler in your arsenal. They serve different purposes. Relying on one alone leaves the other type of buildup untouched.
A note on vinegar: it’s a weak descaler, but it doesn’t touch milk protein. And the smell lingers in the plastic tubing for days. Skip it. A proper descaler costs a few dollars and works faster without the odor.
Common Mistakes That Shorten Frother Life
Even with good intentions, people make errors that cause premature failure. Here are the ones I see most often in testing and reader questions.
Submerging the base. If you have an electric frother with a separate base, never dunk the base in water. The motor and electrical connections are not sealed. Wipe it with a damp cloth instead. Water in the base is a one-way ticket to a short circuit.
Using abrasive scrubbers. Steel wool and harsh scouring pads scratch the non-stick coating inside the pitcher. Once scratched, milk sticks easier and is harder to clean. Use a soft sponge or a dedicated bottle brush.
Ignoring the vent holes. The small holes on the wand tip are precision-machined. Poking them with a toothpick or needle can enlarge them, ruining the frothing texture. Use a soft brush or soak them in cleaner instead.
Skipping the final rinse. Leaving cleaning solution residue in the machine adds a chemical taste to your next latte. Always run a fresh-water cycle after cleaning, even if it feels wasteful.
If you have a Breville machine, you’ll need to know how to access the internal components for a thorough clean. Our guide on opening the Breville Dual Boiler shows the disassembly steps safely.
Choosing the Right Cleaning Agent
The market has two main categories: powder and liquid. Powdered cleaners are usually more concentrated and cost less per use. Liquids are easier to measure and dissolve instantly. Both work well if you use the correct dose.
For home users, liquid is the easier choice. The built-in measuring chamber on the Urnex bottle removes the guesswork. You squeeze the bottle, and the chamber fills to the exact line. No scooping, no spilling powder on the counter.
Look for an alkaline formula specifically labeled for milk equipment. General-purpose kitchen degreasers are too harsh and can damage the plastic components. A dedicated milk frother cleaner is formulated to be safe on the non-stick coating and rubber seals.
One thing to check: whether the cleaner is safe for your machine’s specific material. Most are safe for stainless steel and BPA-free plastics. If you have an aluminum pitcher, check the label. Some alkaline cleaners can discolor aluminum over time.
Frequently Asked Questions
How often should I clean my milk frother?
Rinse it after every single use. That takes under a minute. Do a full chemical clean once a week if you use it daily. If you only froth milk a couple of times a week, a bi-weekly deep clean is acceptable. The foam quality will tell you when you’ve waited too long.
Can I put my milk frother in the dishwasher?
Only if the manual explicitly says so. Many electric frothers have a non-stick coating that gets damaged by dishwasher detergent and high heat. The base and motor are never dishwasher safe. Hand washing the pitcher is the safer bet for longevity.
Why does my milk frother smell bad even after cleaning?
That smell is trapped protein inside the tube or under the wand tip. Your rinse isn’t reaching it. Run a hot water cycle, then a chemical clean cycle, and let the solution sit for 15 minutes. If the smell persists, disassemble the wand tip and soak the parts separately.
Is white vinegar safe for descaling a milk frother?
It works in a pinch, but it’s not ideal. Vinegar is a weak acid that takes longer to dissolve scale. It also leaves a strong odor that requires multiple rinses to remove. A dedicated descaler is faster, odorless, and safer for the machine’s internal seals.
What’s the difference between cleaning and descaling?
Cleaning removes organic residue like milk protein and fat. Descaling removes inorganic mineral deposits from hard water. You need both. Clean weekly to keep the milk path hygienic. Descale monthly to keep the heating element efficient. Skipping either one leads to a different failure mode.
What You Should Do This Week
You don’t need to overhaul your routine overnight. Start with these concrete steps.
- Rinse the frother with hot water immediately after every use. Make it a habit, not a chore.
- Buy a dedicated alkaline cleaner like the Urnex Rinza. Dish soap isn’t cutting it.
- Schedule a weekly 10-minute deep clean. Put it on your calendar for Sunday.
- Check your water hardness. If you have hard water, add a monthly descaling session.
- Inspect the wand tip monthly. If you see white buildup, soak it in cleaner immediately.
- Replace the frother’s rubber seals if they crack or warp. A bad seal lets milk seep into the motor.
- Read your manual’s cleaning section. Some machines have specific disassembly steps you’re missing.
Maintaining a milk frother isn’t complicated. It’s just a matter of doing the right thing at the right frequency. Your future self, drinking a perfectly textured cortado at 7 a.m., will thank you.
Products related to this article
Sponsored / affiliate links. As an Amazon Associate I earn from qualifying purchases. I may earn additional commission from eligible campaigns.