Why Your Cold Brew Pitcher Deserves Better Than the Back of a Cabinet
You just finished a batch of smooth, low-acid cold brew. The glass pitcher is clean, the filter is rinsed, and you shove the whole thing on a high shelf. Three weeks later, you pull it down and find a sour smell, a stained filter, or worse — a hairline crack in the glass.
Most people don’t think about storage until something breaks. That’s a mistake. Cold brew makers are simple tools, but they have specific weak points: glass that hates sudden temperature swings, metal filters that hold onto coffee oils, and lids with silicone seals that can warp. This article walks through exactly how to store a cold brew coffee maker so it’s ready for your next batch.
You’ll learn the right cleaning method, the best way to dry everything, where to keep the pitcher, and what to avoid. No vague advice — just practical steps you can use today.
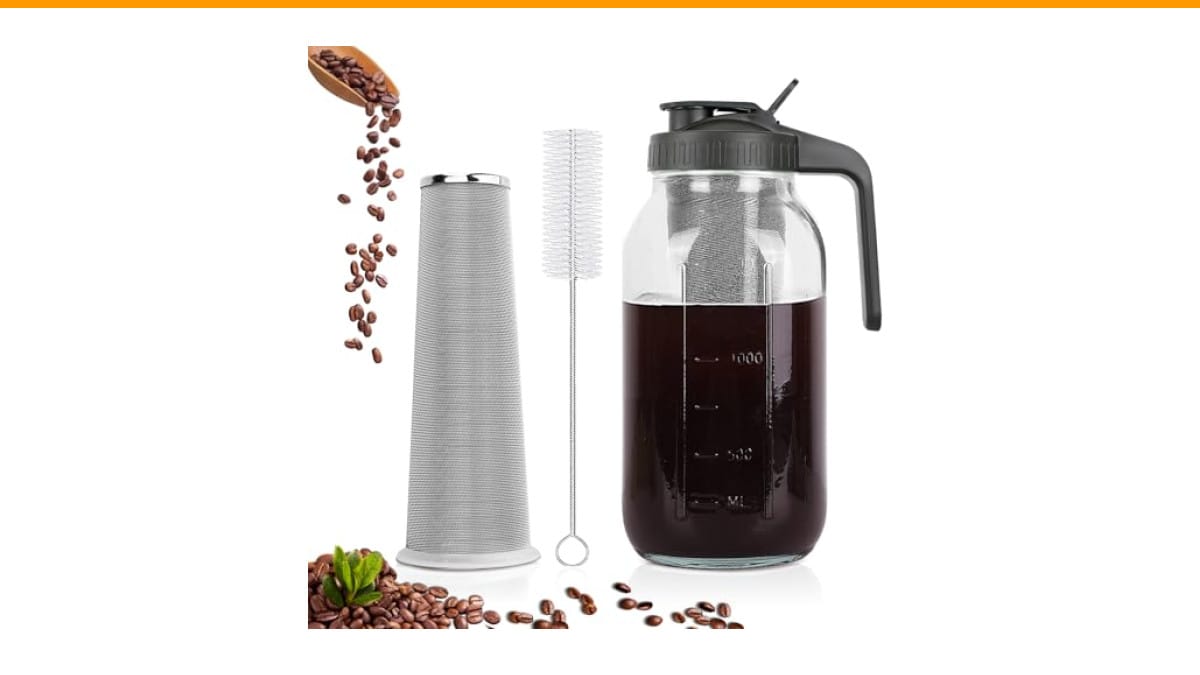
If you’re shopping for a new one, the QHH 64 oz cold brew coffee maker is a solid choice. It uses a thick soda-lime glass jar with a stainless steel filter, and it comes with a cleaning brush. That brush is more useful than most people expect — it reaches the bottom corners of the jar where grounds settle.
Before You Store It: The Cleaning Sequence That Actually Works
Storage starts with cleaning. You can’t just rinse the jar and call it done. Coffee oils build up over time and turn rancid. That’s the smell you notice when you open the lid after two weeks.
Here’s the routine that works, tested over many batches:
- Dump the grounds immediately. Don’t let used grounds sit in the filter overnight. They dry into a crust that takes twice as long to wash off.
- Rinse the jar with warm water. Not hot. The QHH pitcher has a max safe temperature of 60°C (140°F), and most glass cold brew jars are similar. Hot tap water is usually fine, but boiling water is not.
- Wash with mild dish soap and a soft sponge. Avoid abrasive scrubbers. They leave micro-scratches in glass that become breeding grounds for bacteria.
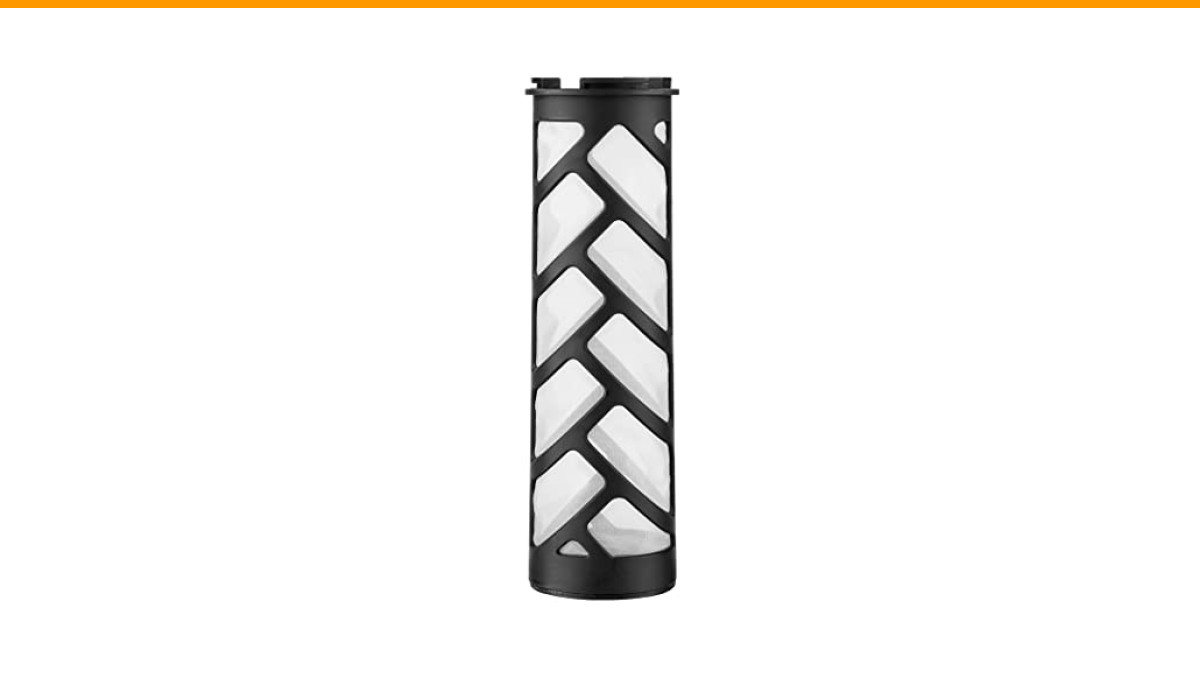
- Clean the filter separately. The 160-micron stainless steel mesh traps fine grounds. Use the included brush to push debris out of the weave. Rinse until the water runs clear.
- Wipe the lid and silicone ring. The seal absorbs odors. A quick wipe with soapy water removes coffee residue that can flavor your next batch.
If you skip the filter cleaning, you’ll notice it. A clogged mesh filter slows the brew time and lets fines slip through into your cup. It takes an extra 30 seconds to clean it properly.
For deeper cleaning, check out our guide on proper coffee maker cleaning. The same principles apply to cold brew gear.
Drying: The Step Almost Everyone Gets Wrong
Water is the enemy of stored glassware. It causes water spots, promotes mold growth, and can make silicone seals deteriorate faster.
After washing, dry every component before you put it away. Here’s the order:
- Shake off excess water from the jar and filter.
- Air dry upside down on a clean dish towel. Place the jar upside down so water drains out of the mouth. Leave the filter on the towel, not inside the jar.
- Dry the lid and seal with a microfiber cloth. Don’t leave them in a dish rack to air dry — the silicone ring can hold water in its crevices.
- Wait 30 to 60 minutes before assembling. Patience here prevents trapped moisture.
One mistake people make is putting the wet filter back into the jar and sealing the lid. That traps humidity inside a closed container. Within a few days, you’ll have a musty smell that’s hard to remove.
If you’re short on time, you can speed up drying with a clean, lint-free cloth. Just make sure the interior is completely dry. A damp jar is worse than a dirty one because you can’t see the problem until it’s too late.
Where to Store It: Location Matters More Than You Think
Not all cabinet spots are equal. The best location is somewhere cool, dry, and away from heat sources. Avoid storing the pitcher above the stove or next to the dishwasher. Both generate heat and humidity that stress the glass and degrade the silicone seal over time.
Here’s what to look for:
- Lower cabinets are safer than high ones. You’re less likely to drop a heavy glass jar from knee height than from shoulder height.
- Away from direct sunlight. UV light can yellow the plastic lid and weaken the silicone over months of exposure.
- Not on the floor. Basements and garages have temperature swings that can cause condensation inside the jar.
- Not stacked with heavy items on top. A cast iron skillet resting against the jar is an accident waiting to happen.
If you use the pitcher daily, leaving it on the counter is fine. Just keep it out of direct sunlight and away from the stovetop. The QHH jar has a pour spout lid with a flip cap, so it works as a serving dispenser in the fridge — no need to transfer to another container.
For seasonal storage, like when you switch to hot coffee in winter, wrap the jar in a soft cloth or bubble wrap before placing it in a box. That extra layer protects against accidental bumps.
Assembling for Storage: Should You Keep It Together or Take It Apart?
This is a matter of preference, but there are trade-offs. Keeping the filter inside the jar saves space and means one less piece to lose. Taking it apart ensures better airflow and prevents the filter from scratching the glass interior.
Here’s a comparison to help you decide:
| Storage Method | Pros | Cons | Best For |
|---|---|---|---|
| Fully assembled, lid on | Compact, protects filter from dust, ready to use | Traps any residual moisture, can trap odors | Daily or weekly use |
| Assembled, lid off | Allows airflow, prevents musty smell | Dust can settle in jar, filter can get knocked | Weekly use |
| Disassembled, all parts separate | Maximum drying, no odor risk, easy to inspect | Takes more space, more pieces to misplace | Long-term storage (1 month+) |
| In original box | Best protection, keeps parts organized | Bulky, not practical for regular use | Moving or seasonal storage |
For most people, I recommend the middle option: jar assembled with the filter inside, but the lid left slightly ajar or removed entirely. That gives you airflow without taking up extra space. You’ll only need to rinse the jar quickly before your next brew.
If you’re storing for more than a month, take it fully apart. The extra minute of reassembly is worth the peace of mind.
Common Storage Mistakes That Lead to Cracks and Breakage
Glass cold brew pitchers crack for one main reason: sudden temperature changes. The QHH manual explicitly warns against pouring boiling water into the jar. That’s not a suggestion — it’s a physical limitation of soda-lime glass.
Here are the mistakes I see most often:
- Washing a cold jar with hot water. If the pitcher just came out of the fridge, let it sit at room temperature for 10 minutes before washing. The thermal shock can cause micro-cracks that spread later.
- Putting a hot jar in the fridge. Same problem in reverse. Always cool the jar to room temperature before refrigerating.
- Storing in a freezing garage. Water trapped in the glass pores expands when frozen. Over time, this weakens the structure.
- Stacking dishes inside the jar. People do this to save space, but a heavy bowl pressing on the glass bottom from the inside creates stress points.
- Using metal utensils to stir. Metal clinks against glass can chip the rim. Use a wooden or silicone spoon instead.
If you notice a chip or crack, stop using the pitcher immediately. A cracked jar can shatter without warning, and you don’t want glass in your coffee. Replace it rather than risk injury.
Regular maintenance also extends the life of your gear. If you notice the silicone seal is stretched or cracked, replace it. A compromised seal means leaks and faster spoilage of your brew. For more on keeping coffee equipment in good shape, read about why regular cleaning matters.
Frequently Asked Questions About Storing Cold Brew Makers
Can I store the cold brew maker in the refrigerator?
Yes, but only if the jar is at room temperature first. Putting a warm glass jar directly into the fridge risks thermal shock. Once cooled, the jar is fine in the fridge. The QHH pitcher’s airtight lid makes it a good option for storing brewed coffee directly in the jar for up to a week.
How long can I leave brewed cold brew in the pitcher?
Cold brew concentrate stays fresh for 7 to 10 days when refrigerated in an airtight container. After that, the flavor degrades and the coffee starts to oxidize. If you see cloudiness or smell anything off, pour it out and clean the jar immediately.
Is it safe to store the stainless steel filter inside the jar?
Yes, as long as both are completely dry. A damp filter inside a sealed jar creates a humid environment that promotes mold. Dry the filter fully, then place it inside. If you’re unsure whether it’s dry, leave the lid off for a few hours.
Can I put the glass jar in the dishwasher?
It depends on the model, but most glass cold brew pitchers are not dishwasher safe. The high heat and aggressive detergents can weaken the glass and damage the silicone seal. Hand washing takes two minutes and protects your investment. Check the QHH product page for specific care instructions.
What should I do if the lid starts to smell?
Soak the lid in a mixture of warm water and baking soda for 15 minutes. Rinse thoroughly and dry completely. This neutralizes odors without damaging the silicone. Avoid bleach or harsh chemicals — they break down the seal material over time.
What to Remember Before You Put It Away
Storing a cold brew maker properly is a five-minute habit that saves you from buying a replacement every year.
- Clean every part, including the filter mesh and silicone ring, immediately after use.
- Dry all components completely before assembling. Moisture is the number one cause of mold and odors.
- Never subject the glass to sudden temperature changes. Let it adjust to room temperature before washing or refrigerating.
- Store in a cool, dry cabinet away from heat sources and direct sunlight.
- For long-term storage, disassemble the jar, filter, and lid, and keep them separate.
- Inspect the silicone seal regularly for wear. A damaged seal causes leaks and spoilage.
- If you notice a crack or chip, replace the jar. It’s not worth the risk of shattering.
A little care goes a long way. Your next batch of cold brew will taste better, and you won’t have to deal with a broken jar on a Monday morning. If you run into other coffee maker issues, we’ve covered common problems like a Ninja brew button not working and Cuisinart button failures elsewhere on the site.
Products related to this article
Sponsored / affiliate links. As an Amazon Associate I earn from qualifying purchases. I may earn additional commission from eligible campaigns.
 HomeBeyond Espresso Coffee Maker 12 Cups, Classic Stovetop Espresso Maker, 600ml / 20oz Coffeemaker for Gas & Ceramic Stovetops (Silver)
 Belly Moka Coffee Maker Stovetop Espresso Maker 9 Cup Aluminum Moka Pot Percolator 15oz 450ml Easy Brewing for Electric Ceramic Stoves Home Camping Italian Cuban Café Classic Black
 Belly Moka Coffee Maker Stovetop Espresso Maker 6 Cup Aluminum Moka Pot Percolator 10oz 300ml Easy Brewing for Electric Ceramic Stoves Home Camping Italian Cuban Café Classic Silver