You pull a shot and the crema looks thin. The steam wand sputters instead of hissing. Or worse, the machine takes twice as long to heat up. These are classic signs of scale buildup — the chalky mineral deposits that collect inside boilers, heating elements, and narrow water lines.
Most home espresso machines with a milk frother share the same weak point: the steam wand. It has a tiny hole that clogs fast, and the boiler underneath it gets caked with calcium. If you skip descaling, you are not just getting bad coffee. You are shortening the lifespan of a machine that costs several hundred dollars.

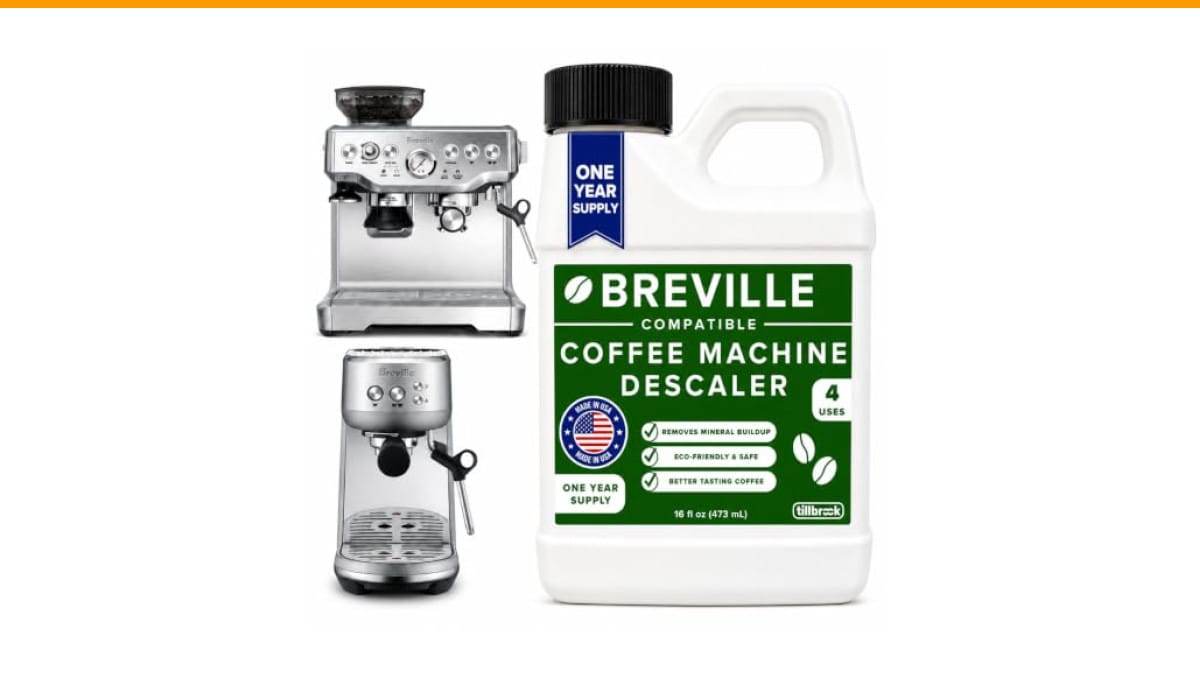
Tillbrook
Breville Espresso Machine Compatible Descaler, 4 Uses,…
- EXCEPTIONAL RESULTS: Introducing Tillbrook Coffee Machine Descaler specifically formulated for Breville—the best choice for removi…
- 1 YEAR SUPPLY: Our concentrated formula is easy to use and provides remarkable value with 4 cleanings per bottle. Simply add 1/2 c…
- SCIENTIFICALLY ENGINEERED: Our advanced descaling solution is carefully crafted with powerful, all-natural ingredients that remove…
As an Amazon Associate I earn from qualifying purchases.
This guide walks you through the entire process — from choosing the right descaler to flushing the steam wand properly. You will know exactly what to do, how often, and what mistakes to avoid. No vague advice, just the steps that work.
For a solid descaling solution, the Tillbrook Coffee Machine Descaler is a practical choice. It is a concentrated formula made for Breville machines but tested on most other brands too. One 16 oz bottle handles four full descaling cycles, which works out to about a year of maintenance for a typical home setup.
What You Need Before You Start
Gather everything first. Running around mid-descale with a dripping machine is a headache you do not need.
- Descaling solution (commercial or DIY — more on that below)
- Fresh water in a pitcher or directly from the tap
- An empty container to catch the runoff (at least 1 liter)
- A small bowl or cup for the steam wand
- Clean microfiber cloth
Check your machine’s manual for the recommended descale cycle. Most Breville, Gaggia, and Rancilio models have a dedicated mode. Some cheaper machines do not — you just run the solution through like a normal brew. If you lost the manual, search online for your model number plus the word ‘descale.’ It takes two minutes.
Pro tip: Do this in the morning. The machine should be fully cool when you start. Descaling a hot boiler can cause the solution to boil violently and push gunk into places you cannot reach.
You also want to remove the water filter if your machine has one. The filter absorbs the descaling solution, which ruins it and dilutes the cleaning power. Pop it out and set it aside.
| Method | Best For | Time | Cost Per Use | Notes |
|---|---|---|---|---|
| Commercial liquid (like Tillbrook) | Most home machines | 20–30 min | Low | Safe on internal seals; no aftertaste |
| Citric acid powder | Budget users | 30–40 min | Very low | Mix 1–2 tbsp per liter; rinse thoroughly |
| White vinegar | Emergency use only | 45+ min | Lowest | Harsh on rubber seals; leaves smell |
| Descaling tablets | Travel or single use | 20 min | Medium | Convenient but pricier per use |
Vinegar works, but it is not ideal. The acetic acid is aggressive on the O-rings and gaskets inside your machine. Over time, it makes them brittle. If you use vinegar, run three or four plain water cycles afterward to flush it all out. Even then, a faint smell can linger for days.
Citric acid is a better DIY option. It dissolves scale effectively and leaves no odor. The trade-off is measuring and mixing, which is easy to get wrong. Too strong and it can corrode aluminum parts. Stick with a mild ratio — about one tablespoon per liter of water.
Step-by-Step Descaling Process
This is the part that matters. Follow these steps in order.
- Fill the reservoir. Mix the descaling solution with water according to the label instructions. For the Tillbrook bottle, that is half a cup of concentrate topped up with water. If your machine has a hard water setting, use the highest level for this cycle.
- Start the descale cycle. If your machine has a dedicated mode, activate it. The pump will run, pause, and run again. This is normal. Let it do its thing.
- Run half the solution through the group head. Place your container under the portafilter. Run about half the reservoir volume through the group head, then stop. Let the solution sit inside the boiler for 10–15 minutes. This soak time is what actually dissolves the scale.
- Flush the steam wand. Put the steam wand tip into a small bowl with an inch of water. Turn the steam on for 30 seconds, off for 30 seconds, repeat three times. This pushes hot solution through the wand and clears milk residue from the internal tube. You will see white or brown flakes come out. That is the scale breaking loose.
- Finish the cycle. Run the remaining solution through the group head. Let the machine finish its full cycle, including any auto-pause sequences.
- Rinse with fresh water. Empty the reservoir completely. Fill it with clean water. Run a full water-only cycle through the group head and steam wand. Repeat this twice more. On the last rinse, taste the water from the group head. If it tastes sour or metallic, run another rinse.
- Wipe down the exterior. Use a damp cloth to clean the drip tray, steam wand tip, and any drips on the machine body. Scale residue left on the chrome can etch the finish.
The whole process takes about 30 minutes, most of it waiting time. Do not skip the soak step. Running the solution straight through without pausing only removes superficial scale. The stubborn deposits inside the boiler need time to dissolve.
Pro tip: After descaling, pull a shot and steam some milk. The first shot might taste a bit flat. That is normal — the boiler is still flushing out residual solution. The second shot should be back to normal.
How to Clean the Milk Frother Steam Wand Properly
The steam wand is the most neglected part of an espresso machine. People wipe the tip, but the inside collects dried milk proteins that bake onto the metal. That buildup blocks steam flow and gives your milk a burnt flavor.
You should purge the wand after every use. Steam for two seconds into a cloth or drip tray to blow out any milk that got sucked back in. This is a daily habit, not a weekly one.
For a deeper clean, use the same descaling solution. Fill a tall cup with the diluted solution and submerge the wand tip. Let it soak for 10 minutes. Then turn the steam on for 15 seconds. The solution will foam and pull the gunk out. Rinse the wand with plain water afterward.
If your wand has a removable tip, take it off and soak it separately. A paper clip or a thin needle can clear the tiny hole if it is fully clogged. Do not use a toothpick — it breaks off and makes things worse.
For a more thorough clean of the whole machine, check our deep clean guide for the full routine.
How Often Should You Descale?
There is no universal answer because your water hardness dictates the timeline. If you live in a city with soft water, every 6 months is fine. Hard water areas need it every 2 to 3 months.
A simple test: fill a clear glass with tap water and add a few drops of dish soap. Shake it. If the water looks cloudy and has lots of suds, your water is hard. If it is clear with minimal foam, you are in the clear.
Watch for these symptoms that mean you waited too long:
- Longer brew times than usual
- Weak steam pressure from the wand
- A burning smell during heating
- Unusually loud pump noise
- Water pooling under the machine
If you notice any of these, descale immediately. Ignoring them can lead to a failed heating element, which is usually a repair cost that exceeds the price of a new machine. And if your machine is making odd sounds, read our piece on noisy espresso machines for troubleshooting tips.
Using filtered water from the start reduces scale buildup significantly. A simple pitcher filter removes most of the calcium and magnesium. It is not a replacement for descaling, but it stretches the time between cycles.
Three Mistakes That Ruin Machines
People make the same errors over and over. Avoid these and your machine will last years longer.
Mistake 1: Using too much solution. More is not better. Over-concentrated descaler can eat through the chrome plating on the boiler and leave a chemical taste that takes weeks to fade. Follow the label ratio exactly.
Mistake 2: Skipping the final rinses. One rinse is not enough. Residual acid sits in the boiler and corrodes the metal over time. Run at least two full water cycles, and taste the water from the group head to confirm it is clean.
Mistake 3: Descaling a hot machine. The chemical reaction between scale and acid produces heat. Combined with a hot boiler, it can cause the solution to boil over and force scale particles into the solenoid valve. Always start with a cool machine.
If you own an automatic machine, the process differs slightly. Check our comparison of automatic vs semi-automatic machines to see if your model has a self-cleaning cycle.
Frequently Asked Questions
Can I use vinegar to descale my espresso machine?
You can, but it is not recommended as a regular practice. Vinegar’s acetic acid is harsh on rubber gaskets and silicone tubes inside the machine. It also leaves a strong odor that requires multiple rinses to remove. If you are in a pinch and have nothing else, use it — but follow up with three or four water-only cycles. For routine maintenance, a commercial descaler is safer for your machine’s internal parts.
How long does a descale cycle take?
Plan for 25 to 35 minutes total. The active descaling takes about 10 minutes. The soak time — where the solution sits in the boiler — takes another 10 to 15 minutes. The final rinses add 5 to 10 minutes. If your machine has a self-descale mode, it will likely run its own timer, usually around 20 minutes.
Why does my milk frother sputter after descaling?
Sputtering usually means there is still air or residual solution in the steam line. Purge the wand for 10 seconds into a cloth to clear it. If the problem persists, the wand tip might be partially clogged with loosened scale. Soak the tip in hot water and clear the hole with a needle. If it still sputters, check that the wand is fully tightened — a loose connection lets air in.
What happens if I never descale my espresso machine?
Scale builds up on the heating element, which acts as an insulator. The machine works harder to heat water, uses more energy, and eventually the element overheats and burns out. The pump also works harder to push water through narrowed tubes, which leads to premature failure. You will notice declining shot quality long before the machine dies — weak crema, sour shots, and slow extraction. Replacing a heating element costs more than most home machines are worth.
Can I descale a pod or capsule machine the same way?
Mostly yes, but with one difference. Pod machines like Nespresso have a smaller boiler and no steam wand. You run the same solution through the brew head, but there is no wand to flush. Follow your machine’s manual for the exact volume — most take about 500 ml of solution. The rinse process is the same. If you have a milk frother attachment that is separate from the machine, clean that by hand with warm soapy water, not descaler.
What to Remember Next Time
- Descale every 2–3 months for hard water, every 6 months for soft water
- Always start with a cool machine and remove the water filter
- Let the solution soak for 10–15 minutes — that is what dissolves scale
- Flush the steam wand during the descale cycle, not after
- Run at least two full water rinses and taste the final output
- Use a commercial descaler over vinegar to protect rubber seals
- If shots taste off after descaling, pull one more water-only cycle before brewing
Descaling is not glamorous, but it is the single most important maintenance task for your espresso machine. A machine that gets descaled on schedule will outlast one that does not — by years. And the coffee tastes better too, which is the whole point.
Products related to this article
Sponsored / affiliate links. As an Amazon Associate I earn from qualifying purchases. I may earn additional commission from eligible campaigns.
 Coffee Espresso Machine Handle Replacement Parts, Cafe Bracket Handle for Lidl Silvercrest CM4621 CM4218 KF5002 KF500S Barista (for 51mm Portafilter Basket - Not included)
 Linnkyfloa Coffee Espresso Maker Handle Replacement for Stovetop Moka Pot or Percolator, Black Plastic for Spare Part Compatible with Italian(9-12 Cup)
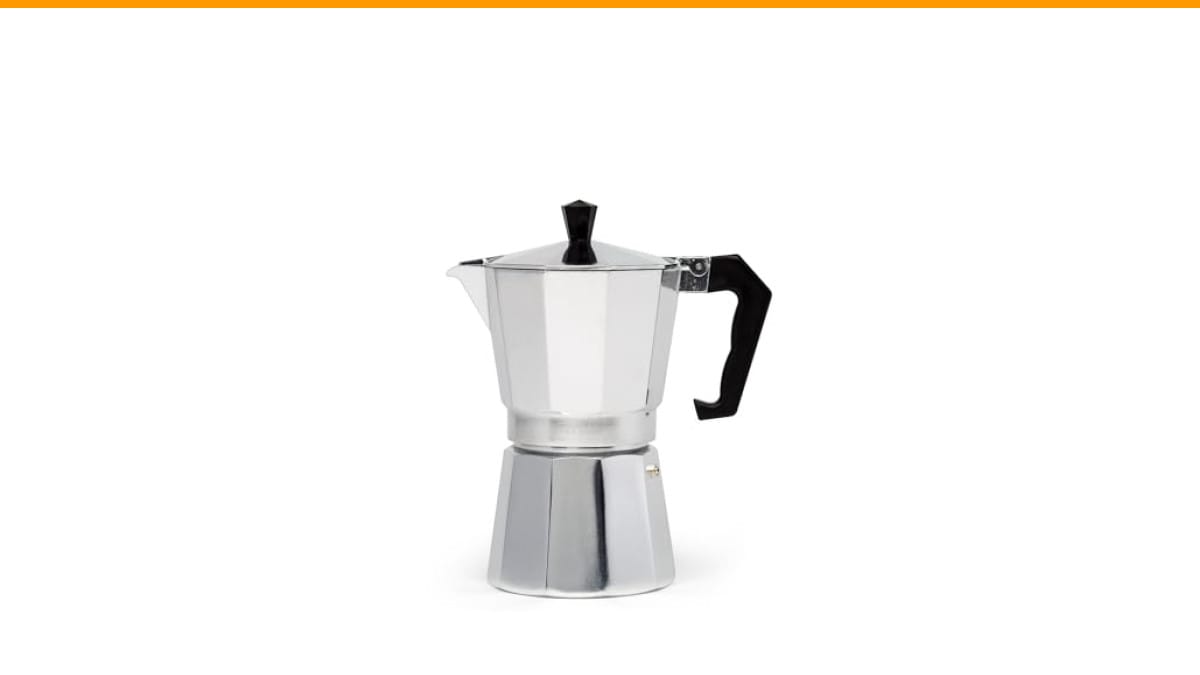
 HomeBeyond Espresso Coffee Maker 12 Cups, Classic Stovetop Espresso Maker, 600ml / 20oz Coffeemaker for Gas & Ceramic Stovetops (Silver)