You know that moment. You brew a cup, and the taste is flat, maybe a little bitter. The machine takes longer to finish the cycle. There’s a faint chalky film on the water tank. That’s limescale talking, and it’s not going away on its own.
Descaling isn’t a luxury. It’s the single most important maintenance step for any coffee maker that heats water. The minerals in tap water—calcium and magnesium—build up inside the boiler and heating element. Over time, that scale insulates the water from the heat. Your machine works harder, uses more energy, and eventually breaks down. This guide covers exactly how to use coffee machine descaler, what to expect during the process, and why a good descaler beats a DIY vinegar hack.

IMPRESA
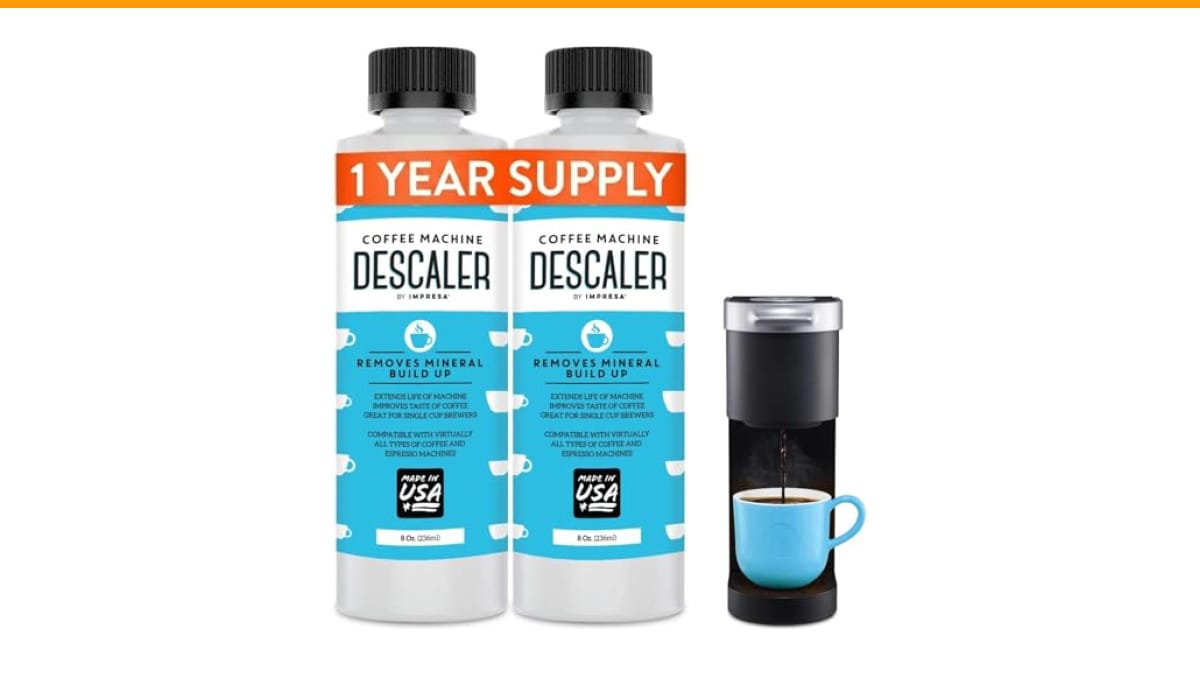
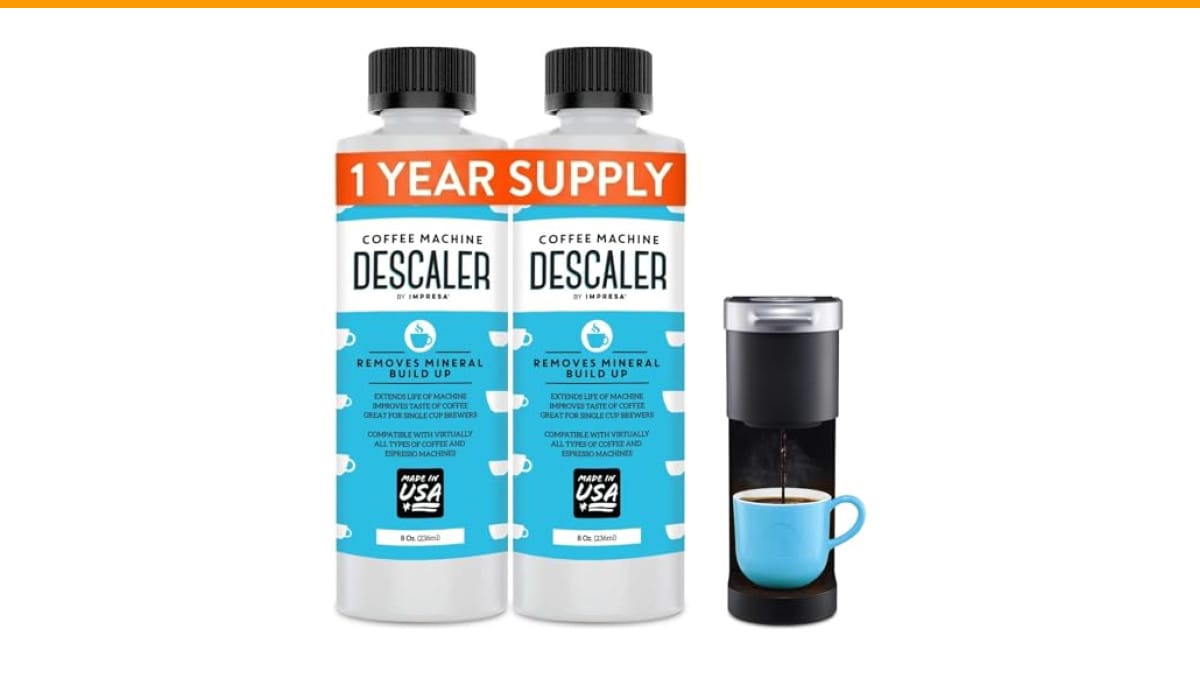
IMPRESA Coffee Machine Descaler, 2-Pack (1-Year Supply)…
- 2-Pack Coffee Descaler and Cleaner - Clean and rinse away residue and oil buildup in your coffee maker with Impresa's Coffee Desca…
- Highly Effective, Made in USA Formula - Unlike most common solutions, our coffee machine cleaner uses just 4 ounces (1/2 bottle) p…
- Preserves Your Machine - Using a coffee descaling solution eliminates limescale and mineral build-up to prevent corrosion, signifi…
As an Amazon Associate I earn from qualifying purchases.
You’ll walk away knowing the exact steps for your machine type, how often to run a cycle, and what mistakes to avoid. No fluff, just the practical stuff.
If you’re looking for a reliable solution, the IMPRESA Coffee Machine Descaler, 2-Pack is a solid choice. It’s a highly compatible formula that works with most single-serve and espresso machines, and each 8-ounce bottle handles two descaling sessions. That’s four cleanings per pack, which lines up with a full year of maintenance.
What Descaling Actually Does to Your Machine
Descaling dissolves mineral deposits, not coffee oils. That’s a key distinction. Coffee oils build up inside the brew basket and lines, and they need a degreaser or a good scrub. Limescale lives inside the boiler, the water lines, and around the heating element. A descaler—usually a weak acid like citric or sulfamic acid—breaks down those mineral crystals so they can be flushed out.
When you run a descaling cycle, you’re not cleaning the visible parts. You’re cleaning the parts you can’t see. The water tank might look fine, but the inside of the boiler could be coated in a thick, crusty layer. That layer acts like a blanket, trapping heat and forcing the machine to overwork.
The result of regular descaling is simple: consistent water temperature, proper brewing pressure, and coffee that actually tastes like the beans. It also extends the lifespan of the machine. A $30 bottle of descaler is a lot cheaper than a $300 replacement.
One thing to note: descaling is not the same as deep cleaning. You still need to wash the carafe, clean the portafilter, and wipe down the group head. Descaler handles the internal scale, not the external grime. For a complete routine, check out our guide on deep cleaning coffee machine steps.
How to Use Coffee Machine Descaler: Step-by-Step
Before you start, find your machine’s manual. Different brands have different cycles. Some machines have a dedicated descale button; others require you to run a manual water cycle. The steps below are universal enough to work for most drip, pod, and espresso machines.
Step 1: Prepare the Solution
Empty the water reservoir completely. Mix the descaler with fresh water according to the bottle’s instructions. Most concentrated solutions, like the IMPRESA formula, call for 4 ounces of descaler mixed with water to fill the tank. Don’t guess—measure it.
If your machine has a water filter, remove it before descaling. The acid can damage the filter media, and the filter will absorb the descaler, making the solution weaker.
Step 2: Run the Descaling Cycle
Pour the mixed solution into the reservoir. If your machine has a descale mode, activate it. The cycle will push the solution through the internal lines and into the boiler. This takes about 20 to 30 minutes for most machines. You’ll see the solution drip into the carafe or a waiting cup.
For machines without a dedicated cycle, simply brew a full pot or run a shot as if you were making coffee. The goal is to get the solution through the entire water path.
Step 3: Let It Soak
This is the step people skip, and it’s a mistake. After the solution cycles through, let it sit in the boiler for 10 to 15 minutes. The soak gives the acid time to dissolve the stubborn scale. If you run it straight through, you’ll only remove the loose flakes.
For heavily scaled machines, you might need a second soak. Don’t rush it.
Step 4: Rinse, Rinse, Rinse
This is the most critical part. After the soak, empty the reservoir and fill it with fresh water. Run at least two full cycles of plain water to flush out any remaining descaler. If you leave acid residue inside, your next cup of coffee will taste like a chemistry set. Some manufacturers recommend three or four rinse cycles. When in doubt, run one more.
After the final rinse, wipe down the exterior and the drip tray. The machine is clean and ready to brew.
How Often Should You Descale?
The short answer: every 3 to 4 months. That’s the recommendation from most manufacturers, including Keurig and Breville. But the real answer depends on your water hardness. If you live in an area with hard water, you might need to descale monthly. If you use filtered or soft water, you can stretch it to every six months.
Here’s a simple test. Fill a glass with tap water and add a few drops of dish soap. Shake it. If the water looks cloudy or has lots of bubbles, you have hard water. If it’s clear, you’re probably fine with the standard schedule. Another sign: if your machine is taking noticeably longer to brew, scale is already building up.
You can also track your usage. The IMPRESCA 2-pack is designed for four descaling sessions, which covers a year of regular use. That’s a convenient way to stay on schedule without thinking about it. For more details on frequency, read our piece on how often to clean coffee maker.
Descaler vs. Vinegar: Which One Should You Use?
Vinegar is the classic home remedy, and it works. But it’s not the best option. Vinegar is a strong acid that can damage rubber seals and gaskets over time. It also leaves a lingering smell that’s hard to rinse out completely. Commercial descalers are formulated to be effective on scale while being gentler on machine parts.
Here’s a side-by-side comparison to help you decide.
| Factor | Commercial Descaler | White Vinegar |
|---|---|---|
| Effectiveness on hard scale | High, dissolves quickly | Moderate, needs longer soak |
| Impact on machine parts | Mild, safe for seals | Can degrade rubber over time |
| Residual smell | Minimal to none | Strong, requires many rinses |
| Cost per use | Higher, but concentrated | Very low |
| Time to complete cycle | 20-30 minutes | 30-45 minutes |
| Best for | Regular maintenance | Emergency, when nothing else is on hand |
If you’re in a pinch, vinegar is fine. Mix one part vinegar to two parts water and run the cycle. Just be prepared for the smell and extra rinsing. For a long-term routine, a commercial descaler is the safer bet. It’s also less of a hassle. If you’ve already used vinegar and want to switch, you can find the full breakdown in our guide on cleaning with vinegar.
Common Mistakes That Ruin the Descaling Process
People mess this up in predictable ways. Here’s what to avoid.
- Using too much descaler. More is not better. An overly strong solution can corrode internal components. Stick to the ratio on the bottle.
- Skipping the rinse cycle. This is the most common error. Leftover descaler tastes awful and can be harmful to consume in large amounts. Always rinse twice minimum.
- Descaling a cold machine. The solution works best in warm water. Run a quick brew cycle with just water first to warm up the system, then start the descale.
- Forgetting to remove the water filter. The filter will absorb the acid and become useless. Take it out before you start.
- Descaling too often. Running a descale cycle every week is overkill and can strip lubricants from moving parts. Stick to the 3-4 month schedule.
One more thing: don’t use a descaler on a machine that’s already broken. If your machine isn’t heating water at all, descaling won’t fix it. You might need a repair or replacement. If you’re noticing performance issues, check our troubleshooting guide on cleaning a clogged machine first.
Frequently Asked Questions
Can I use the same descaler for a Keurig and an espresso machine?
Yes, most liquid descalers are universal. The IMPRESA formula explicitly states compatibility with Keurig, Nespresso, Breville, DeLonghi, and others. The key is to follow the specific volume instructions for your machine. A single-serve pod machine uses less water than a commercial espresso machine, so you’ll mix a smaller batch.
What happens if I don’t rinse after descaling?
The acid residue will make your coffee taste metallic and sour. In some cases, it can also cause mild stomach irritation. It won’t destroy the machine instantly, but it’s not something you should drink. Always run at least two full fresh-water cycles to flush the system.
Is descaling the same as cleaning?
No. Cleaning removes coffee oils, grounds, and residue from the brew path. Descaling removes mineral scale from the internal heating elements. You need to do both. Cleaning is more frequent (weekly or monthly), while descaling is every few months. For a full breakdown of both, see our article on coffee machine maintenance.
Can I descale with just water if I have a water softener?
No. A water softener reduces calcium and magnesium, but it doesn’t eliminate them. Scale will still form, just at a slower rate. You still need to descale, just maybe less often. Check your machine’s manual for recommendations based on water hardness.
How do I know if my machine needs descaling?
Look for these signs: slower brew time, louder pump, a chalky white or gray film on the water tank, and a change in coffee flavor. Many modern machines also have a descale indicator light. If you see that light, don’t ignore it. That’s your machine telling you it’s working too hard.
What to Remember Before You Start
Descaling is a 30-minute job that saves you from a costly repair. Here are the points that matter most.
- Descale every 3-4 months, or more often with hard water.
- Always remove the water filter before starting.
- Mix the descaler exactly as the label says—don’t eyeball it.
- Let the solution soak for 10-15 minutes to dissolve stubborn scale.
- Rinse with fresh water at least twice to remove all acid residue.
- Use a commercial descaler for regular maintenance; save vinegar for emergencies.
- If your machine has a descale cycle, use it. It’s designed for this exact purpose.
That’s the whole process. It’s not complicated, but it is non-negotiable if you want your machine to last. A little effort every few months keeps your coffee tasting fresh and your equipment running like new.
Products related to this article
Sponsored / affiliate links. As an Amazon Associate I earn from qualifying purchases. I may earn additional commission from eligible campaigns.
 Coffee Espresso Machine Handle Replacement Parts, Cafe Bracket Handle for Lidl Silvercrest CM4621 CM4218 KF5002 KF500S Barista (for 51mm Portafilter Basket - Not included)
 Quick Heating Cup Warmer, Three Temperature Settings, Splashproof and Portable, for Coffee, Milk, Lightweight ABS Material
 SOLUSTRE Electric USB Coffee Cup Warmer with Temperature Settings Portable Milk and Beverage Heating Coaster for Office Desk Small Lightweight Design Easy to Clean Surface Multi Functional