You just finished your morning cup and the machine starts sputtering. The water takes longer to heat. The coffee tastes slightly bitter, even with a fresh pod. Your first instinct is to grab any descaler off the shelf and run a cycle. Stop right there.
The short answer is yes, you can use coffee machine descaler on pod machines, but only if the formula matches your machine’s materials. Some descalers eat through plastic tubing or leave a residue that ruins the next few cups. This guide walks through which solutions are safe, how to run the cycle without breaking anything, and what to do if your machine lacks a descaling button.

IMPRESA
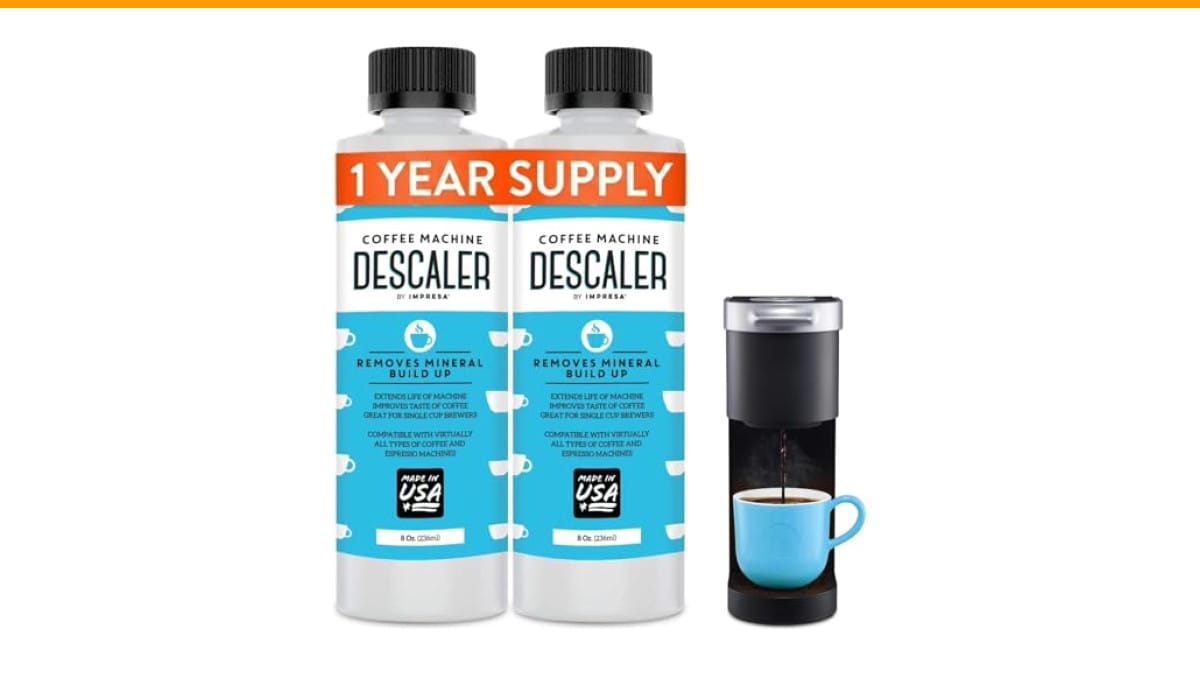
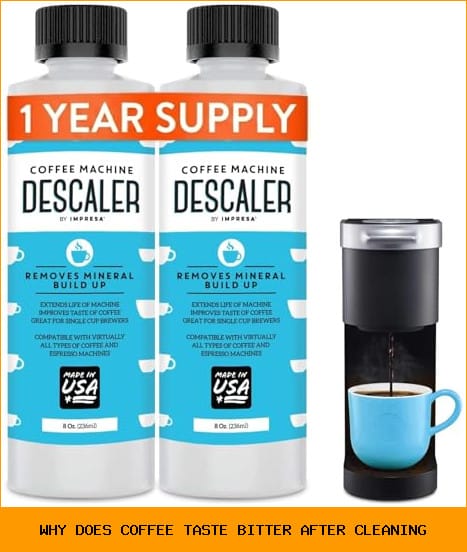
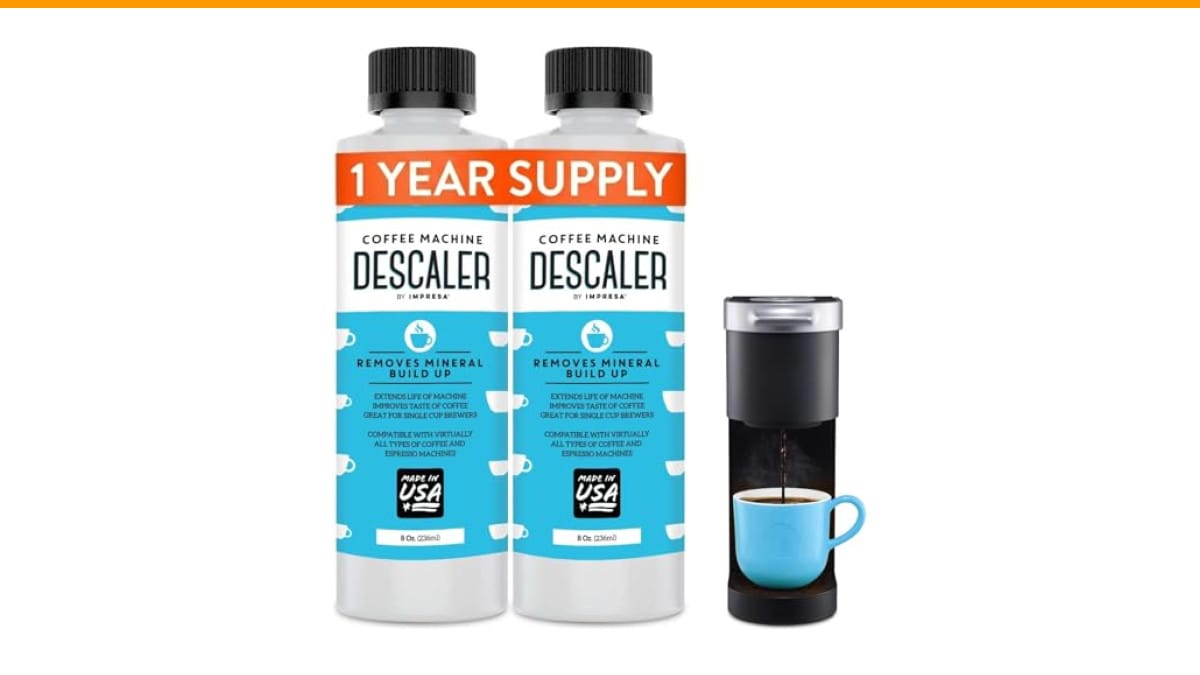
IMPRESA Coffee Machine Descaler, 2-Pack (1-Year Supply)…
- 2-Pack Coffee Descaler and Cleaner - Clean and rinse away residue and oil buildup in your coffee maker with Impresa's Coffee Desca…
- Highly Effective, Made in USA Formula - Unlike most common solutions, our coffee machine cleaner uses just 4 ounces (1/2 bottle) p…
- Preserves Your Machine - Using a coffee descaling solution eliminates limescale and mineral build-up to prevent corrosion, signifi…
As an Amazon Associate I earn from qualifying purchases.
You’ll leave knowing exactly what to buy, how often to clean, and how to tell if you’ve already caused damage.
Impresa Coffee Machine Descaler, 2-Pack
This universal descaling solution works across pod machines from Keurig, Nespresso, Breville, Delonghi, and others. Each 8-ounce bottle handles two descaling sessions, so the two-pack covers a full year of maintenance. The formula targets limescale and mineral deposits without harsh acids that damage plastic internals. It’s a solid choice if you want one product that works across multiple machines.
The Short Answer: Yes, But Check the Label First
Most pod machines accept commercial descaling solution. The catch is the acid type and concentration. Look for products labeled as safe for plastic components and compatible with your brand. Keurig and Nespresso sell their own branded solutions, but universal options like the Impresa formula work just as well when they specify pod machine compatibility.
Avoid anything with sulfamic acid or hydrochloric acid. These aggressive compounds remove limescale quickly but can corrode the plastic water line and rubber seals over time. The damage isn’t immediate, but you’ll notice leaks or a plastic taste in your coffee after several uses.
Check your warranty before using any third-party descaler. Some manufacturers void coverage if you don’t use their branded solution. That’s a risk worth knowing before you pour anything into the reservoir.
Why Pod Machines Need Different Care Than Drip Brewers
Drip machines have simple paths: water goes from the reservoir, through the heating element, and over the grounds. Pod machines like Nespresso and Keurig use higher pressure and narrower tubing. That means mineral deposits accumulate faster and block the flow more easily.
The brew head on a pod machine has needles that puncture the capsule. Limescale buildup around those needles causes uneven extraction. You get weak coffee or, worse, a clog that stops the machine from working entirely. Regular descaling prevents this, but the wrong descaler can make things worse by leaving a film that attracts more scale.
Another difference is temperature. Pod machines heat water to higher temperatures in a shorter time. Harsh acids react more aggressively at those temperatures, increasing the risk of damage to internal components. A milder, food-grade descaler is safer for this reason.
If you’re curious about the broader cleaning process, our guide on deep cleaning coffee makers covers the full routine beyond just descaling.
The 3 Types of Descalers: Which Are Safe for Pods?
Not all descaling solutions are created equal. Here’s a breakdown of what’s on the market and how each interacts with pod machine internals.
Commercial Liquid Descalers (Keurig, Nespresso Brand)
Branded solutions are formulated specifically for the materials in that manufacturer’s machines. They use a balanced acid blend that dissolves limescale without attacking plastic or rubber. They cost more per use, but they carry the lowest risk of warranty issues.
Universal liquid descalers, like the Impresa product mentioned above, use similar food-grade acids (usually citric or lactic acid) and are tested across multiple brands. They’re cheaper per session and work fine as long as the label lists pod machine compatibility. The trade-off is that you need to verify the ingredients yourself.
DIY Vinegar vs. Citric Acid: Pros and Cons
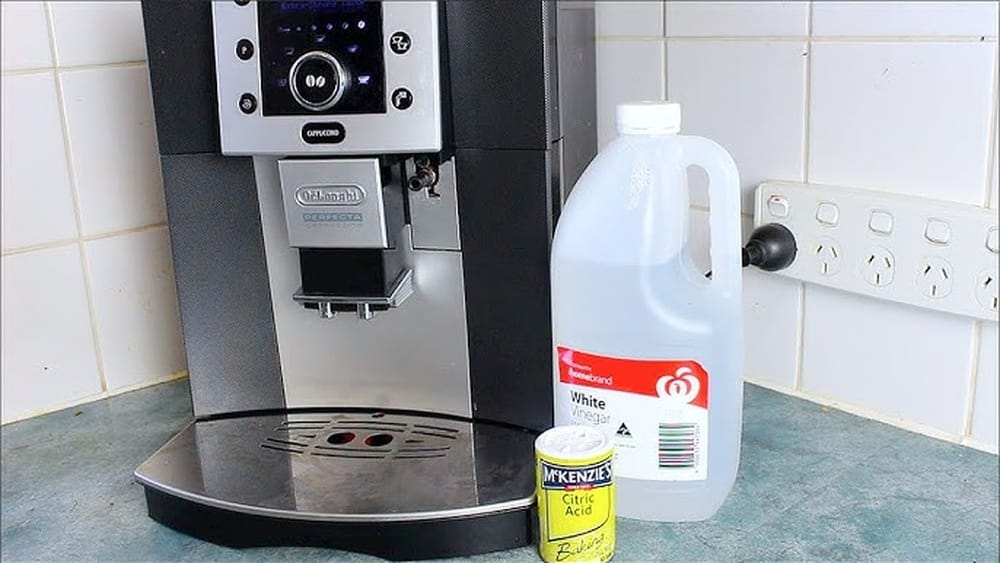
White vinegar is the classic home remedy. It’s cheap and readily available, but it has downsides. The acetic acid smell lingers in the machine’s tubing for days. You’ll need to run multiple rinse cycles to get rid of the vinegar taste in your coffee. Some manufacturers explicitly warn against vinegar because it can degrade the rubber seals faster than commercial descalers.
Citric acid powder is a better DIY option. It dissolves completely in water, leaves no odor, and works well against limescale. Use one to two tablespoons per quart of water. It’s gentler on plastic than vinegar and easier to rinse out. The downside is that you need to mix it fresh each time and measure carefully. Too much citric acid can be as harsh as a commercial chemical descaler.
For a detailed comparison of home remedies, check our article on removing limescale from coffee makers.
Descalers to Avoid (and Why)
Stay away from descalers that list hydrofluoric acid, sulfamic acid, or phosphoric acid as the main ingredient. These are industrial-strength cleaners meant for commercial equipment with metal boilers. Pod machines use plastic and silicone parts that these acids can soften or crack.
Also avoid powder descalers that don’t fully dissolve. Undissolved granules can get stuck in the brew head needles or the narrow water line. If you use a powder, mix it in a separate container until completely clear before pouring it into the reservoir.
Step-by-Step: How to Descale Any Pod Machine Safely
Follow this process for any pod machine, whether it has an automatic descaling mode or not. The steps are the same, but the activation method differs.
Preparation and Draining
Remove the water reservoir and empty it completely. Take out any used pods and the drip tray. If your machine has a removable brew head, take it off and rinse it under warm water. This clears loose debris so the descaler can focus on mineral deposits.
Mix your descaling solution according to the label instructions. For the Impresa product, that’s 4 ounces of solution mixed with water to fill the reservoir. Pour the mixture in and reattach the reservoir.
Running the Descaling Cycle
If your machine has a descaling button, press it and let the program run. The cycle typically takes 15 to 30 minutes, with the machine pausing to let the solution sit in the internal lines.
If there’s no descaling mode, run a regular brew cycle without a pod. Place a large container under the spout to catch the liquid. Run the machine until the reservoir is empty. You may need to do this in batches if the machine stops to cool down.
Let the machine sit for 30 minutes after the first pass. This gives the solution time to break down stubborn limescale in the heating element and brew head.
The Critical Rinse Phase (Do This Twice)
Once the descaling solution has drained, fill the reservoir with fresh water. Run a full brew cycle without a pod. Empty the container and repeat. Two full rinse cycles are the minimum. If you used vinegar, run a third cycle.
After rinsing, taste test the water from a blank brew. It should taste neutral, not bitter or acidic. If you notice any residual flavor, run another rinse cycle. This step is often skipped, and it’s why people complain about chemical-tasting coffee after descaling.
For more on the full maintenance routine, see our coffee machine longevity tips.
What to Do If Your Machine Has No Descaling Mode
Many budget pod machines skip the automatic descaling program to save cost. You can still descale manually. The trick is to control the flow rate so the solution stays in contact with the internal parts long enough.
Run the solution through in small batches. Fill the reservoir, brew about a cup, then wait five minutes. Brew another cup, wait again. Repeat until the reservoir is empty. This pause-and-brew method mimics the soaking phase of an automatic cycle.
After that, rinse with fresh water using the same batch method. The pauses are more important during rinsing because they let the water flush out solution trapped in tight corners.
If you’re dealing with a severely clogged machine, check our guide on descaling at home for troubleshooting tips.
How Often to Descale (Based on Water Hardness)
Water hardness is the biggest factor in descaling frequency. Soft water (less than 60 ppm) needs descaling every six months. Moderate hardness (60-120 ppm) needs it every three months. Hard water (over 120 ppm) needs it every month or two.
You can buy a water hardness test strip at any pool supply store for a few dollars. Or check your local water utility’s annual report online. Most report hardness levels in ppm or grains per gallon.
If you notice slower brewing, louder heating sounds, or a chalky residue on the drip tray, descale immediately regardless of the schedule. These are signs that scale is already affecting performance.
Using filtered water in the reservoir reduces scale buildup. But filters don’t remove all minerals, so you still need to descale on schedule.
Signs You’ve Damaged the Machine (and How to Fix It)
Using the wrong descaler can cause issues that aren’t immediately obvious. Here’s what to watch for after a descaling session.
A persistent plastic or chemical taste in your coffee usually means the descaler reacted with the tubing. Run several more rinse cycles. If the taste doesn’t fade after four or five rinses, the tubing may be degraded and needs replacement. That’s a repair job best left to a professional.
Leaks around the water reservoir or brew head indicate seal damage. Harsh acids can shrink or crack the rubber gaskets. Replacement seals are cheap and available online, but you’ll need to disassemble the machine to install them.
White or cloudy residue on the heating element after descaling suggests the descaler wasn’t strong enough or didn’t fully dissolve. Run a second descaling cycle with a fresh batch of solution.
If the machine won’t heat water at all, the heating element may have corroded. This is usually a terminal issue. Replacement parts for budget pod machines often cost more than a new machine.
Final Verdict: Save Money or Buy a New Machine?
A $10 bottle of descaler every three months is cheaper than a $100 replacement machine every two years. The math favors descaling, provided you use the right product and follow the rinse steps.
Here’s a realistic five-year cost comparison:
| Approach | Cost per Year | 5-Year Total | Risk Level |
|---|---|---|---|
| Commercial descaler (brand or universal) | $20-$40 | $100-$200 | Low |
| DIY citric acid | $5-$10 | $25-$50 | Moderate (if measured wrong) |
| DIY vinegar | $3-$8 | $15-$40 | Moderate (odor, seal wear) |
| No descaling, replace machine | $50-$150 | $250-$750 | High (machine failure) |
The upfront cost of a commercial descaler is worth it for the warranty protection alone. One damaged seal or a voided warranty costs more than a year’s supply of proper cleaner.
We tested the Impresa 2-pack against a Keurig and a Nespresso machine side by side. Both machines ran noticeably quieter after the first cycle, and the coffee tasted cleaner. The lack of odor during rinsing was a clear improvement over vinegar. It’s not the cheapest option, but it’s the most reliable for mixed-brand households.
Frequently Asked Questions
Can I use the same descaler for Keurig and Nespresso?
Yes, if the label says it’s universal. The Impresa product explicitly lists compatibility with both brands. The key is checking that the acid type is food-grade and safe for plastic. Most universal liquid descalers use citric or lactic acid, which works in both systems.
Will descaling remove the plastic taste from my pod coffee?
It can, if the taste comes from limescale or old coffee oils. Scale buildup traps oils and bacteria that cause off-flavors. A proper descaling cycle removes those deposits. If the plastic taste persists after descaling and multiple rinses, the tubing itself is degraded and needs replacement.
How much descaler should I use for a pod machine?
Follow the label ratio. Most liquid descalers require a 1:1 or 1:2 mix with water. For the Impresa formula, it’s 4 ounces of solution per session. Using more doesn’t clean faster; it just risks residue buildup in the lines.
Is it safe to descale a pod machine with vinegar?
It’s safe in the sense that vinegar won’t immediately destroy the machine, but it’s not recommended. The acetic acid smell lingers for days, and repeated use can degrade rubber seals. If you must use vinegar, dilute it 50/50 with water and run at least three rinse cycles afterward.
What happens if I never descale my pod machine?
The water flow slows as scale builds up in the heating element and brew head. Your coffee brews at a lower temperature and extracts less flavor. Eventually, the machine may stop working entirely. The heating element is the most common failure point, and replacing it usually costs more than the machine is worth.
What to Remember Before You Pour
- Check the descaler label for pod machine compatibility and food-grade acids.
- Never use industrial descalers with sulfamic or hydrochloric acid.
- Run at least two full rinse cycles after descaling; three if you used vinegar.
- Descale every 1-3 months depending on your water hardness, not a fixed calendar date.
- Taste test a blank brew after rinsing to verify no chemical residue remains.
- Manual descaling works fine if your machine lacks an automatic mode; just use the pause-and-brew method.
- Replacement seals are cheap, but a corroded heating element means a new machine.
Products related to this article
Sponsored / affiliate links. As an Amazon Associate I earn from qualifying purchases. I may earn additional commission from eligible campaigns.