You set your mug down, get pulled into an email, and come back twenty minutes later to a brown ring baked onto the warmer’s surface. It happens to everyone. The heat from the plate literally cooks the coffee oils into a stubborn film that plain water won’t touch.
Cleaning a coffee mug warmer isn’t complicated, but it does require a different approach than wiping down a countertop. The heating element is sensitive, and harsh cleaners or metal scrapers can ruin the non-stick coating or scratch the ceramic plate. This guide walks you through the exact steps to remove fresh spills, baked-on residue, and the occasional burnt milk disaster without damaging your warmer.

LAST8OTTLE
LAST8OTTLE Coffee Tumbler Cleaner & Tea Stain…
- 1️⃣ REVIVE YOUR STAINLESS STEEL TUMBLER & THERMOS Don’t let old coffee stains ruin your morning brew. Our heavy-duty formula acts…
- 2️⃣ NO HARD SCRUBBING NEEDED – REACH THE UNREACHABLE Forget trying to jam a brush into narrow-neck bottles. The ideal solution for…
- 3️⃣ ELIMINATES OLD TEA & COFFEE STAINS Micro-bubbles actively break down stubborn tannins and buildup. Whether it’s a ceramic mug…
As an Amazon Associate I earn from qualifying purchases.
You’ll also learn what not to do, how often to clean, and which cleaning products actually help when a mug itself has become the problem.
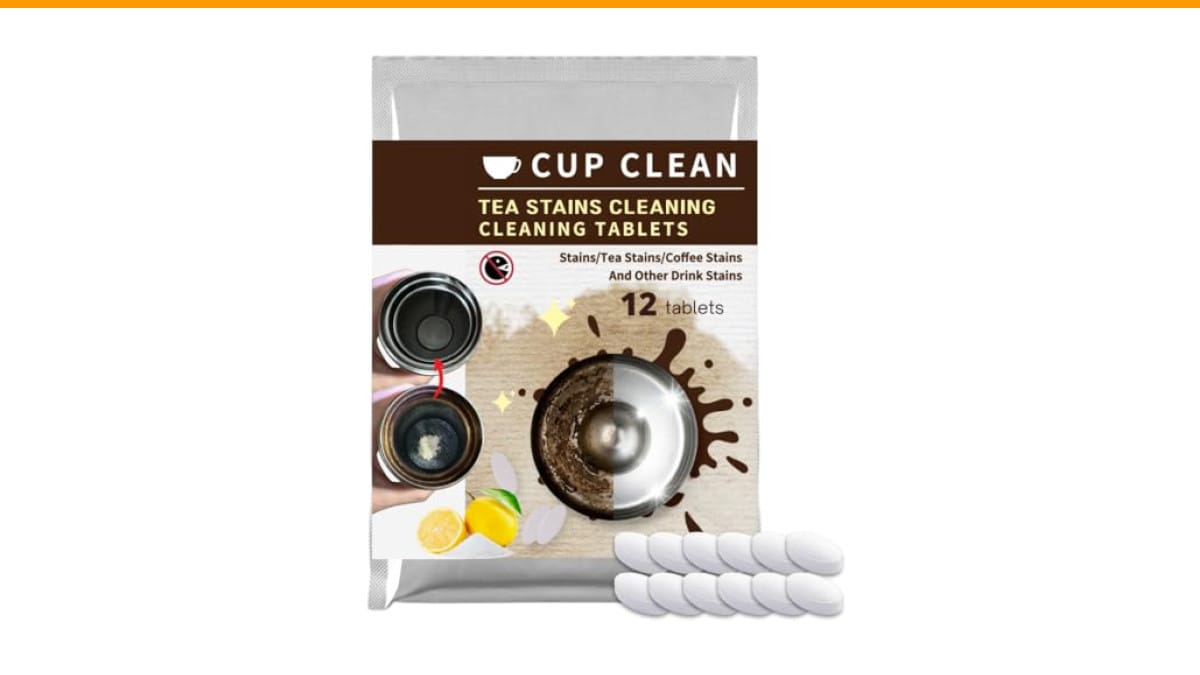
While you’re at it, consider this: a clean warmer only helps if your mug is clean too. If your travel tumbler has that dark, stubborn ring inside that never seems to wash out, a product like the LAST8OTTLE Coffee Tumbler Cleaner handles that job with effervescent tablets that break down tannins without scrubbing. It’s a separate issue from the warmer itself, but worth knowing about when you’re tackling coffee stains in your drinkware.
What You Need to Clean a Mug Warmer
Gather these items before you start. Most are already in your kitchen.
- Soft microfiber cloth (two if possible)
- White vinegar or lemon juice
- Baking soda
- Dish soap (the mild kind, no bleach)
- Cotton swabs for tight edges
- Toothpick or plastic scraper (never metal)
That’s it. No specialized cleaners required, though a dedicated coffee equipment descaling product works too if you have one on hand.
One thing to avoid: abrasive scrub pads like steel wool or the green side of a sponge. They leave micro-scratches that trap future spills, making the problem worse over time.
Step-by-Step Cleaning Process
Start with the warmer unplugged and completely cool. Never clean a hot surface — the cleaning solution evaporates too fast and you risk burning yourself.
- Wipe away loose debris. Use a dry microfiber cloth to remove dust, coffee grounds, or crumbs sitting on the surface.
- Apply a warm, soapy solution. Mix a few drops of dish soap into a bowl of warm water. Dip your cloth in, wring it out well, and wipe the entire top surface. The cloth should be damp, not dripping — you don’t want water seeping into the electrical components.
- Tackle stuck-on residue. For dried coffee rings, make a paste of baking soda and water (about 2 parts baking soda to 1 part water). Apply it to the stain with your finger or a soft cloth, let it sit for 5 minutes, then wipe in a circular motion. The mild abrasiveness lifts the residue without scratching.
- Clean the edges and seams. Dip a cotton swab in your soapy water and run it along the rim where the plate meets the base. This is where spilled coffee collects and eventually hardens.
- Rinse with a clean, damp cloth. You want to remove all soap and baking soda residue. Use a fresh cloth with plain water, wring it out, and wipe the surface again.
- Dry completely. Use a dry microfiber cloth to buff the surface. Let it air dry for at least 30 minutes before plugging it back in.
Pro tip: for burnt milk or sugar residue that’s really stuck, lay a cloth soaked in white vinegar over the spot for 10 minutes. The acid softens the burnt layer so it wipes away easily.
If you’re also dealing with a coffee maker that has similar buildup issues, the cleaning routine for coffee makers follows a similar logic — break down the residue first, then rinse thoroughly.
How Often Should You Clean It?
A quick wipe-down after every use is ideal, but realistically, most people clean their warmer once a week. That’s fine if you’re not letting spills sit for days.
Here’s a practical schedule:
- Daily: Wipe the surface with a dry cloth after your last cup cools. This removes fresh dust and prevents oils from settling.
- Weekly: Do the full soapy water cleaning described above.
- Monthly: Use the baking soda paste or vinegar soak for any baked-on residue you missed.
If you use your warmer every day with a stainless steel mug, you’ll notice buildup faster than someone using a ceramic mug. The stainless steel transfers heat differently and tends to leave more residue behind.
Comparing Cleaning Methods
| Method | Best For | Time Needed | Risk Level |
|---|---|---|---|
| Dry cloth wipe | Daily dust and light residue | 30 seconds | None |
| Soapy water + microfiber | Regular weekly cleaning | 3-5 minutes | Low |
| Baking soda paste | Dried coffee rings, burnt sugar | 5-10 minutes | Low (if rinsed well) |
| Vinegar soak (cloth applied) | Burnt milk, heavy buildup | 15-20 minutes | Medium (acid can dull some finishes) |
| Abrasive scrubber | Nothing — avoid | N/A | High (scratches surface) |
The vinegar soak is the most effective for stubborn stains, but test it on a small corner first. Some cheaper warmers have a painted finish that reacts poorly to acid.
For the deeper grime inside your coffee equipment itself, check the deep cleaning guide for coffee machines — it covers descaling and internal parts that need attention too.
Common Mistakes That Ruin a Mug Warmer
Three mistakes show up repeatedly in user reviews and forum threads.
Mistake 1: Submerging the warmer in water. The base contains electrical wiring and a heating element. Immersing it in water is a fast way to kill it or create a shock hazard. Always use a damp cloth, never running water.
Mistake 2: Scrubbing with metal tools. A butter knife or steel wool might seem effective, but they gouge the surface. Those scratches become permanent traps for coffee residue. Use a plastic scraper or your fingernail under a cloth.
Mistake 3: Using glass cleaner or bleach sprays. These leave a chemical film that burns onto the plate the next time you heat it. Stick to dish soap, baking soda, and vinegar.
One more thing to watch: if your warmer has a temperature dial or buttons, clean around them with a cotton swab. Coffee spills can seep into the crevices and gum up the mechanism over time.
For those dealing with scale buildup in other coffee gear, the descaling process at home covers similar territory with different equipment.
Frequently Asked Questions
Can I use a magic eraser on my coffee mug warmer?
You can, but be careful. Magic erasers are fine melamine foam, which is mildly abrasive. They work well on tough stains, but they can also dull a glossy surface. Use them sparingly and only on the stained spot, then wipe clean with a damp cloth.
Why does my mug warmer have a brown film even after cleaning?
That film is polymerized coffee oil — the same process that seasons cast iron pans. Heat causes the oils to bond to the surface. Regular soap and water won’t break that bond. You need the baking soda paste or vinegar soak to dissolve it.
Is it safe to use vinegar on a coffee mug warmer?
Yes, white vinegar is safe for most surfaces when used in moderation. The concern is leaving it on too long or using it on a painted finish. Apply it with a cloth, let it sit for 10 minutes max, then wipe thoroughly.
How do I clean a coffee mug warmer with a non-stick coating?
Non-stick coatings are more delicate. Skip the baking soda paste and use a diluted vinegar solution (1 part vinegar to 3 parts water) with a soft cloth. Never use abrasive pads. The non-stick layer will scratch easily, and once it’s damaged, cleaning gets much harder.
Can I put my mug warmer in the dishwasher?
No. Mug warmers are electrical appliances with internal components that water will destroy. Hand cleaning with a damp cloth is the only safe method. The same rule applies to electric kettles and other countertop heating devices.
What to Remember When Cleaning
Here are the essentials to keep your warmer working like new:
- Always unplug and cool down before cleaning
- Use a damp cloth, never submerge the unit
- Baking soda paste handles dried coffee rings without scratching
- Vinegar breaks down burnt milk and sugar residue
- Wipe daily, deep clean weekly
- Never use metal tools or abrasive scrubbers
- Dry completely before plugging back in
Cleaning a coffee mug warmer takes about five minutes once you get the hang of it. The key is consistency — a quick wipe after each use prevents the baked-on mess that requires the heavier methods. Your warmer will last longer, heat more evenly, and your coffee won’t pick up stale flavors from old residue.
Products related to this article
Sponsored / affiliate links. As an Amazon Associate I earn from qualifying purchases. I may earn additional commission from eligible campaigns.