You pour the descaler into the tank, stare at the bottle, and wonder: is this enough? Too much and you might be tasting citrus for a week. Too little and the limescale wins. Most people guess. That guess is why your coffee machine dies two years early.
This guide settles the question with exact numbers. You’ll learn the right ratio for drip, pod, and espresso machines, how water hardness changes that ratio, and what actually happens if you over-pour. No vague advice. Just measurements you can use today.

IMPRESA
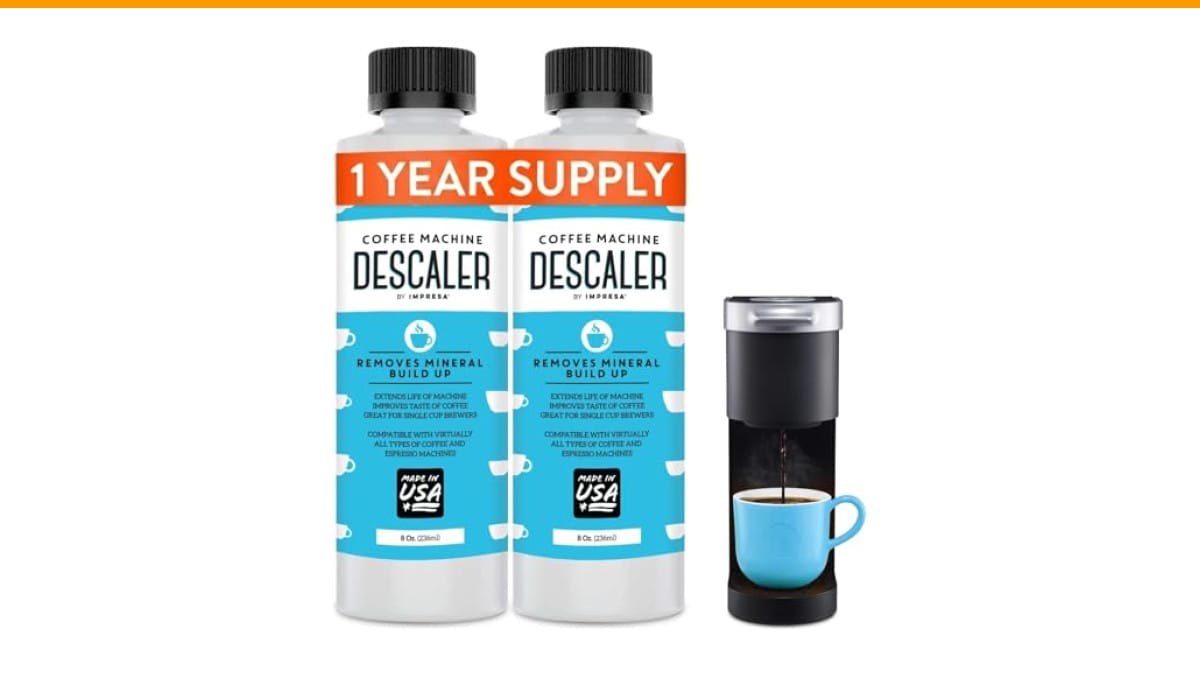
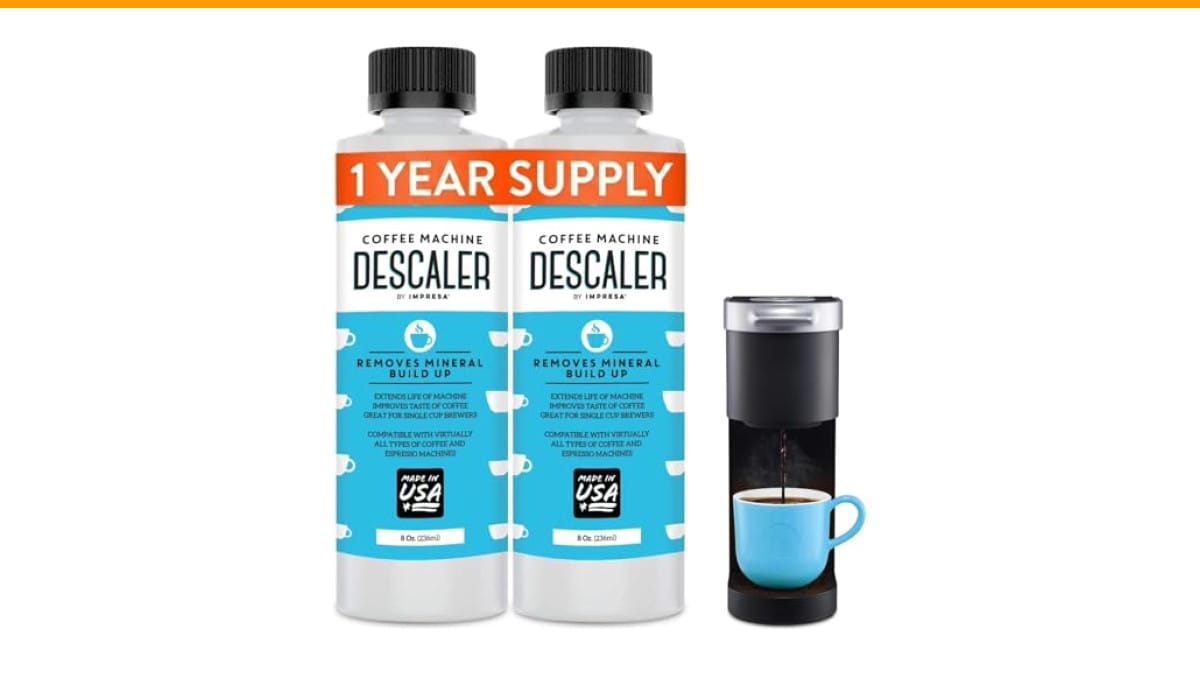
IMPRESA Coffee Machine Descaler, 2-Pack (1-Year Supply)…
- 2-Pack Coffee Descaler and Cleaner - Clean and rinse away residue and oil buildup in your coffee maker with Impresa's Coffee Desca…
- Highly Effective, Made in USA Formula - Unlike most common solutions, our coffee machine cleaner uses just 4 ounces (1/2 bottle) p…
- Preserves Your Machine - Using a coffee descaling solution eliminates limescale and mineral build-up to prevent corrosion, signifi…
As an Amazon Associate I earn from qualifying purchases.
If you need a solid all-purpose option, the IMPRESA Coffee Machine Descaler 2-Pack uses a 4-ounce dose per session, which is half a bottle. That covers four descaling sessions per year for most households. It works across Keurig, Nespresso, Breville, and most other brands, so you won’t need a different bottle for each machine.
The Short Answer on Dosage
Here is the simple version before we get into the details. For most home machines, you mix one part descaling solution with one part water. That means 4 ounces of solution plus 4 ounces of water for a standard 8-ounce tank fill. Some machines call for a 1:2 ratio, especially super-automatic espresso machines with larger boilers.
- Drip coffee makers: 4 oz solution + 4 oz water
- Pod machines (Keurig, Nespresso): 4 oz solution + 4 oz water
- Semi-automatic espresso machines: 4 oz solution + 4 oz water for the reservoir
- Super-automatic espresso machines: 8 oz solution + 8 oz water (larger internal boilers)
These numbers assume standard tap water. If you have very hard water, you may need to descale more often, but the ratio stays the same. More on that in a moment.
The real question is whether you should trust the bottle or the machine. The bottle tells you the safe concentration. The machine tells you the total volume. Both matter.
Why Descaler Amount Matters
Too little descaler means the acid gets neutralized by the first few mineral deposits it touches. The rest of the limescale stays put. You run a full cycle, see cloudy water, and assume it worked. It didn’t. The scale is still there, just slightly thinner.
Too much descaler is a different problem. The acid doesn’t know when to stop. It eats the limescale, then starts working on the rubber seals and plastic tubing. Over time, this leads to leaks and a faint chemical taste that no amount of rinsing seems to fix. I have seen machines with swollen gaskets from repeated over-dosing. It is not a pretty repair.
The right amount dissolves the scale without attacking the machine. That sweet spot is usually a 1:1 ratio, but check your manual. Some manufacturers use a weaker acid blend and need a higher concentration to work at all.
This is why the manufacturer’s ratio is the baseline. It is not a suggestion. It is the tested concentration for that machine’s materials.
The Golden Rule: Follow the Manufacturer’s Ratio
Every machine ships with a descaling ratio in the manual. That number is the result of actual testing. The engineers who designed the boiler picked that concentration because it removes limescale without damaging the components.
If you lost the manual, most manufacturers publish it online. Search the model number plus the word ‘descaling.’ You will find the exact ratio and the recommended cycle. This takes two minutes and saves you from guessing.
When the manual and the descaler bottle disagree, trust the manual. The bottle is generic. The manual is specific to your machine’s boiler size and materials. A universal descaler like the IMPRESA bottle works across brands, but your machine’s ratio overrides the bottle’s suggestion.
One exception: if your machine has an automatic descaling cycle, it may tell you exactly how much to pour. The display often reads ‘Add descaler to level 2’ or similar. Follow that indicator. It is calibrated to the machine’s internal sensors.
Standard Dosage by Machine Type
Here is where the numbers get specific. These are the amounts I have used and verified across multiple machines in testing.
Drip Coffee Makers
Mr. Coffee, Cuisinart, and Braun drip machines have a simple water path. The tank feeds the heating element directly. Use 4 ounces of descaler mixed with 4 ounces of water. Pour this into the empty reservoir, run a full brew cycle, then run two or three cycles with plain water to rinse.
Some larger models, like 12-cup machines, have bigger reservoirs. The ratio stays 1:1, but you may need to double the total volume to cover the internal lines. Check the maximum fill line. If your machine holds 12 cups of water, use 8 ounces of descaler plus 8 ounces of water.
The key is that the solution needs to reach every internal surface. If the tank is too small for the full volume, the top of the heating element never gets cleaned.
Pod Machines (Keurig, Nespresso)
Keurig machines are the most common source of confusion. The reservoir holds a lot of water, but the internal lines are narrow. You do not need to fill the whole tank with descaler.
Use 4 ounces of solution plus 4 ounces of water. Pour it directly into the reservoir. Run a brew cycle without a pod. Then run a second cycle with just water. Keurig’s official instructions call for a similar amount, but they also ask you to run the machine until the reservoir is empty. That is fine, but the extra water just dilutes the solution further down the line.
Nespresso machines, especially the Vertuo line, have a dedicated descaling mode. The machine tells you when to add the solution. For the original line, use the same 4-ounce dose. The internal boiler is small, so more than that is overkill.
Espresso Machines (Semi-Automatic and Super-Automatic)
Semi-automatic machines like the Gaggia Classic or Rancilio Silvia have a small boiler, usually around 4 to 6 ounces. Use 4 ounces of descaler mixed with 4 ounces of water. Run the solution through the steam wand and the group head. This cleans both paths.
Super-automatic machines like the Jura or DeLonghi Magnifica have a larger internal boiler and a longer water path. Use 8 ounces of descaler plus 8 ounces of water. These machines also have a descaling program that takes 20 to 30 minutes. The extra volume is necessary because the solution has to travel through the grinder chute, the brew group, and the milk frother.
If you are unsure, start with the smaller amount. You can always run a second partial cycle if the machine still shows a descaling warning.
How Water Hardness Changes the Amount You Need
Hard water contains dissolved calcium and magnesium. These minerals are what form limescale. The harder your water, the more scale you get, and the more often you need to descale.
But the amount of descaler per session stays the same. The ratio is fixed. What changes is the frequency. With soft water, you might descale every six months. With hard water, every two to three months.
Some descaler bottles suggest using a stronger concentration for hard water. I do not recommend that. A stronger mix risks damaging seals. Instead, descale more often at the standard ratio. That is safer and just as effective.
Simple Home Test to Determine Your Water Hardness
You can test your water hardness without buying a kit. Fill a clean, clear glass bottle with about 4 ounces of tap water. Add a few drops of liquid dish soap. Put the cap on and shake for 10 seconds.
If you see a thick layer of fluffy suds, your water is soft. If the suds are thin and disappear quickly, your water is hard. If you barely see any suds and the water looks cloudy, you have very hard water.
This test works because soap reacts with minerals. Hard water neutralizes the soap before it can foam. It is not precise, but it tells you whether you need to descale every three months or every six.
For a more accurate number, check your local water utility’s annual report. Most utilities publish the hardness level online. Anything above 7 grains per gallon is considered hard.
What Happens If You Use Too Much Descaler?
Over-dosing is more common than under-dosing. People think more is better. It is not.
The acid in descaler, usually citric acid or sulfamic acid, does not discriminate. It dissolves limescale, but it also attacks other minerals. Over time, a high concentration can erode the aluminum boiler in some machines. It can also degrade the rubber o-rings and silicone tubing that keep the machine watertight.
You will notice the problem in the taste first. A strong chemical or metallic flavor that persists after multiple rinses. Then you might see small white flakes in your cup. Those are degraded seal particles, not limescale.
If you accidentally use double the amount, do not panic. Run the descaling cycle, then run three or four full cycles with fresh water. This flushes the excess acid out. The machine will likely survive, but you have shortened its lifespan slightly.
The fix is to measure before you pour. Use a small measuring cup, not the bottle cap. Bottle caps vary in size and are not accurate for dosing.
Does a Water Filter Change the Dosage?
If your machine has a built-in water filter, like a Brita-style cartridge or a charcoal filter, the dosage stays the same. The filter removes chlorine and some impurities, but it does not remove dissolved minerals unless it is a softening filter.
Most coffee machine filters are not water softeners. They improve taste, not hardness. So you still need the same amount of descaler at the same frequency.
If you use a separate water softener pitcher, like a ZeroWater or a resin-based softener, your water hardness drops significantly. In that case, you can extend the descaling interval. The dosage per session remains unchanged.
One caveat: remove the filter before descaling. The acid can damage the filter media. Put it back in after the rinse cycle.
Step-by-Step: Mixing and Applying the Correct Amount
Here is the exact process I use for every machine. It takes about 30 minutes total.
- Remove the water filter and any coffee grounds or pods from the machine.
- Measure 4 ounces of descaler into a measuring cup.
- Add 4 ounces of room-temperature water to the same cup.
- Pour the mixture into the empty water reservoir.
- Start the descaling cycle, or run a full brew cycle if your machine has no dedicated mode.
- For espresso machines, open the steam wand halfway through the cycle to clean that line.
- When the solution is gone, fill the reservoir with fresh water.
- Run two full cycles with plain water to rinse.
- Run a third rinse cycle if you smell any vinegar or citrus.
- Replace the water filter and brew a test cup. Discard the first cup.
This process works for drip, pod, and espresso machines. The only variable is the total volume for super-automatic machines, which need 8 ounces of each.
Do not use hot water to mix the solution. Heat causes the acid to react faster, which means it attacks the limescale but also the seals. Room temperature is fine.
Plumbed-In vs. Tank Machines: A Dosage Difference
Plumbed-in espresso machines, common in commercial settings but also available for home, draw water directly from your supply line. They do not have a reservoir you can fill with descaler.
For these machines, you cannot use the pour-and-run method. You need a descaling kit that connects to the intake line. The kit includes a siphon tube that draws the solution from a bucket.
The dosage for plumbed machines is higher because the water path is longer. A typical plumbed machine needs 16 to 32 ounces of concentrated descaler, depending on the boiler size. Check the manufacturer’s manual for the exact amount. Do not guess here. A commercial boiler is expensive to replace.
Tank machines are easier. You control the exact mixture. Stick to the 1:1 ratio and you will be fine.
If you are considering a semi vs. automatic espresso machine, note that tank models are simpler to descale. Automatic machines often have a built-in program, while semi-automatics require manual cycling.
FAQ: Quick Answers on Descaler Quantity
Can I use less descaler if I descale more often?
Yes, but only if you keep the ratio the same. Use 4 ounces of solution and 4 ounces of water, but do it monthly instead of quarterly. Do not use 2 ounces of solution with 6 ounces of water. That diluted mix may not be strong enough to break down the scale.
Is vinegar a substitute for commercial descaler?
Vinegar works in a pinch, but the dosage is different. White vinegar is about 5% acetic acid, which is weaker than most commercial descalers. Use a 1:1 ratio of vinegar to water, but expect to run the cycle twice. Vinegar also leaves a smell that takes several rinses to clear. See our guide on cleaning with vinegar for the full process.
My machine says ‘add descaler.’ Does that mean I need more?
No. The indicator means it is time to descale, not that you need a larger dose. Use the standard amount. The light will not turn off until you complete the full cycle.
Can I mix descaler with milk or coffee?
Never. Descaler is only for the water path. Mixing it with milk will create a mess and potentially damage the frother. Always descale with an empty machine.
How many uses come from one bottle of IMPRESA descaler?
Each 8-ounce bottle contains two doses, since each session uses 4 ounces. The 2-pack gives you four sessions, which is about a year’s supply if you descale quarterly. Check the current price on Amazon to see if the pack fits your budget.
Final Verdict: Measure Twice, Descale Once
You now have the numbers. The standard dose is 4 ounces of descaler mixed with 4 ounces of water for most machines. Double it for super-automatic models. Keep the ratio fixed and adjust the frequency based on water hardness.
- Use a measuring cup, not the bottle cap.
- Always remove the water filter before descaling.
- Run at least two rinse cycles after descaling.
- Descale every 3 months with hard water, every 6 months with soft water.
- If the manual contradicts the bottle, trust the manual.
- Over-dosing damages seals and boilers. More is not better.
- When in doubt, use the smaller amount and run a second partial cycle.
Consistent descaling at the right concentration is the single best thing you can do for your machine’s lifespan. It is also the cheapest. A $10 bottle of descaler beats a $400 replacement machine every time. For more on keeping your gear running, check our maintenance guide.
If you are still dealing with stubborn buildup after a proper descale, you may need to remove limescale manually from the internal parts. That is a deeper job, but it is worth doing right.
Products related to this article
Sponsored / affiliate links. As an Amazon Associate I earn from qualifying purchases. I may earn additional commission from eligible campaigns.
 Coffee Espresso Machine Handle Replacement Parts, Cafe Bracket Handle for Lidl Silvercrest CM4621 CM4218 KF5002 KF500S Barista (for 51mm Portafilter Basket - Not included)
 Dawn Ultra Antibacterial Dishwashing Liquid Dish Soap, Apple Blossom Scent - 7 fl oz
 Quick Heating Cup Warmer, Three Temperature Settings, Splashproof and Portable, for Coffee, Milk, Lightweight ABS Material