You just ran the descaling cycle. The machine beeps, the tank is empty, and the coffee smells… clean. But the first cup you brew tastes like a chemistry lab. That metallic, bitter tang is not your beans. That’s leftover descaling solution still inside the boiler and lines.
Most people skip the second rinse or just run one quick cycle. That’s a mistake. A proper rinse flushes the acid out so your next brew tastes like coffee, not citric acid. This guide walks through the exact steps to rinse after using coffee machine descaler, including how many cycles you need and what to do if you still taste solution.

IMPRESA
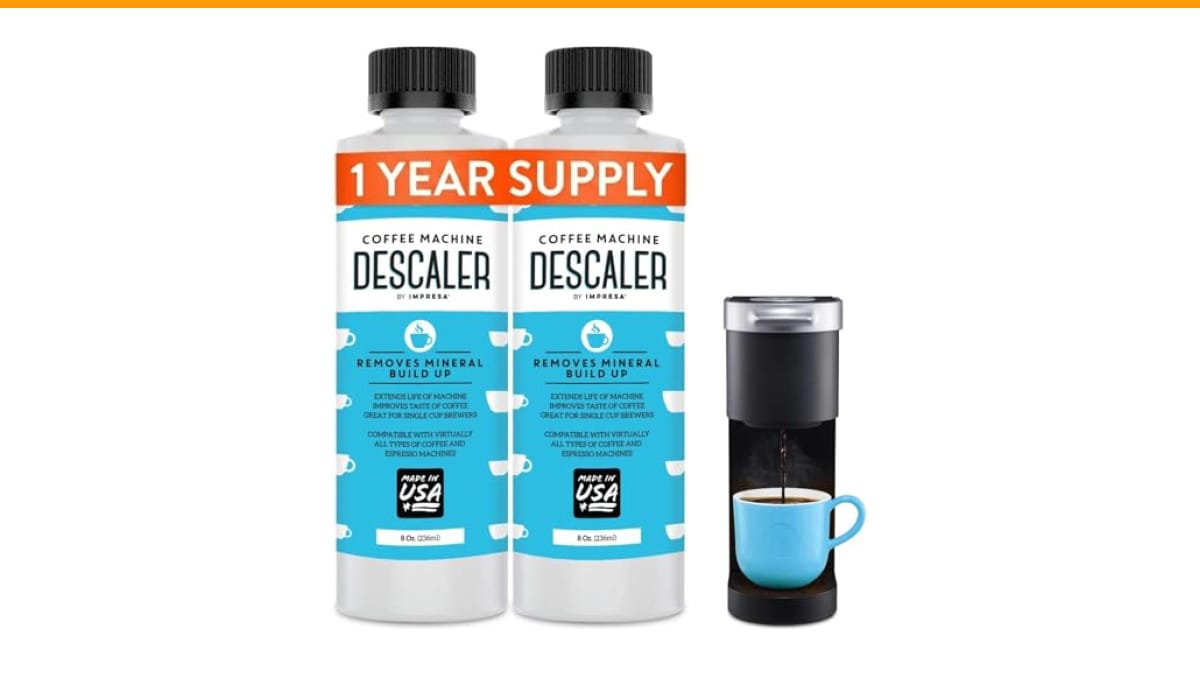
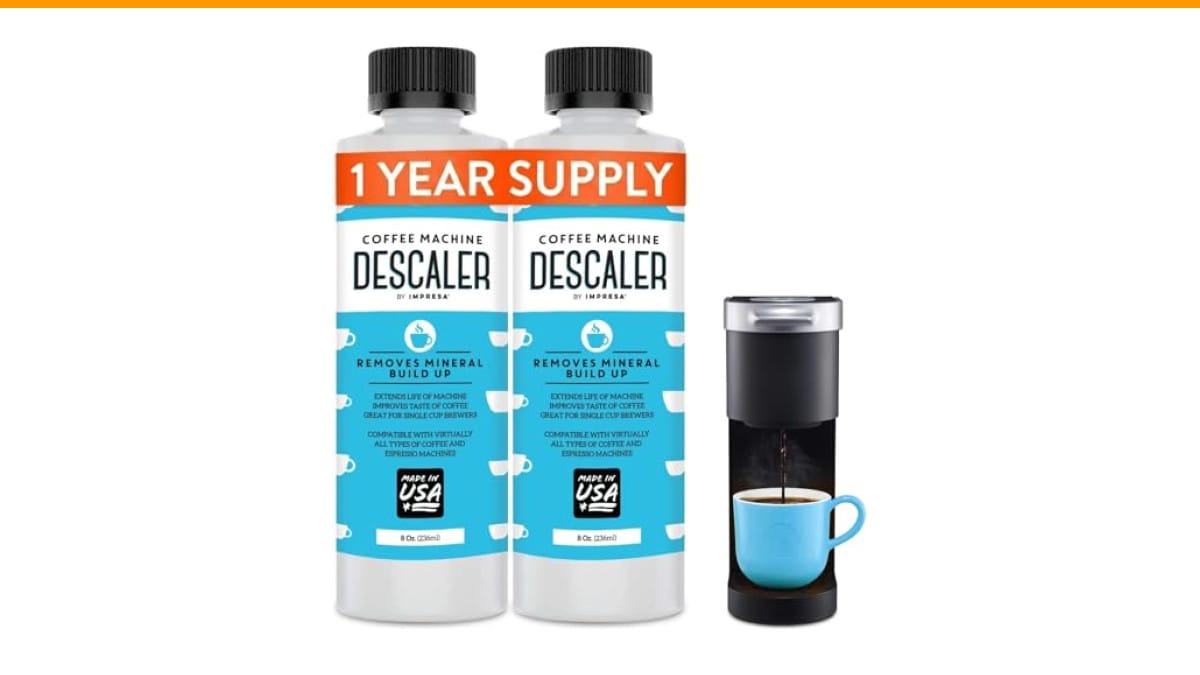
IMPRESA Coffee Machine Descaler, 2-Pack (1-Year Supply)…
- 2-Pack Coffee Descaler and Cleaner - Clean and rinse away residue and oil buildup in your coffee maker with Impresa's Coffee Desca…
- Highly Effective, Made in USA Formula - Unlike most common solutions, our coffee machine cleaner uses just 4 ounces (1/2 bottle) p…
- Preserves Your Machine - Using a coffee descaling solution eliminates limescale and mineral build-up to prevent corrosion, signifi…
As an Amazon Associate I earn from qualifying purchases.
You’ll also learn a few tricks that most manuals forget to mention. I’ve tested this on drip machines, espresso machines, and pod brewers. The process is similar, but the details matter.
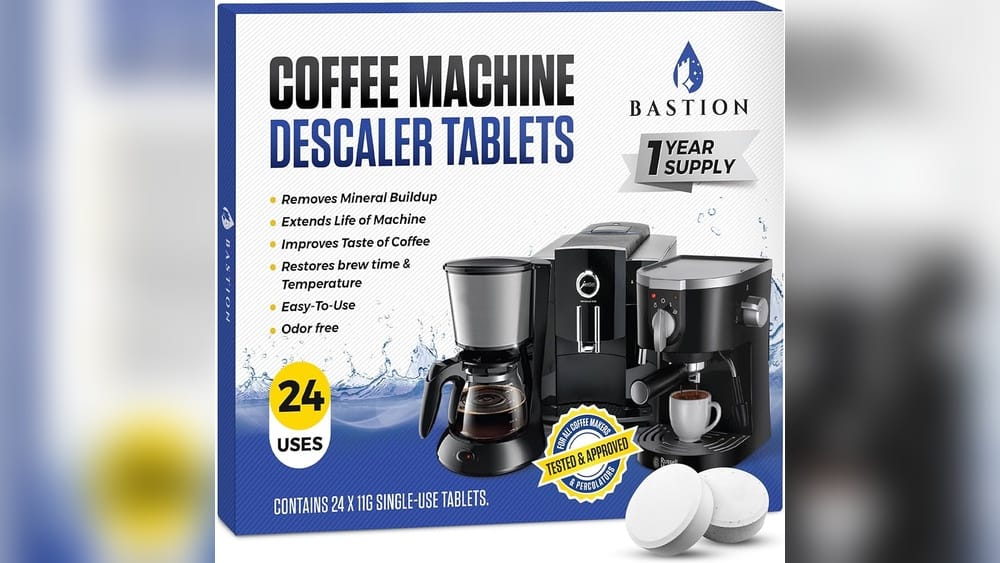
If you don’t have a descaler yet, the descaler guide covers the full routine. For the rinse itself, you need fresh water and patience. A product like the IMPRESA Coffee Machine Descaler works well here because it comes in a 2-pack with enough for four sessions. That means you always have a bottle on hand when the rinse cycle calls for it.
Why a Single Rinse Cycle Is Not Enough
One empty tank of water doesn’t clear the system. Here’s why: the descaling solution sits in the boiler, the heating element, and the internal tubing. When you run water through, it mixes with the leftover acid. The first rinse dilutes it. The second rinse actually clears it.
Think about a dirty glass. You don’t rinse it once with a splash of water. You run it under the tap for a few seconds. Your coffee machine needs the same treatment.
For most machines, two full tanks of fresh water are the minimum. If you have a heavy build-up of limescale, or if you used a stronger descaler, run three tanks. It costs you ten minutes and a few pennies of water. The alternative is a week of bitter coffee.
I made this mistake once with my espresso machine. I ran one rinse cycle and brewed a shot. The shot had a sour, sharp bite that ruined the milk texture. I dumped it, ran two more rinse cycles, and the next shot was clean. The difference was obvious.
Step-by-Step Rinse Process for Drip Coffee Makers
Drip machines are the easiest to rinse because the water path is simple. Here is the process I use:
- Empty the carafe and remove the old filter. Put a fresh, empty filter basket in place.
- Fill the reservoir with fresh, cold water to the MAX line.
- Place the carafe back on the warming plate.
- Run a full brew cycle without any coffee grounds.
- When the cycle finishes, dump the water in the carafe.
- Repeat steps 2 through 5 one more time.
After the second cycle, smell the water in the carafe. It should have no odor. If it smells sweet or chemical, run a third cycle.
Pro tip: wipe the reservoir lid and the carafe rim with a damp cloth after the rinse. Descaler can splash up during the cycle, and a dry film of citric acid will linger until the next brew.
Rinsing Espresso Machines and Pod Brewers
Espresso machines hold more water in the boiler, so the rinse takes longer. Here is what I do for a single-boiler machine:
- Fill the tank with fresh water.
- Run water through the group head for about 30 seconds. Let it flow into a container, not your cup.
- If your machine has a steam wand, open the steam valve for 20 seconds. This flushes the wand line, which often traps solution.
- Turn the machine off, wait 5 minutes, then turn it back on.
- Run another 30 seconds of water through the group head.
- Repeat the steam wand flush once more.
Pod machines like Keurig or Nespresso are simpler. Fill the reservoir, run a water-only cycle with no pod, and discard the output. Do this twice. For Nespresso machines, also run the hot water function through the steam wand if you have a Latissima model.
One thing to watch: some pod machines have a descaling mode that locks after the cycle. Check your manual. On newer Keurig models, you need to exit the descaling mode before the machine will brew normally. Running a rinse cycle while still in descaling mode won’t clear the lines properly.
How to Tell the Rinse Is Complete
You don’t need a testing strip to know if the rinse worked. Use your senses.
Smell the water that comes out of the machine. It should smell like nothing. If it smells fruity, sweet, or like vinegar, keep rinsing.
Taste a tiny sip of the rinse water after it cools. It should taste flat, like plain water. If there is any sourness or bitterness, run another cycle.
Watch the steam. When you flush an espresso machine, the steam should be odorless. If it smells acidic, the solution is still in the boiler.
Here is a quick comparison of rinse methods for different machine types:
| Machine Type | Rinse Cycles Needed | Total Water Volume | Extra Steps |
|---|---|---|---|
| Drip coffee maker | 2 full brew cycles | 2 full reservoirs | Replace filter basket |
| Single-serve pod (Keurig) | 2 water-only cycles | 2 full reservoirs | Exit descaling mode first |
| Espresso (single boiler) | 2 group head flushes | 1 to 1.5 reservoirs | Flush steam wand twice |
| Espresso (heat exchanger) | 3 group head flushes | 1.5 to 2 reservoirs | Flush steam wand, run hot water tap |
The table assumes you used a standard citric acid descaler. If you used a stronger industrial product, add one more cycle to be safe.
For a deeper look at keeping your machine clean, check the deep clean guide for weekly maintenance tips.
What Happens If You Skip the Rinse?
You’ll taste it immediately. The first cup will have a sour, sharp flavor that masks the coffee’s natural sweetness. Some people describe it as ‘soapy’ or ‘metallic’.
Over time, leftover acid can corrode the internal seals and gaskets. Citric acid is mild, but it’s still an acid. Leaving it in the boiler for days accelerates wear on rubber parts.
The fix is simple. If you forgot to rinse and already brewed a cup, don’t panic. Dump the coffee, run a full rinse cycle, and brew again. The machine isn’t damaged from one missed rinse, but don’t make it a habit.
Frequently Asked Questions
How many times should I rinse after descaling?
Run at least two full cycles with fresh water. Three is better if you have a large boiler or used a concentrated descaler. The water should come out odorless and tasteless.
Can I brew coffee immediately after the rinse?
Yes, after you complete the second rinse cycle, the machine is safe to use. Brew a test cup first to confirm there’s no residual taste. If it tastes clean, you’re good.
Should I use hot or cold water for the rinse?
Cold water is fine for drip machines and pod brewers. For espresso machines, run the hot water function to flush the boiler. Cold water won’t hurt, but hot water clears the lines faster.
What if the rinse water still tastes sour after three cycles?
This can happen if the descaler was too strong or the machine has heavy build-up. Run a fourth cycle with a half reservoir of water. If the sour taste persists, you may have a clogged line. Check the clogged coffee maker guide for help.
Is vinegar rinse different from descaler rinse?
Yes. Vinegar is weaker and leaves a stronger smell. You need more cycles to flush it out. A dedicated descaler like the IMPRESA solution is formulated to break down limescale faster and rinse out cleaner. That’s why I prefer it for regular maintenance.
Three Common Mistakes to Avoid
Mistake 1: Using a dirty carafe for the rinse. If the carafe has old coffee oils, the rinse water picks up that flavor. Wash it first.
Mistake 2: Stopping after one rinse cycle. One cycle is barely enough to dilute the solution. Always run two. Your taste buds will thank you.
Mistake 3: Forgetting the steam wand. On espresso machines, the wand holds a lot of solution. Skip it, and your milk will taste weird for days. Flush it every time.
Rinsing after descaling is not complicated. It just requires a little patience. You already spent 30 minutes on the descaling process. Ten more minutes of rinsing protects your machine and your coffee quality.
Here are the main points to remember:
- Run at least two full rinse cycles with fresh water after descaling.
- Smell and taste the rinse water to confirm it’s clean.
- Flush the steam wand on espresso machines every time.
- Exit descaling mode on pod machines before rinsing.
- Use a dedicated descaler for easier rinsing — vinegar takes longer to flush.
- If coffee tastes bitter after cleaning, the rinse was incomplete. Run another cycle.
- Keep a schedule so you don’t descale too often — every 3 to 4 months is enough for most homes.
For more on preventing hard water build-up, read the limescale removal tips and the machine maintenance guide.
Products related to this article
Sponsored / affiliate links. As an Amazon Associate I earn from qualifying purchases. I may earn additional commission from eligible campaigns.
 Coffee Espresso Machine Handle Replacement Parts, Cafe Bracket Handle for Lidl Silvercrest CM4621 CM4218 KF5002 KF500S Barista (for 51mm Portafilter Basket - Not included)
 HouseGem Large Candle Warmer Plate - Coffee Cup Mug Warmer for Desk, Candle Melter, Electric Mug Heater for Beverages, Milk & Tea, Coffee Accessories Ideal Gifts Keep Cup Warm (Black)
 Quick Heating Cup Warmer, Three Temperature Settings, Splashproof and Portable, for Coffee, Milk, Lightweight ABS Material